Deprecation Notice
This article covers our legacy ClickFunnels (CF) plugins, which are no longer supported.We’ve moved on to Funnelish v2 — a faster, more powerful, and easier way to build high-converting funnels.
Need help migrating your ClickFunnels funnel into Funnelish? Reach out to support.
The PayPal Plugin allows you to accept payments through PayPal in your funnel.

Step 1: Add your PayPal email
-
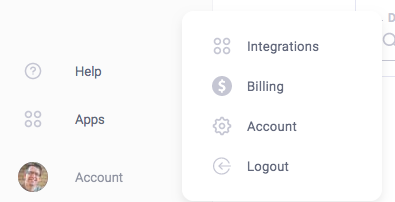
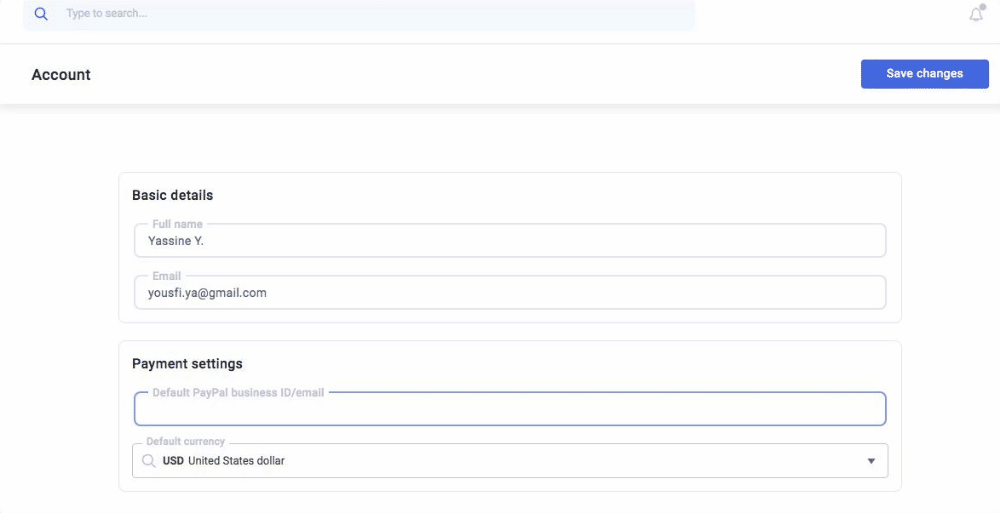
Go to your account settings
-
Add your PayPal email
-
Select your default currency
-
Click Save
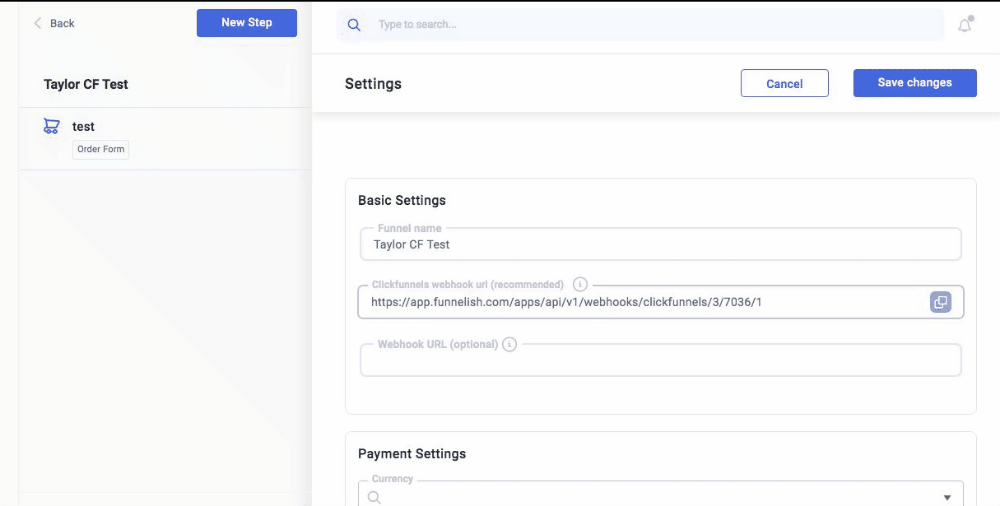
You can also set a different PayPal email at the funnel level.
Step 2: Turn on the app in Global Apps
-
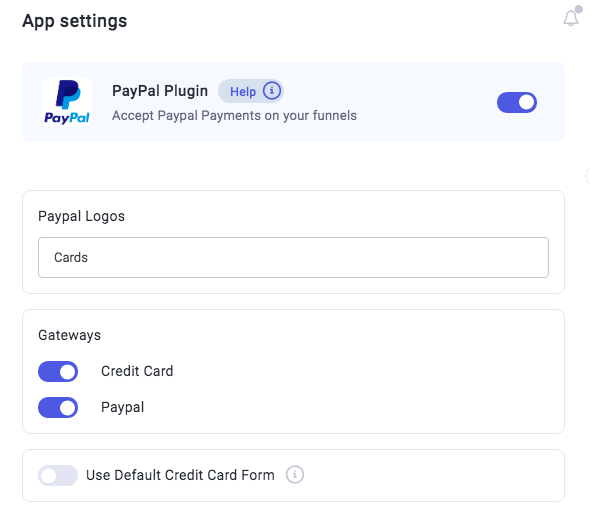
Go to Funnelish → Apps
-
Enable PayPal Plugin
-
Choose payment options (card, PayPal, or both)
-
Click Save Changes
Step 3: Turn on the app inside your funnel
-
Open your funnel
-
Go to Funnel Apps
-
Enable PayPal Plugin
-
Choose default payment option
-
Click Save Changes
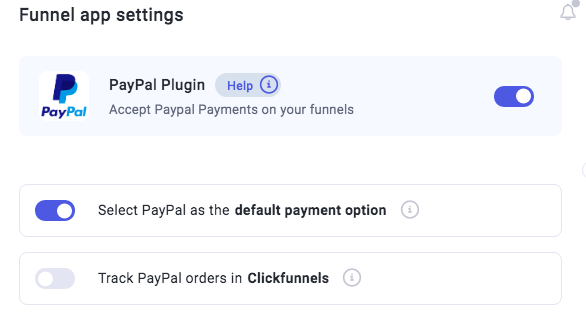
Turning on ClickFunnels tracking will stop orders from tracking in Funnelish.
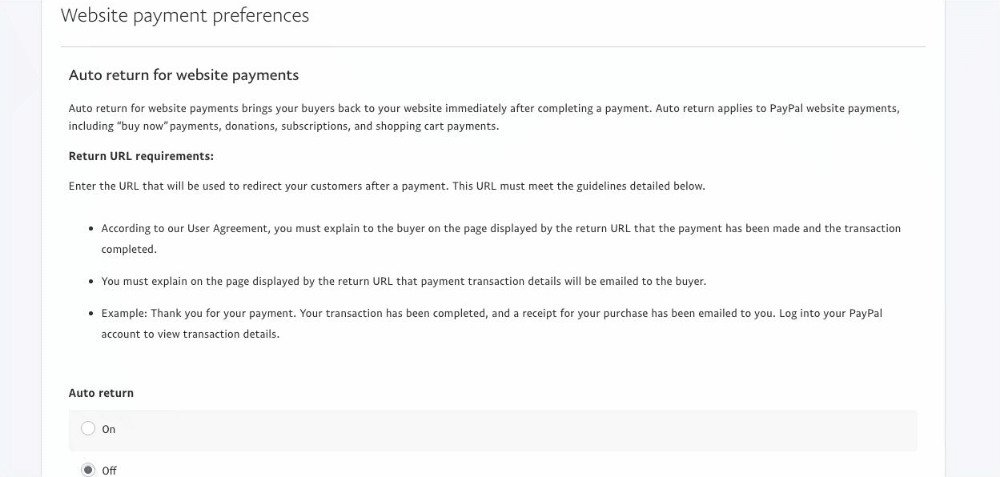
Step 4: Configure PayPal return settings
-
Go to your PayPal account
-
Open Settings
-
Go to Seller Tools

-
Open Website Payment Preferences
-
Enable Auto Return
-
Add a return URL
-
Click Save
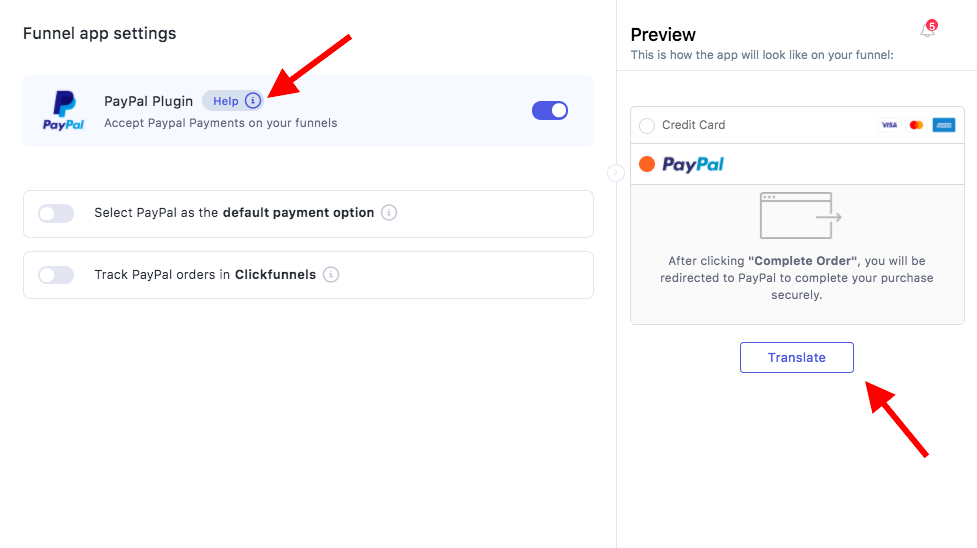
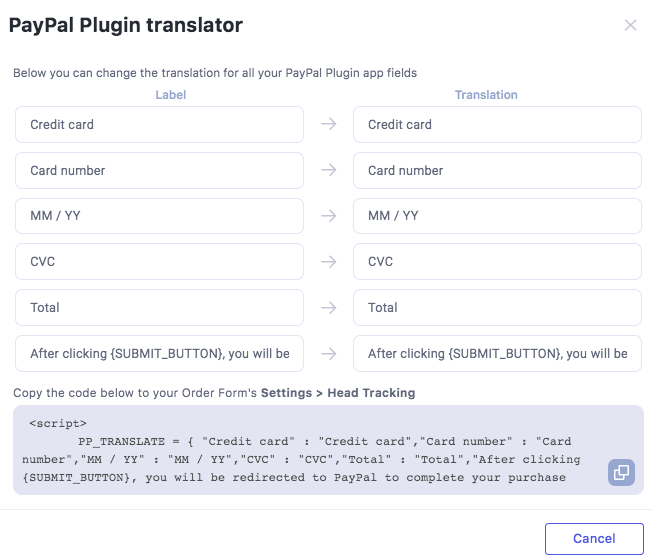
Step 5: Translate payment fields (optional)
-
Go to Funnel Apps → PayPal Plugin
-
Click Help → Translate
Testing purchases
The following methods can be used to test your PayPal setup.
Method 1: Test with a low amount
-
Set product price to a small amount (e.g. $0.01)
-
Use a different PayPal account
-
Complete a full purchase
Method 2: Test without paying
-
Start checkout
-
Do not complete payment
-
Open the next page manually
-
Test the flow
Method 3: Use PayPal Sandbox
-
Create business and buyer accounts
-
Use them for testing
Notes
-
Testing ensures your funnel works correctly
-
Use low amount testing for the most accurate results
For better performance and support, upgrade to Funnelish: