Want to seamlessly sync your funnel leads and buyers directly to your MailChimp audiences?
By connecting Funnelish to MailChimp, you can automatically add, remove, and tag contacts in your email lists the exact moment they take action in your funnel. Whether you are running a cart abandonment sequence, a post-purchase welcome flow, or a churn-recovery campaign, this integration handles the heavy lifting for you.[1]
Watch the quick setup overview here:

Connecting your accounts takes just a couple of minutes. You’ll need to grab your API key from MailChimp, link it to Funnelish, and build a quick automation to map out your rules.
Step 1: Copy Your MailChimp API Key
First, we need to securely link the two platforms by creating an API key inside your MailChimp account.
Pro Tip: Keep Funnelish open in one tab and MailChimp open in another so you can quickly copy and paste your credentials.
-
Log in to your MailChimp account.
-
Click your Account Profile icon in the bottom left corner.
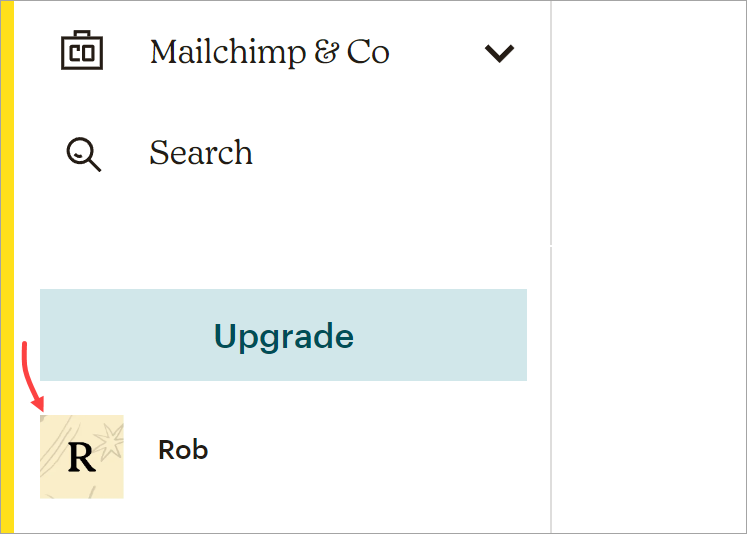
- Select Account & billing from the menu.
- Click the Extras drop-down tab and select API keys.

- Scroll down to your list of keys. If you don’t have one, click the Create A Key button.
- Copy the API key to your clipboard. (Optional: Click “Label” to name it “Funnelish” so you remember what it’s used for later).
Step 2: Connect MailChimp to Funnelish
Now that you have your key, let’s paste it into Funnelish to authorize the connection.
-
Switch back to your Funnelish dashboard.
-
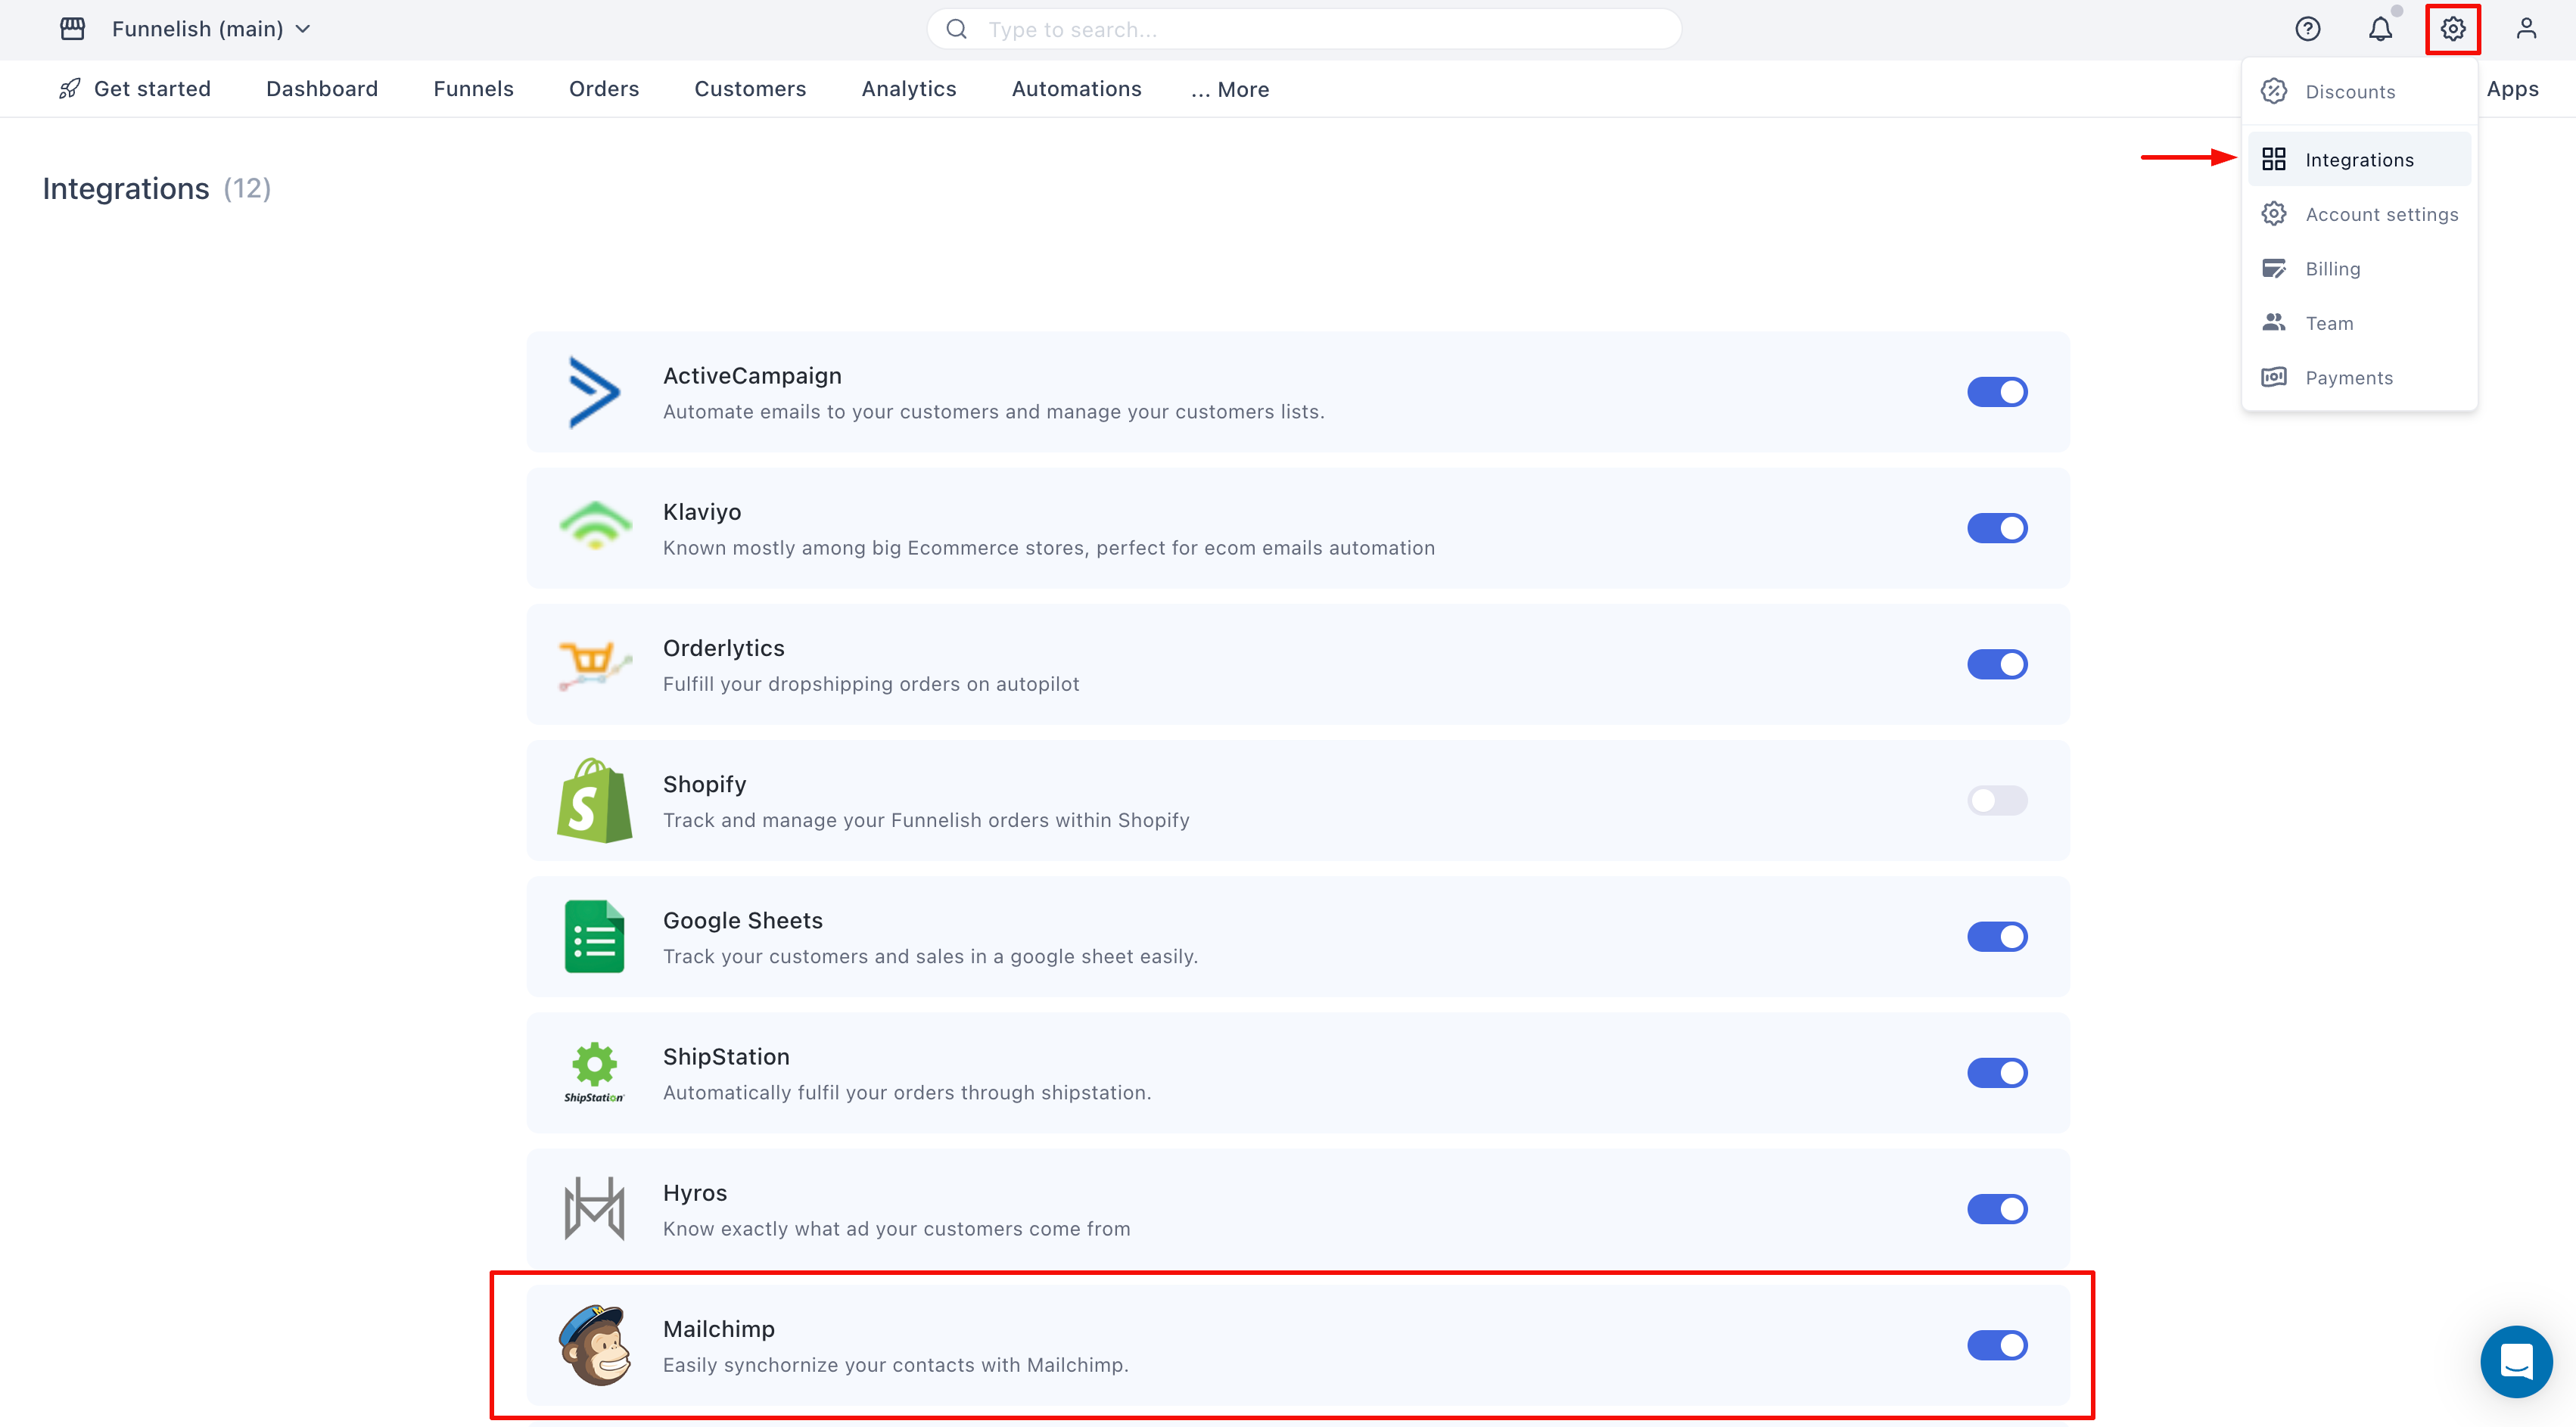
Click the Settings icon in the top right corner.
-
Select Integrations from the drop-down menu.
-
Scroll down the app list and click MailChimp.
-
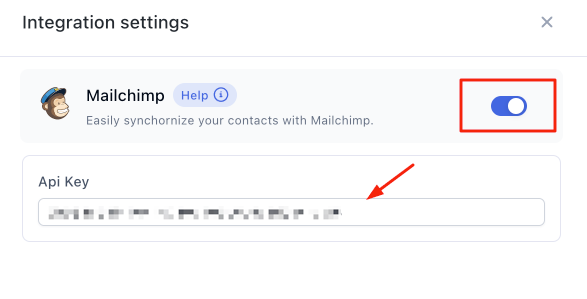
On the side panel, click the toggle switch to turn the integration On.
- Paste your copied MailChimp API key into the empty field.
- Click Save changes.
Your accounts are now linked!
Step 3: Automate Your Lists & Tags
With the integration active, you need to tell Funnelish which funnel actions should trigger an update in your MailChimp audience.
Define the Trigger
-
Open the specific funnel you want to automate.
-
Click on Automations in the left-side panel.
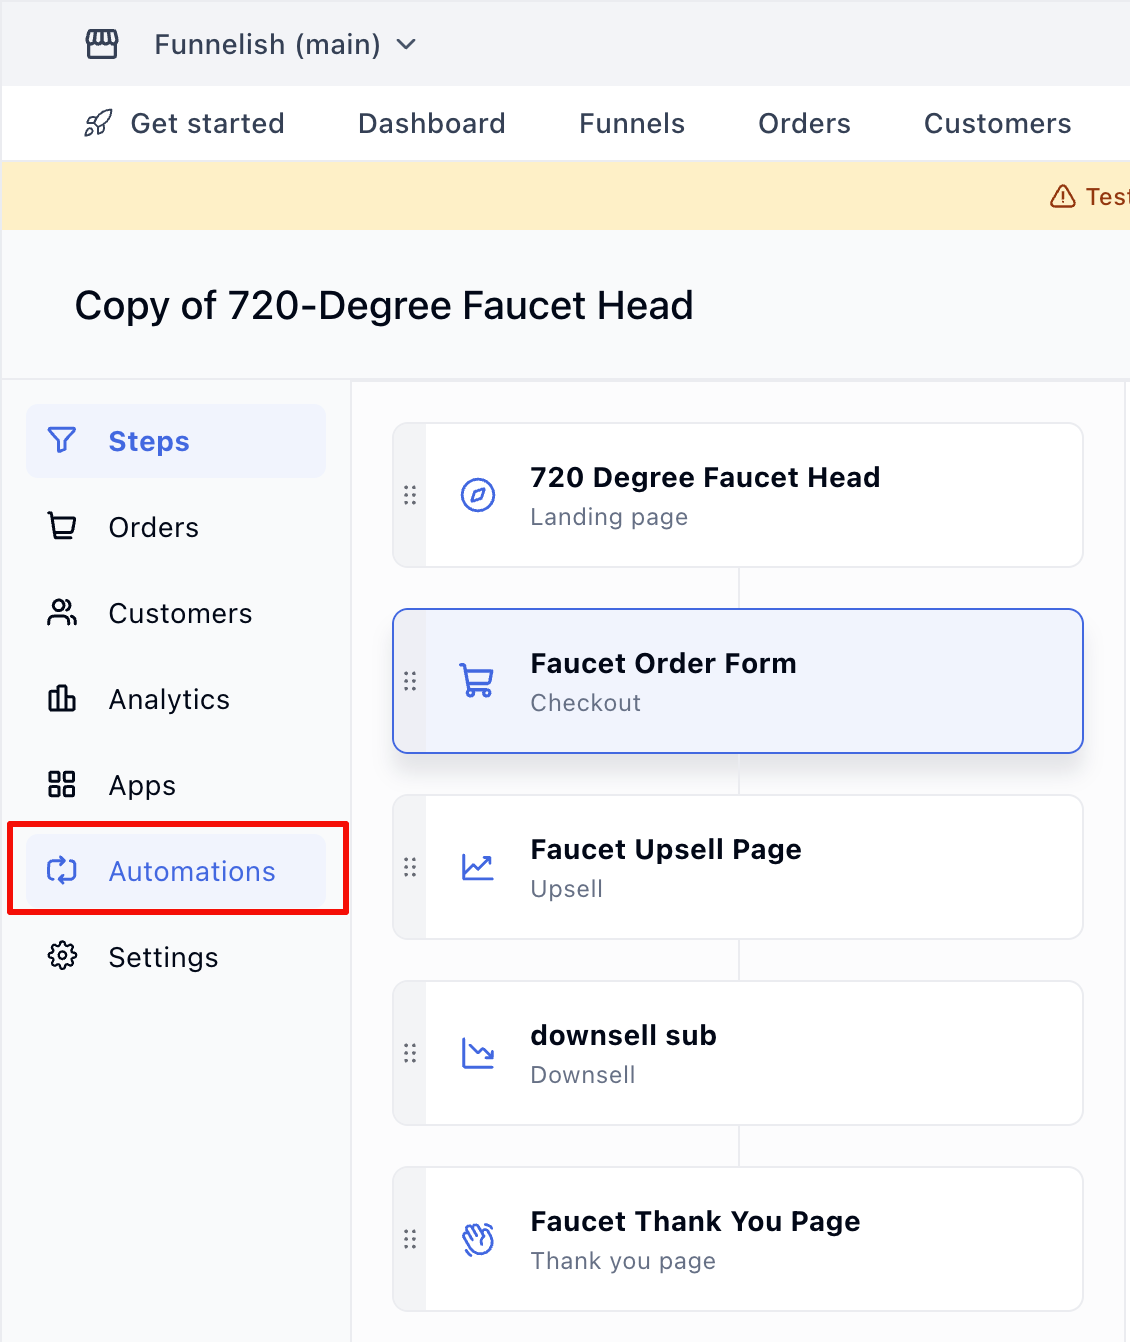
- Click Create a new automation, select Start from scratch, and hit Create.
- Click Add new trigger.
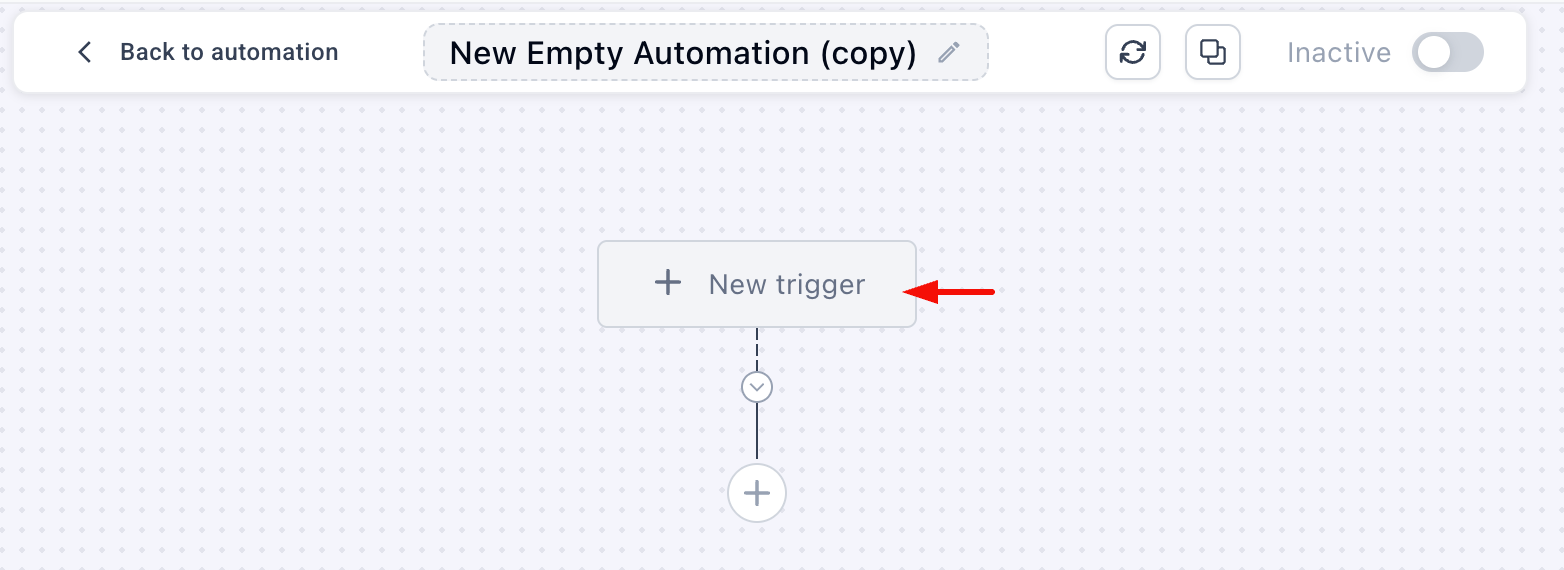
- Choose the action that will start the automation (e.g., select On Purchase to track buyers). Click Create.
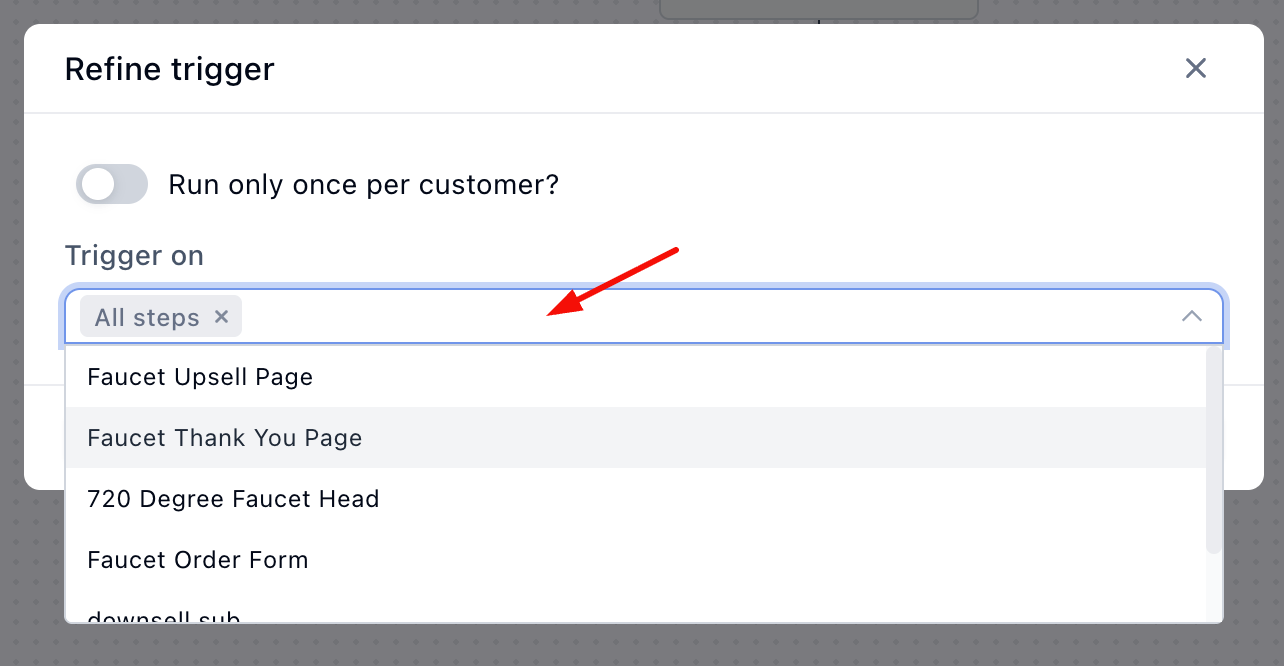
- Under the Trigger on field, select the specific funnel step(s) where this action occurs (you can leave the default “All Steps” if you want it to trigger anywhere in the funnel). Click Create.
Configure the MailChimp Action
Now, tell Funnelish what to do in MailChimp when that trigger fires.
-
Back on the canvas, click the plus (+) button below your trigger.
-
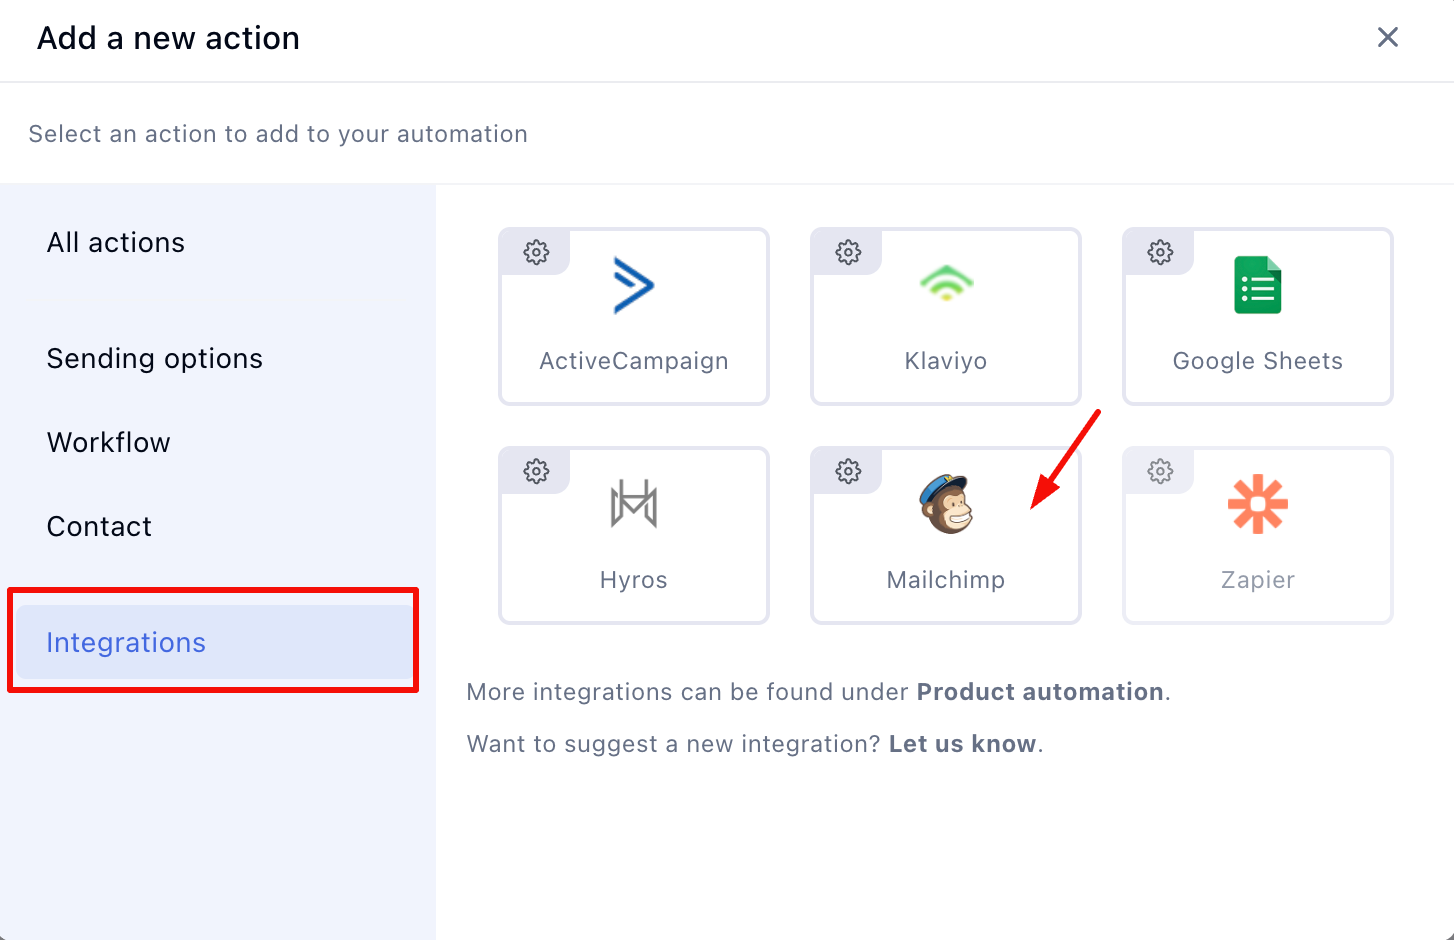
Go to Integration > MailChimp.
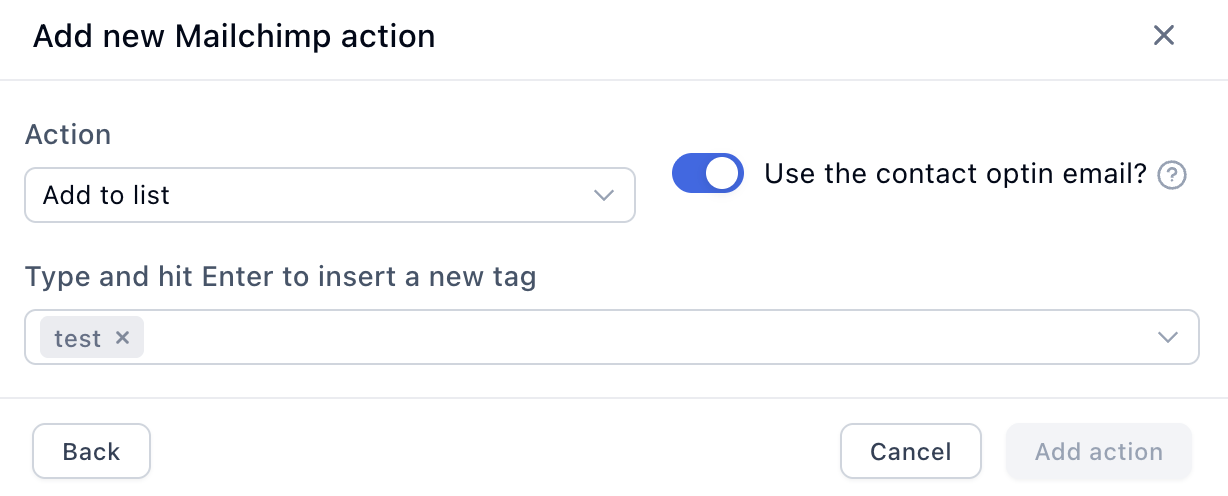
- Click the Action drop-down field and choose what you want to happen: Add to list, Remove from list, Add tag, or Remove tag.
- Click the List field and select your desired MailChimp audience list.
- (Optional) Click the Tag field to type in any specific tags you want applied to the contact.
- (Optional) Toggle on Use the customer optin email? if you want to prioritize the email they gave on your lead capture page rather than the one they used at checkout (if they happen to differ).
- Click Add Action to save.
Important: Make sure to switch the Active toggle in the top right corner of the automation canvas to turn your sequence on!
Popular Automation Ideas
Not sure what to build first? Here are a few high-converting automations our users rely on:
-
Post-Purchase Engagement: Use the
On Purchasetrigger to add buyers to a specific MailChimp list that delivers their digital downloads or a welcome email series. -
Churn Recovery: Use the
Subscription Cancelledtrigger to fire an automated “Sorry to see you go” email sequence, offering a discount if they reactivate.[2] -
Refund Follow-Ups: Use the
On Refundtrigger to tag a customer, preventing them from receiving future promotional emails for that specific product.
References & Additional Resources
- Learn more about MailChimp Audiences & Segmentation.[3]
- For advanced tracking, explore our guide on setting up Funnels Tracking & Pixels.