Once you are ready to move your funnel out of the testing phase and start driving live traffic, you need to connect a custom domain. Funnelish makes this process incredibly straightforward, but first, you need to decide how you want to structure your web address.
Below is a complete guide on the differences between a Root Domain and a Custom Subdomain, and exactly how to connect them via your DNS settings.
 Root/Main Domain vs. Custom Subdomain: Which Do You Need?
When setting up your funnel, you have two choices for your custom URL: a Root/Main Domain or a Custom Subdomain.
-
The Root/ Main Domain (e.g.,
sampledomain.com): This is the base level of your domain.- When to use it: Choose this if you purchased the domain exclusively for your Funnelish funnels and no other website (like an external blog or store) is using it.
-
The Custom Subdomain (e.g.,
shop.sampledomain.comorwww.sampledomain.com): This is an extension of your root domain.- When to use it: Choose this if your main root domain is already pointing to an existing website (like a Shopify storefront or WordPress blog). It allows your funnel to live alongside your main site without interrupting it.
 How to Connect Your Chosen Domain
Depending on your choice above, you will use different DNS records to point your domain to Funnelish.
Option 1: Connecting a Root/ Main Domain
If you are using the Root Domain, you must create an A Record pointing to a specific IP address.
-
Log into your domain host’s DNS settings (GoDaddy, Namecheap, Cloudflare, etc.).
-
Create or edit an A record.
-
In the Name (or Host) field, type the
@symbol. -
In the Points to / Value field, paste the Funnelish IP address:
151.101.2.184.See example below:

Option 2: Connecting a Custom Subdomain
If you are using a Custom Subdomain (like shop or www), you must create a CNAME Record.
-
Log into your domain host’s DNS settings.
-
Create or edit a CNAME record.
-
In the Name (or Host) field, add your subdomain prefix (e.g.,
shop,checkout,www). -
In the Points to / Value field, paste:
domains.funnelish.com.For example, if I want my subdomain to be
book.mycompany.comthis is how it would be:

How to add the domain to Funnelish
Once you set up your main domain or subdomain for Funnelish, open the funnel where you want to connect it to and follow these steps:
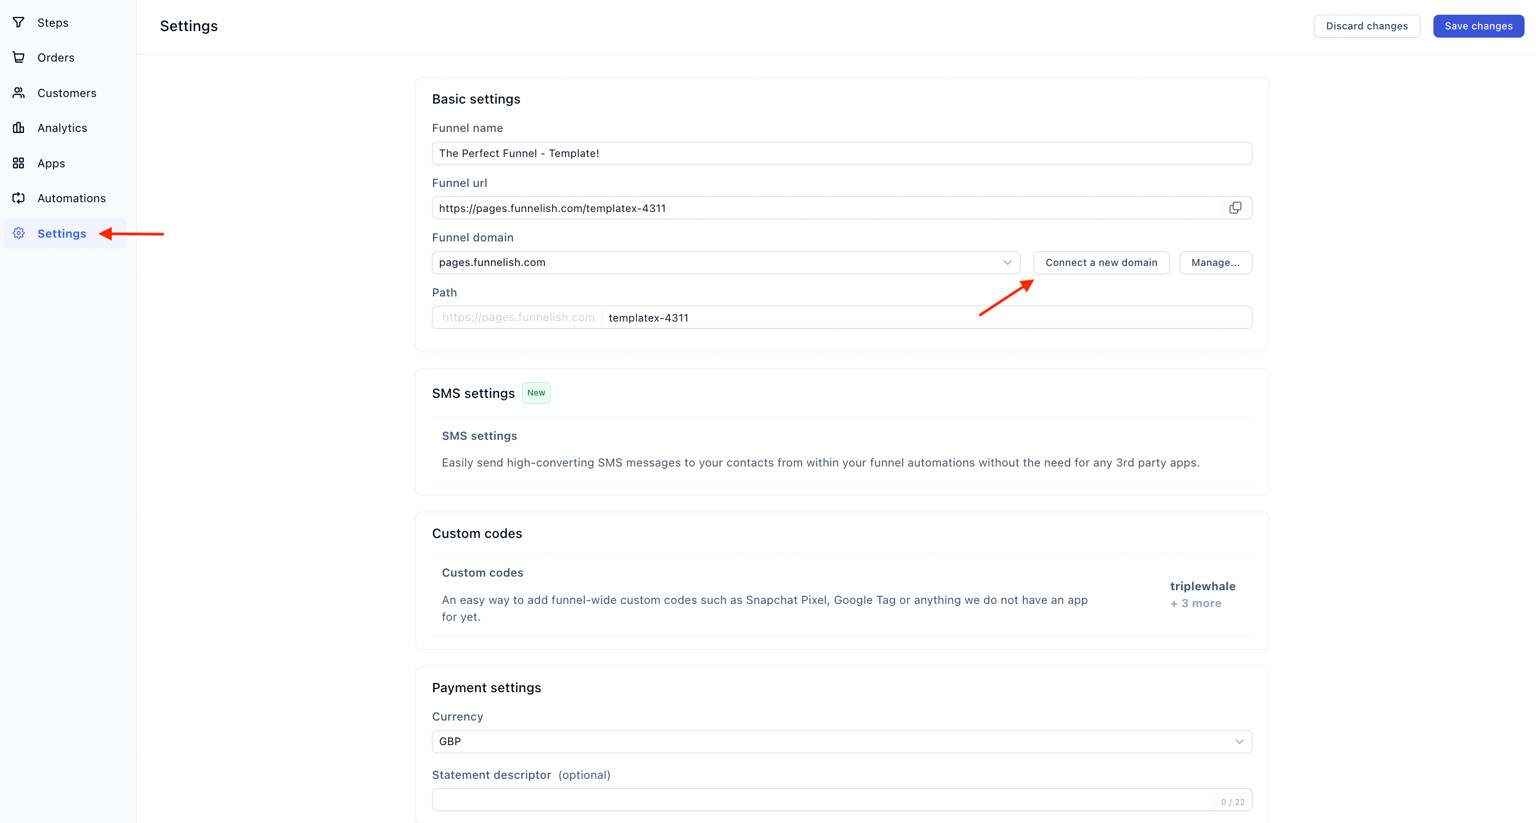
- Go to Funnel Settings > Connect a new domain
If you have connected the subdomain, then make sure to write it down as it is (e.g., go.mydomain.com)
- Click Connect and Verify.
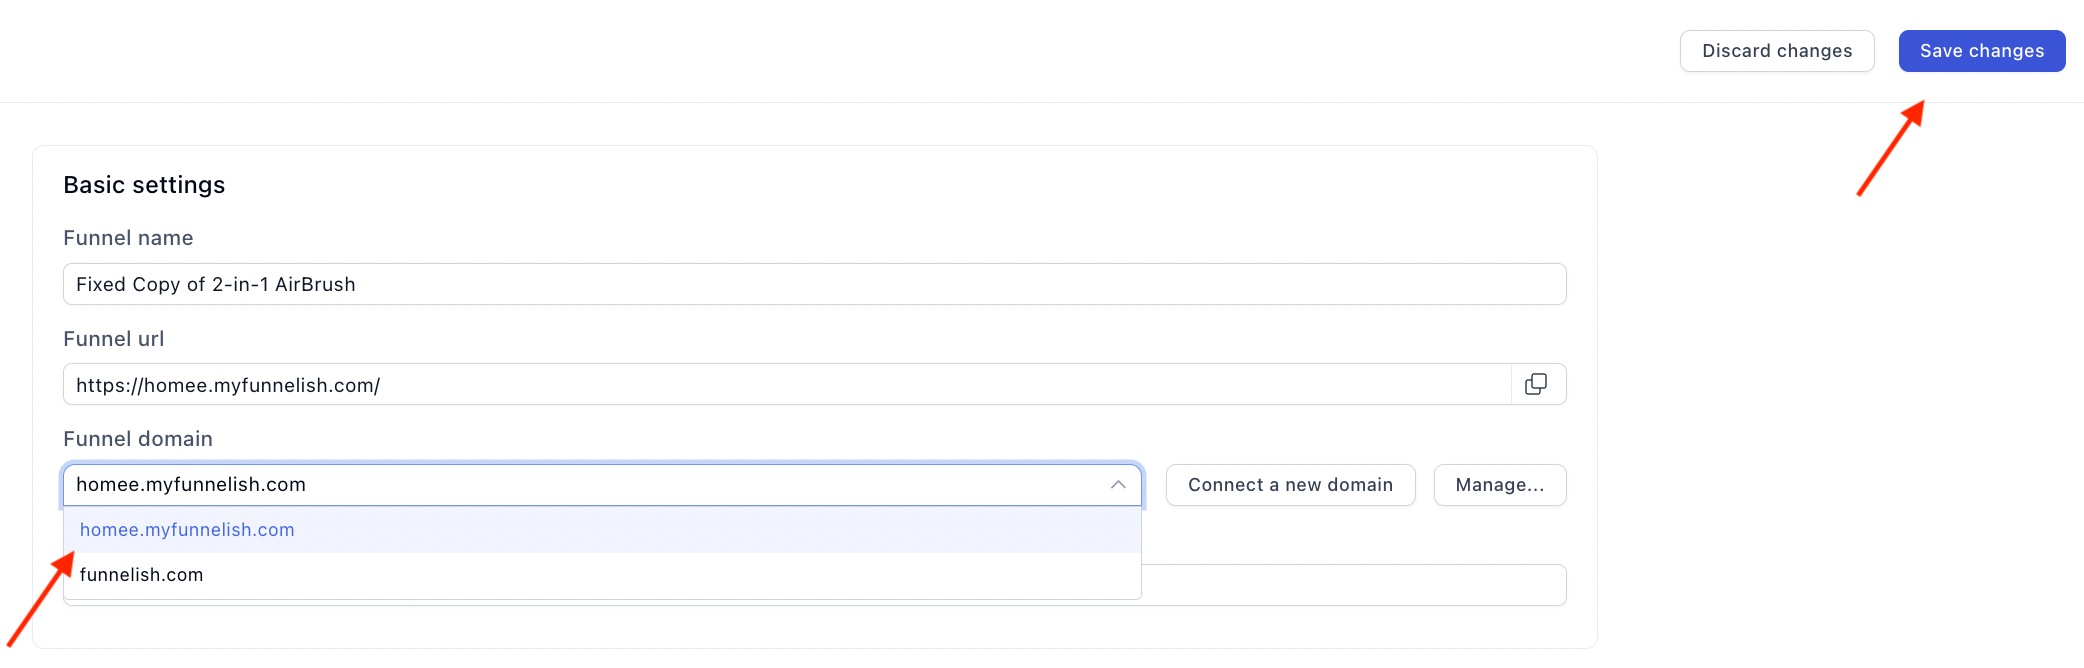
- Once verified, select the newly connected domain/subdomain from the Domain dropdown and click Save changes.
 Included SSL (HTTPS)
While on a paid plan, Funnelish automatically generates an SSL certificate for any newly connected domain to keep your checkout secure. This usually takes about 5 minutes after your DNS records propagate.
 Details to Keep in Mind
- Page shows not secure: Once you connected your custom domain and verified it in Funnelish, give it a few minutes while the SSL certificate applies
- Can’t verify domain: If you’re unable to verify your domain, this usually means that the DNS changes haven’t propagated yet, keep in mind that in some cases it can take up to 48hs
 SEO & Domain Best Practices
Structuring your domains correctly is a vital part of your Search Engine Optimization (SEO) and Conversion Rate Optimization (CRO).
-
User Journey Consistency: If your main e-commerce store is
mybrand.com, using a custom subdomain likecheckout.mybrand.comfor your funnel keeps the user journey seamless. Sudden, completely different URL changes confuse visitors, leading to higher bounce rates (a negative SEO signal). -
Consolidated Authority: Using a custom subdomain connected to your main root domain helps pool your brand’s search authority, making it easier for search engines to understand the relationship between your main site and your funnels.
Having Issues?
If you’ve followed the steps but you run into any issues, drop a comment below and we’ll be happy to review everything with you and help identify the exact cause.
You can also reach us directly at [email protected] or simply click the chat bubble inside your Funnelish dashboard. We’re always happy to help ![]()