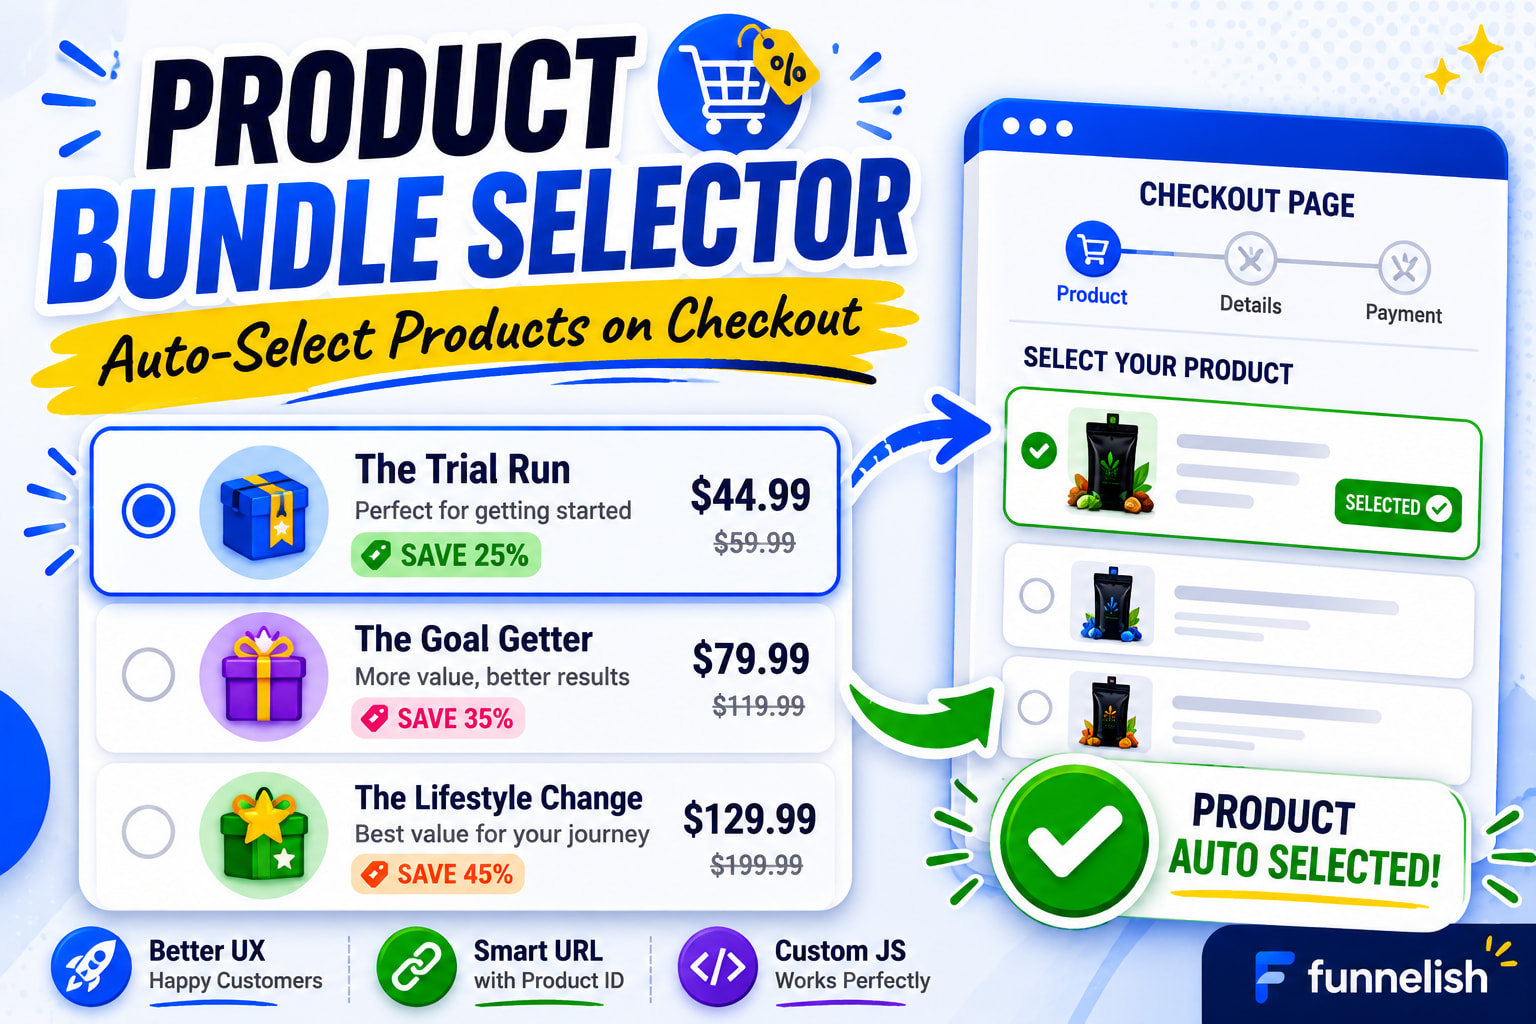
In this tutorial, we will create a product bundle selector that lets visitors choose a package on your landing page and automatically select the correct product on the checkout page.
No manual selection required.
The visitor simply:
- Selects a package
- Clicks the CTA button
- Lands on the checkout page with the correct product already selected
 What Are We Building?
We are creating a package selector with options like:
- The Trial Run
- The Goal Getter
- The Lifestyle Change
When someone selects a package and clicks your CTA button, Funnelish will automatically pre-select the correct product on the checkout page.
 Before You Start
You will need:
- A Funnelish Landing Page or Product Page
- A Funnelish Checkout Page
- At least 2 products created in your checkout step
- Access to the Funnelish Editor
- Basic understanding of adding elements and interactions
Step 1: Get Your Product IDs
Why Are We Doing This?
Every product in Funnelish has a unique Product ID.
Think of it like a product’s fingerprint.
We will use the Product ID to tell Funnelish which product should be selected when a visitor clicks a package.
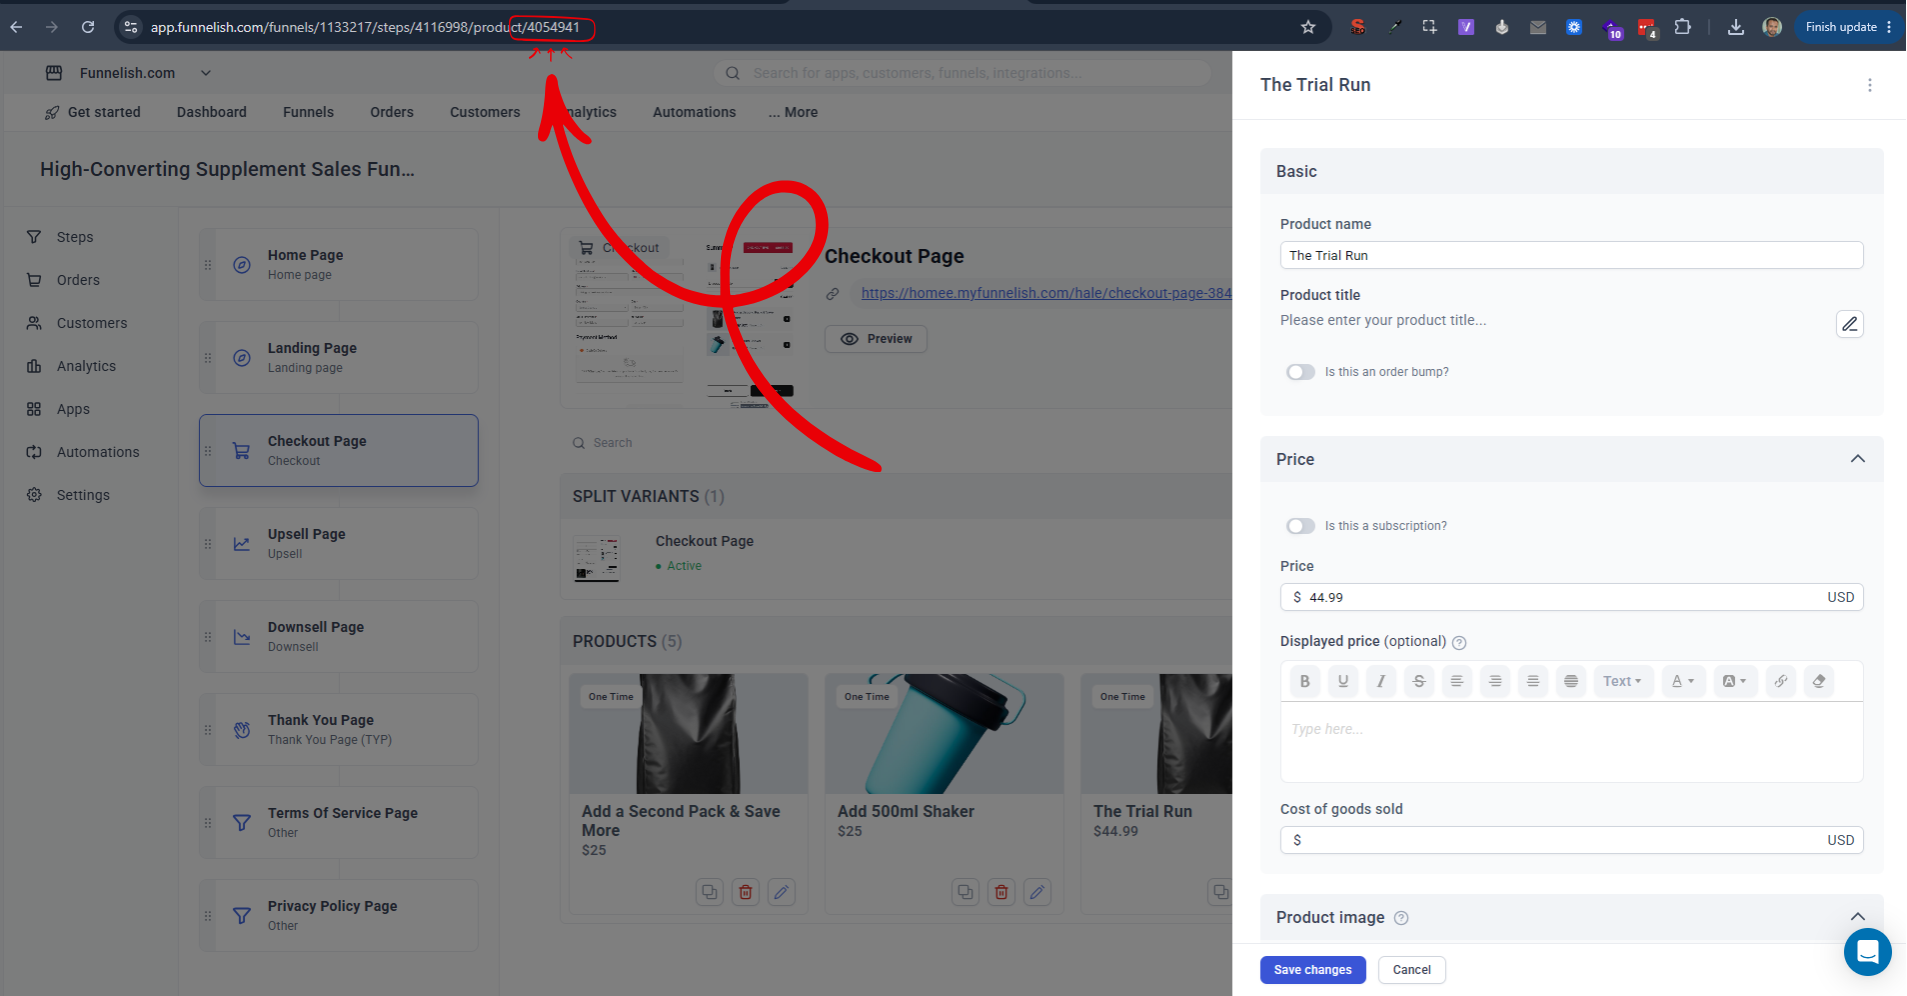
What To Do
Open your Checkout Step.
In our example, we have:
- The Trial Run
- The Goal Getter
- The Lifestyle Change
Click one of the products.
A settings panel will appear on the right side.
Now look at your browser URL.
Example:
https://app.funnelish.com/funnels/1133217/steps/4116998/product/4054941
The last number:
4054941
is the Product ID.
Write down the Product ID for each package.
Expected Result
You should now have:
![]() Product ID for Package #1
Product ID for Package #1
![]() Product ID for Package #2
Product ID for Package #2
![]() Product ID for Package #3
Product ID for Package #3
Step 2: Create the Package Selector Layout
Why Are We Doing This?
We need a visual area where visitors can choose their preferred package.
What To Do
Open your Landing Page in the Funnelish editor.
Add a Container.
Inside the Container create 4 boxes:
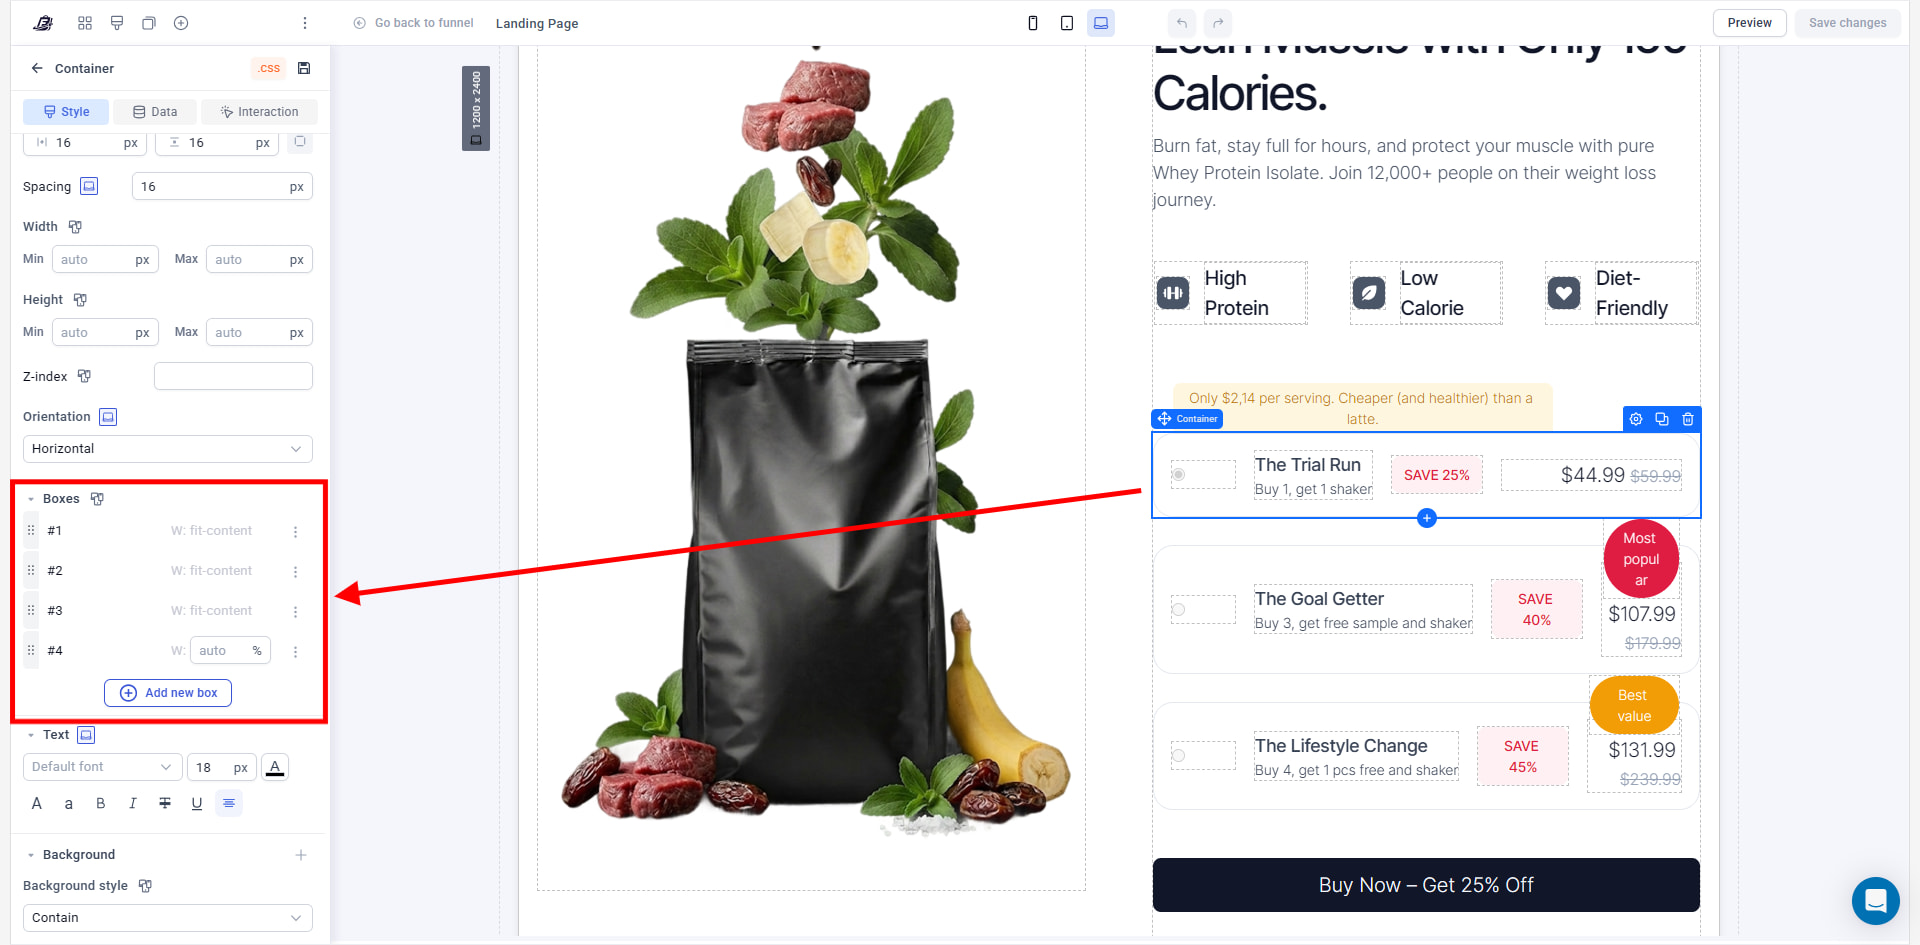
Box 1
Radio Input
Box 2
Package Name + Description
Example:
The Trial Run
Buy 1, get 1 free sample and shaker
Box 3
Saving Badge
Example:
SAVE 25%
Box 4
Price
Example:
$44.99
Now create a new Container State called:
SELECTED
For this state:
- Change the border color
- Add a shadow
- Make the selected package stand out visually
Expected Result
Visitors should clearly see which package is selected.
Step 3: Connect the First Package to a Product
Why Are We Doing This?
The radio input needs to know which product it belongs to.
What To Do
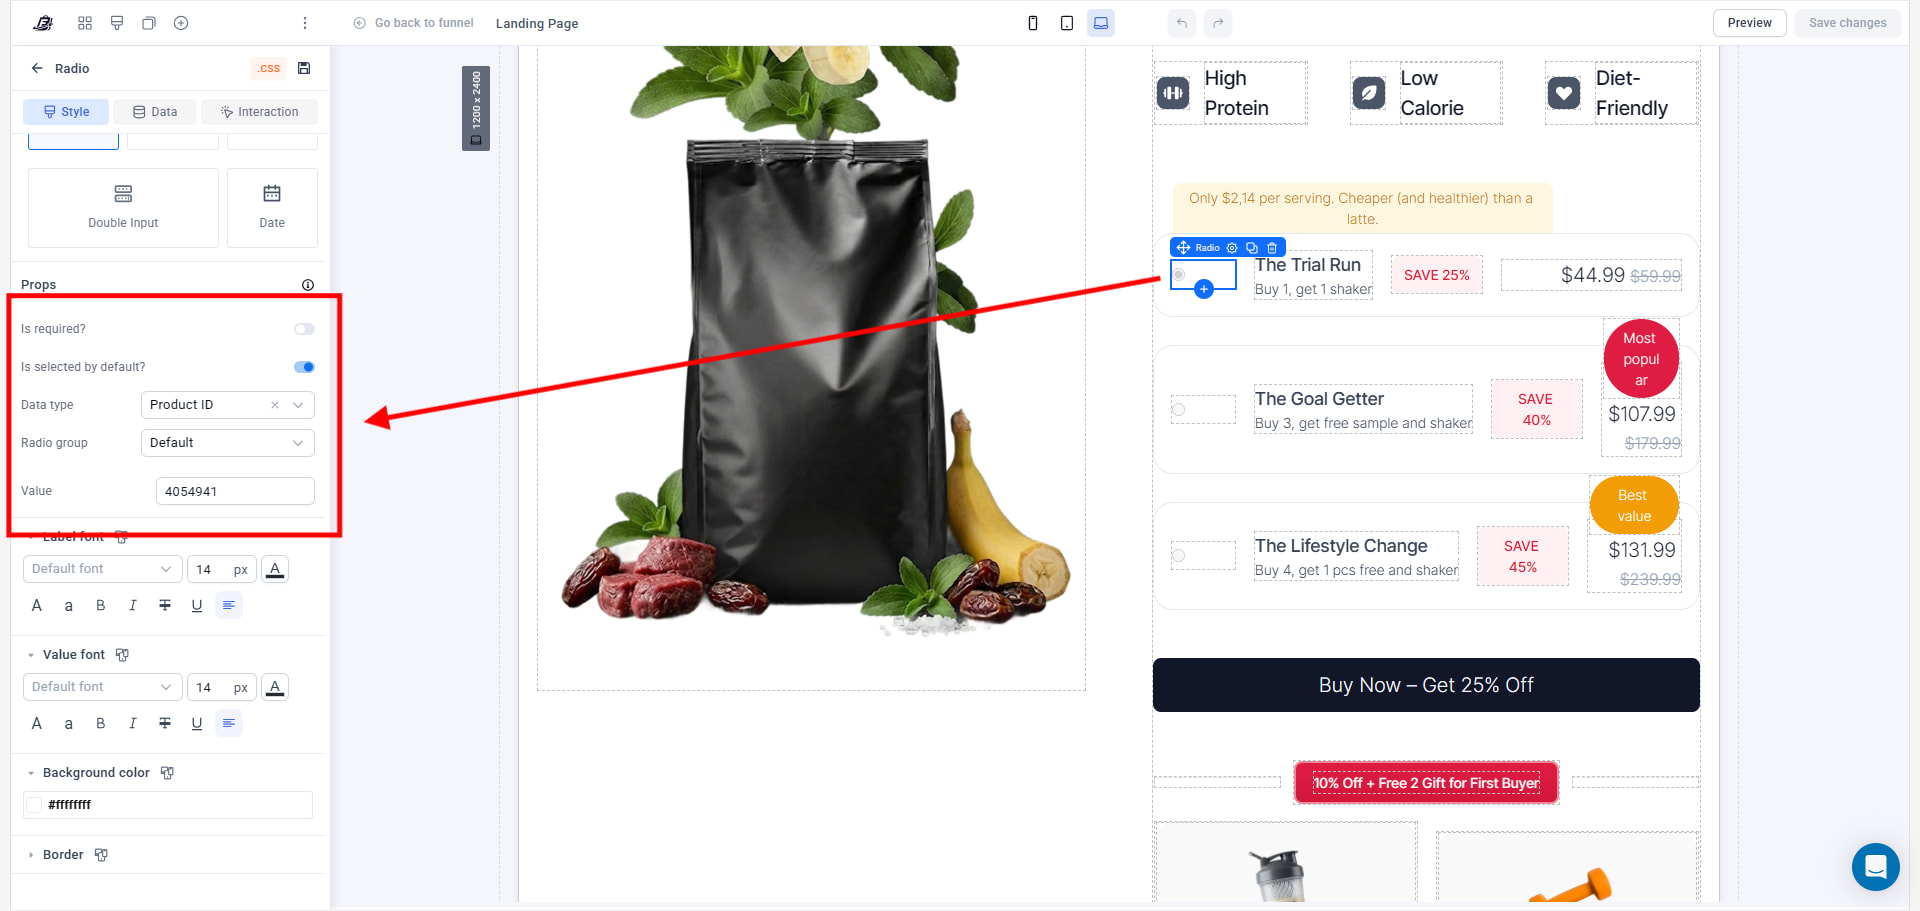
Select the Radio Input.
Enable:
Is selected by default?
We want the first package selected when the page loads.
Next:
Change Data Type to:
Product ID
Paste your Product ID into the Value field.
Example:
4054941
Step 4: Duplicate the Remaining Packages
Why Are We Doing This?
Instead of rebuilding everything from scratch, we can duplicate the first package.
What To Do
Duplicate the Container two times.
For each duplicate:
- Change package name
- Change description
- Change saving badge
- Change price
- Change Product ID
Also turn OFF:
Is selected by default?
for all other packages.
Expected Result
You should now have all package options displayed.
![]() Important
Important
Every package must use its own Product ID.
If multiple packages use the same Product ID, they will all select the same product.
Step 5: Create the CTA Button
Why Are We Doing This?
When visitors click the button, we want to send the selected Product ID to the checkout page.
What To Do
Add a CTA button.
Example:
Buy Now – Get 25% Off
Give the button an ID:
ctaBtn
Add an interaction that goes to your checkout page.
Then modify the URL like this:
https://yourcheckouturl.com?productID=4054941
What Does productID Mean?
This is a URL parameter.
It tells the checkout page:
“Please select Product 4054941 automatically.”
Step 6: Add JavaScript to Each Package
Why Are We Doing This?
This code does two things:
- Selects the package
- Updates the CTA button URL with the correct Product ID
Don’t worry if you don’t understand JavaScript.
Just replace the Product ID with your own Product ID.
What To Do
Select the first package container.
Add a:
Run Javascript
interaction.
Use:
document.querySelector('input[type="radio"][value="4054941"]').checked = true;

document.querySelectorAll('#ctaBtn').forEach(function(btn) {
    var url = new URL(btn.href);

    url.searchParams.set('productID', '4054941');

    btn.href = url.toString();
});
Replace:
4054941
with the Product ID of that package.
Step 7: Add the Checkout Script
Why Are We Doing This?
The landing page sends the Product ID.
Now we need the checkout page to read that Product ID and automatically select the correct product.
What To Do
Open your Checkout Step.
Add a Custom HTML element below the Product List.
Paste:
<script>
window.addEventListener("load", function () {
const params = new URLSearchParams(window.location.search);
const productId = params.get("productID");

if (!productId) return;

const interval = setInterval(() => {

const radio = document.querySelector(
`input[type="radio"][name="product-id"][value="${productId}"]`
);

if (radio) {

radio.checked = true;

const productList = radio.closest(".pl-item");

if (productList) {
productList.click();
}

radio.dispatchEvent(
new Event("change", { bubbles: true })
);

clearInterval(interval);
}

}, 300);

});
</script>
 Final Result
You now have:
![]() Product Bundle Selector
Product Bundle Selector
![]() Dynamic CTA Button
Dynamic CTA Button
![]() Product Auto Selection
Product Auto Selection
![]() Better User Experience
Better User Experience
![]() Faster Checkout Flow
Faster Checkout Flow
Visitors can choose a package on your landing page and arrive at checkout with the correct product already selected.
Troubleshooting
Product isn’t selected on checkout?
Check:
- Product ID is correct
- URL contains
?productID=XXXX - Checkout script is added correctly
- Product still exists in the checkout step
CTA button isn’t updating?
Check:
- Button ID is exactly:
ctaBtn
- JavaScript is added to the package interaction
- Product IDs match the package
That’s it! ![]()
This approach works great for supplements, cosmetics, digital products, coaching offers, course bundles, and almost any Funnelish project where you want visitors to choose a package before reaching checkout.