Alright guys, we need to talk about the “evergreen 15-minute timer.”
You know exactly what I’m talking about. You click a Meta ad, land on a random store, and a massive, flashing red banner is screaming at you: “50% OFF EXPIRES IN 14 MINUTES AND 59 SECONDS!”
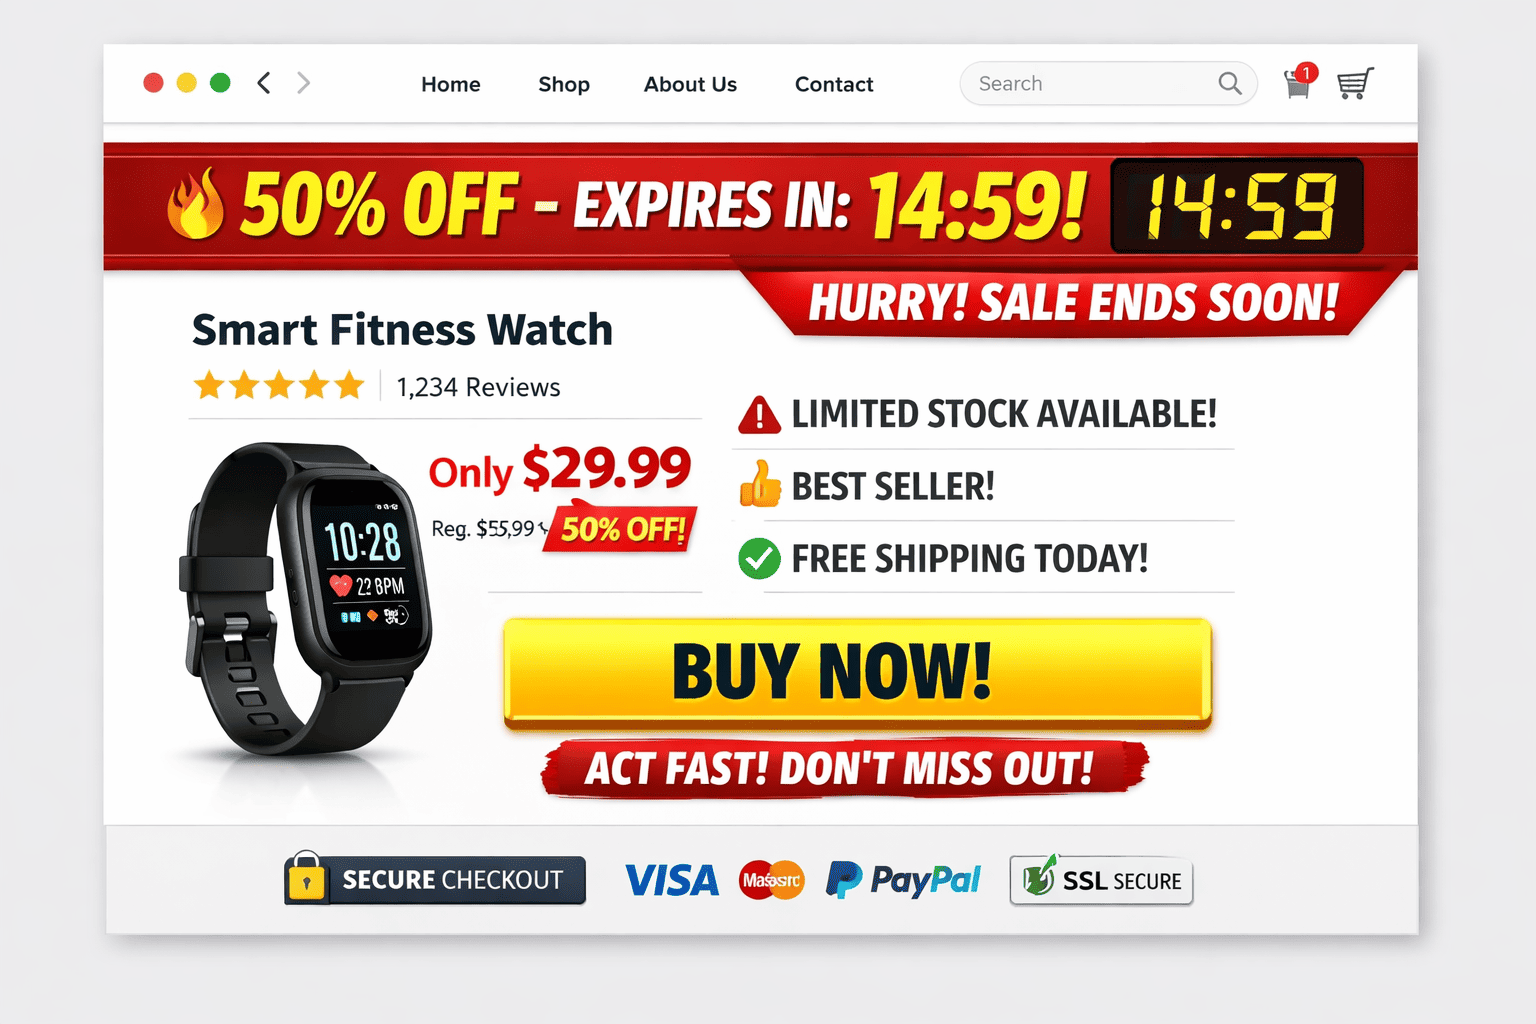
But if you accidentally refresh the page? The timer magically resets back to 14:59. ![]()
Let’s be real. Five years ago, this printed money in the dropshipping space. Today? It actively destroys your conversion rate. Modern buyers are highly educated. The moment they spot a fake timer, your brand loses all credibility.
Here is why fake scarcity is dead, and how to actually implement urgency that works.
 Why Fake Scarcity is Killing Your Store
-
Trust goes to zero: If a customer catches you lying about a countdown timer, they will immediately assume you’re also lying about your shipping times, your product quality, and your refund policy. They bounce.
-
Banner blindness: Because so many low-effort stores abused this, consumers have developed mental filters. They literally don’t even “see” the timer anymore. It’s just annoying clutter.
-
You will get banned: This is the big one. Under new FTC and EU regulations, deceptive “Dark Patterns” can get you heavily fined. More importantly, payment processors like Stripe and PayPal regularly audit sites. Fake scarcity is a fast track to getting your merchant account frozen.
 3 Ways to Use Authentic Urgency (That Actually Converts)
If you want to force an immediate buying decision without treating your customers like fools, use these three proven methods instead.
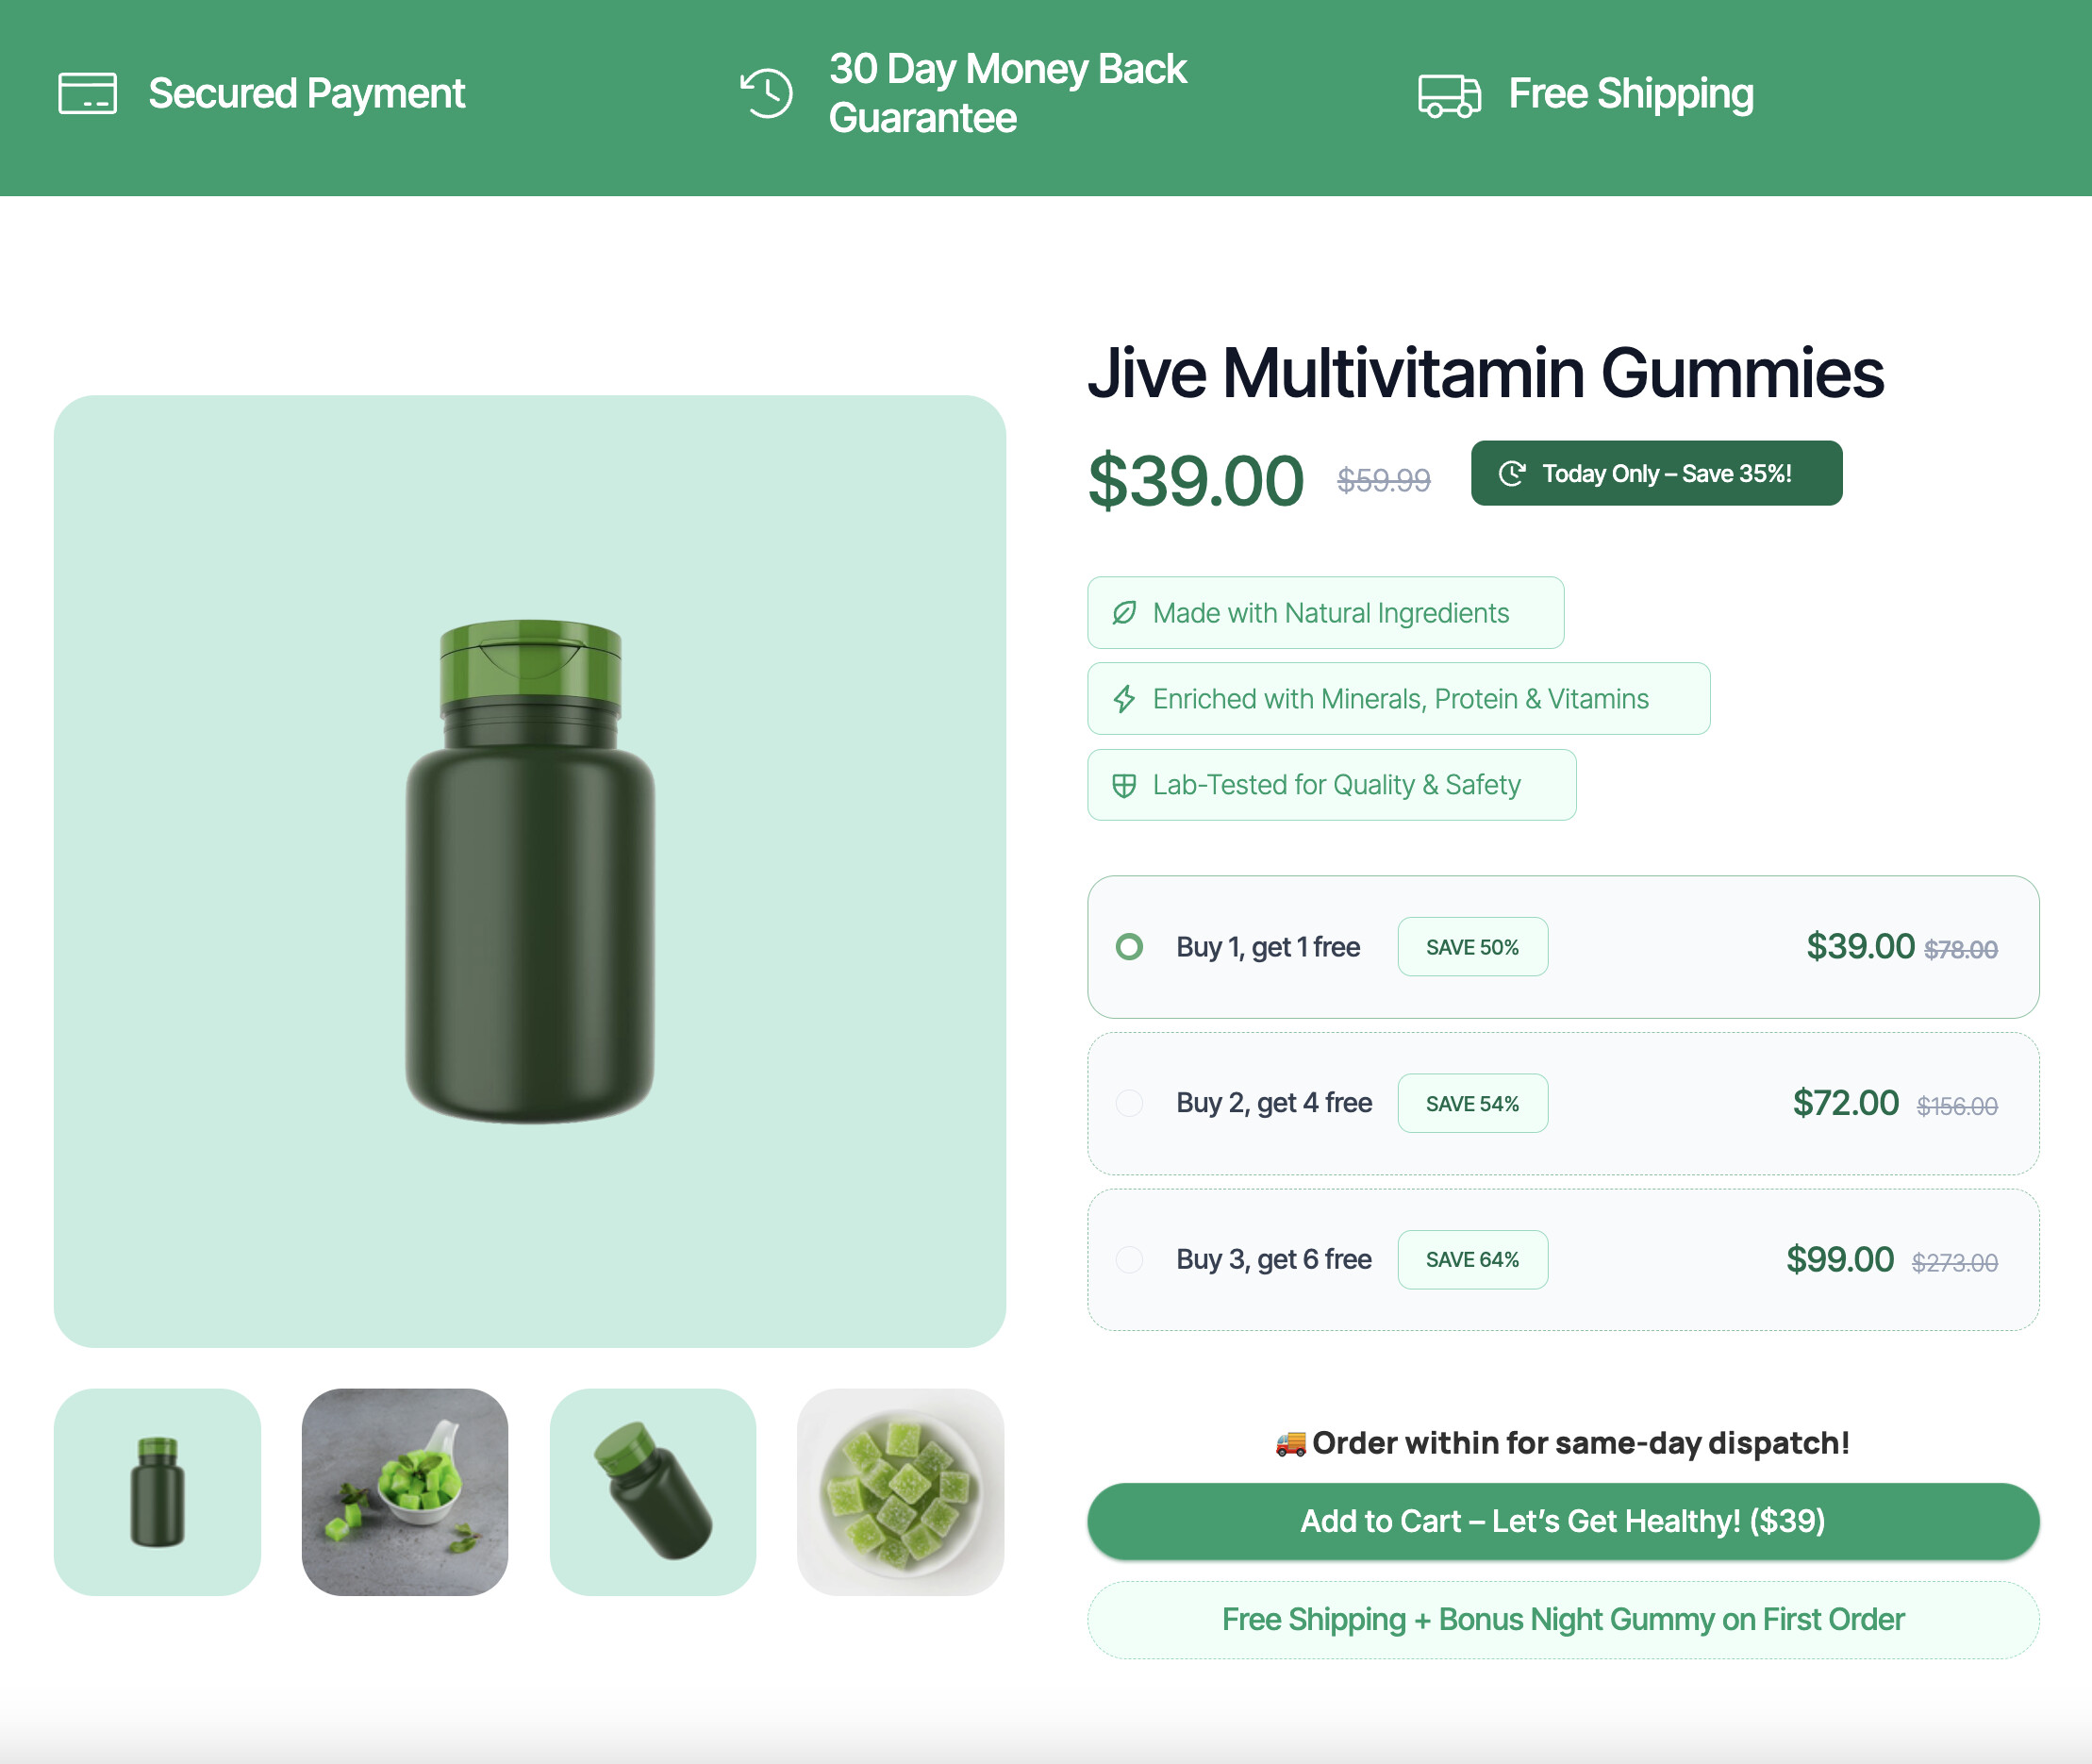
1. The “Next-Day Dispatch” Cut-Off 
Instead of putting a fake timer on a discount, put a real timer on fulfillment speed. Amazon trained everyone to expect this, and it works flawlessly for ecommerce.
Example:![]()
-
The Copy: “Order within for same-day dispatch!”
-
Why it works: It’s a real, tangible deadline based on your warehouse cut-off times. It gives the buyer massive value (faster shipping) and a legitimate reason to buy right now.
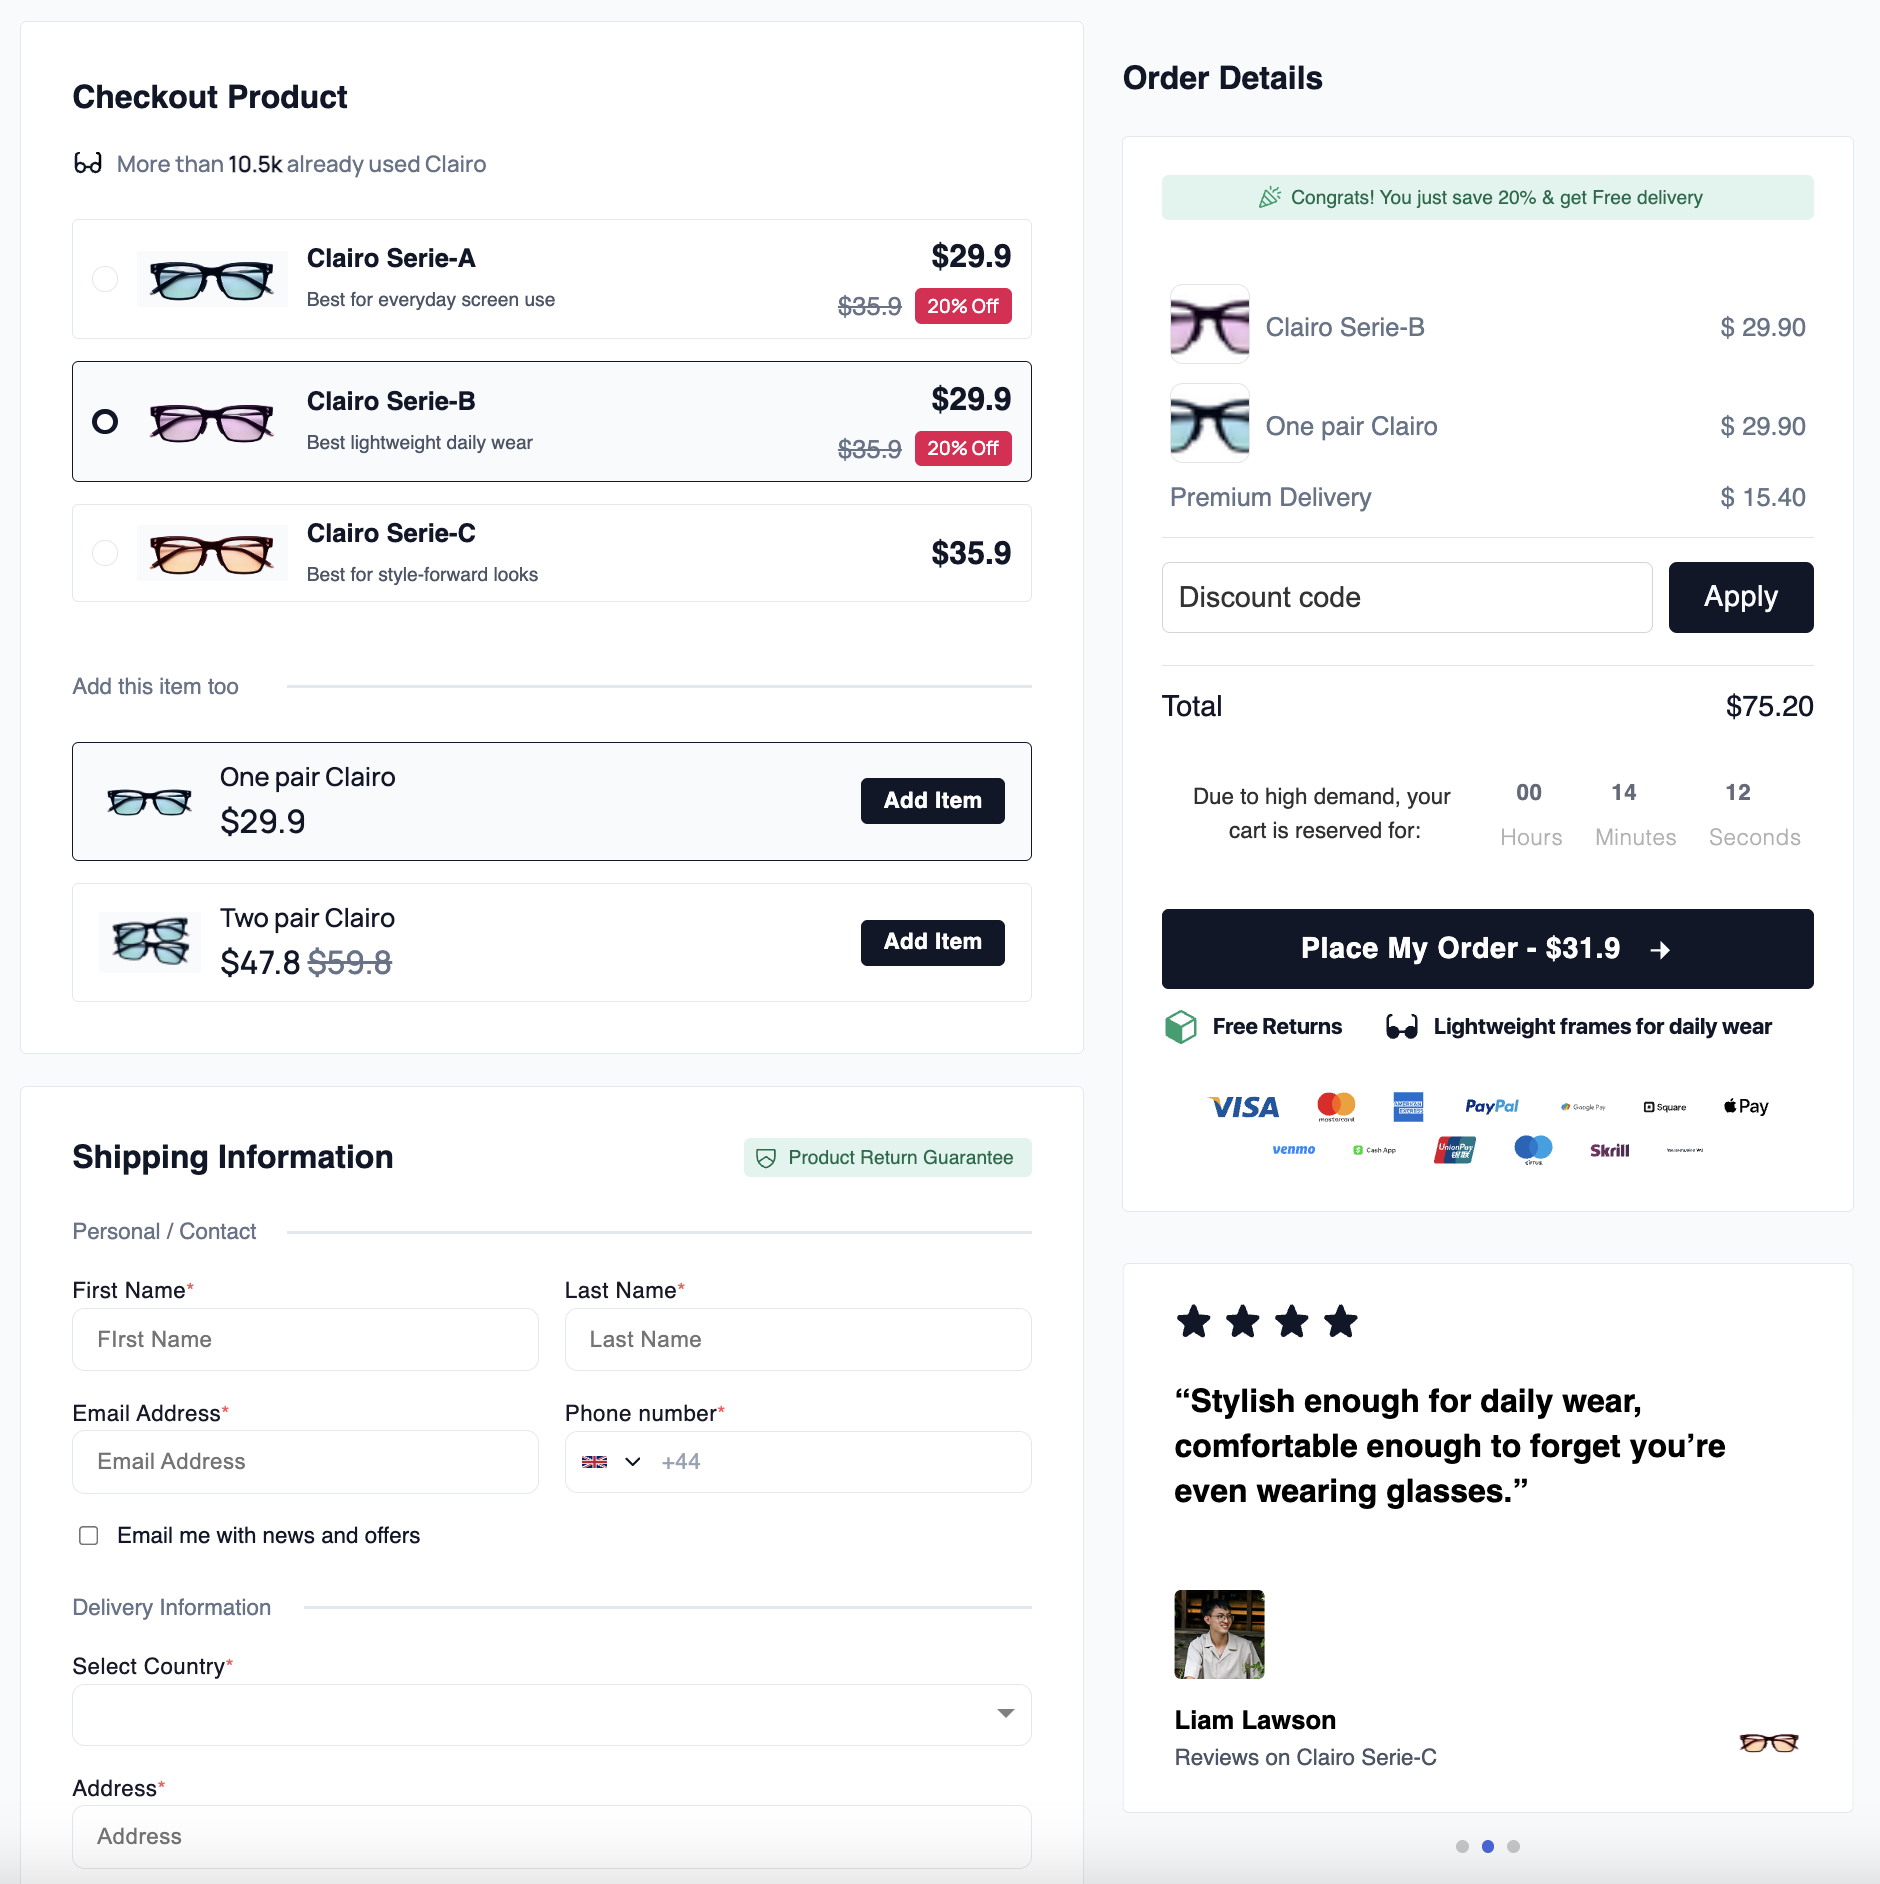
2. The “Reserved Cart” Timer 
This is one of the only acceptable uses of a short-term countdown, and it should only live in your checkout step.
Example:![]()
-
The Copy: “Due to high demand, your cart is reserved for.”
-
Why it works: Ticketing sites like Ticketmaster trained consumers that inventory can only be held for so long before it’s released to the next person. It validates that the product is popular while nudging them to finish typing in their credit card.
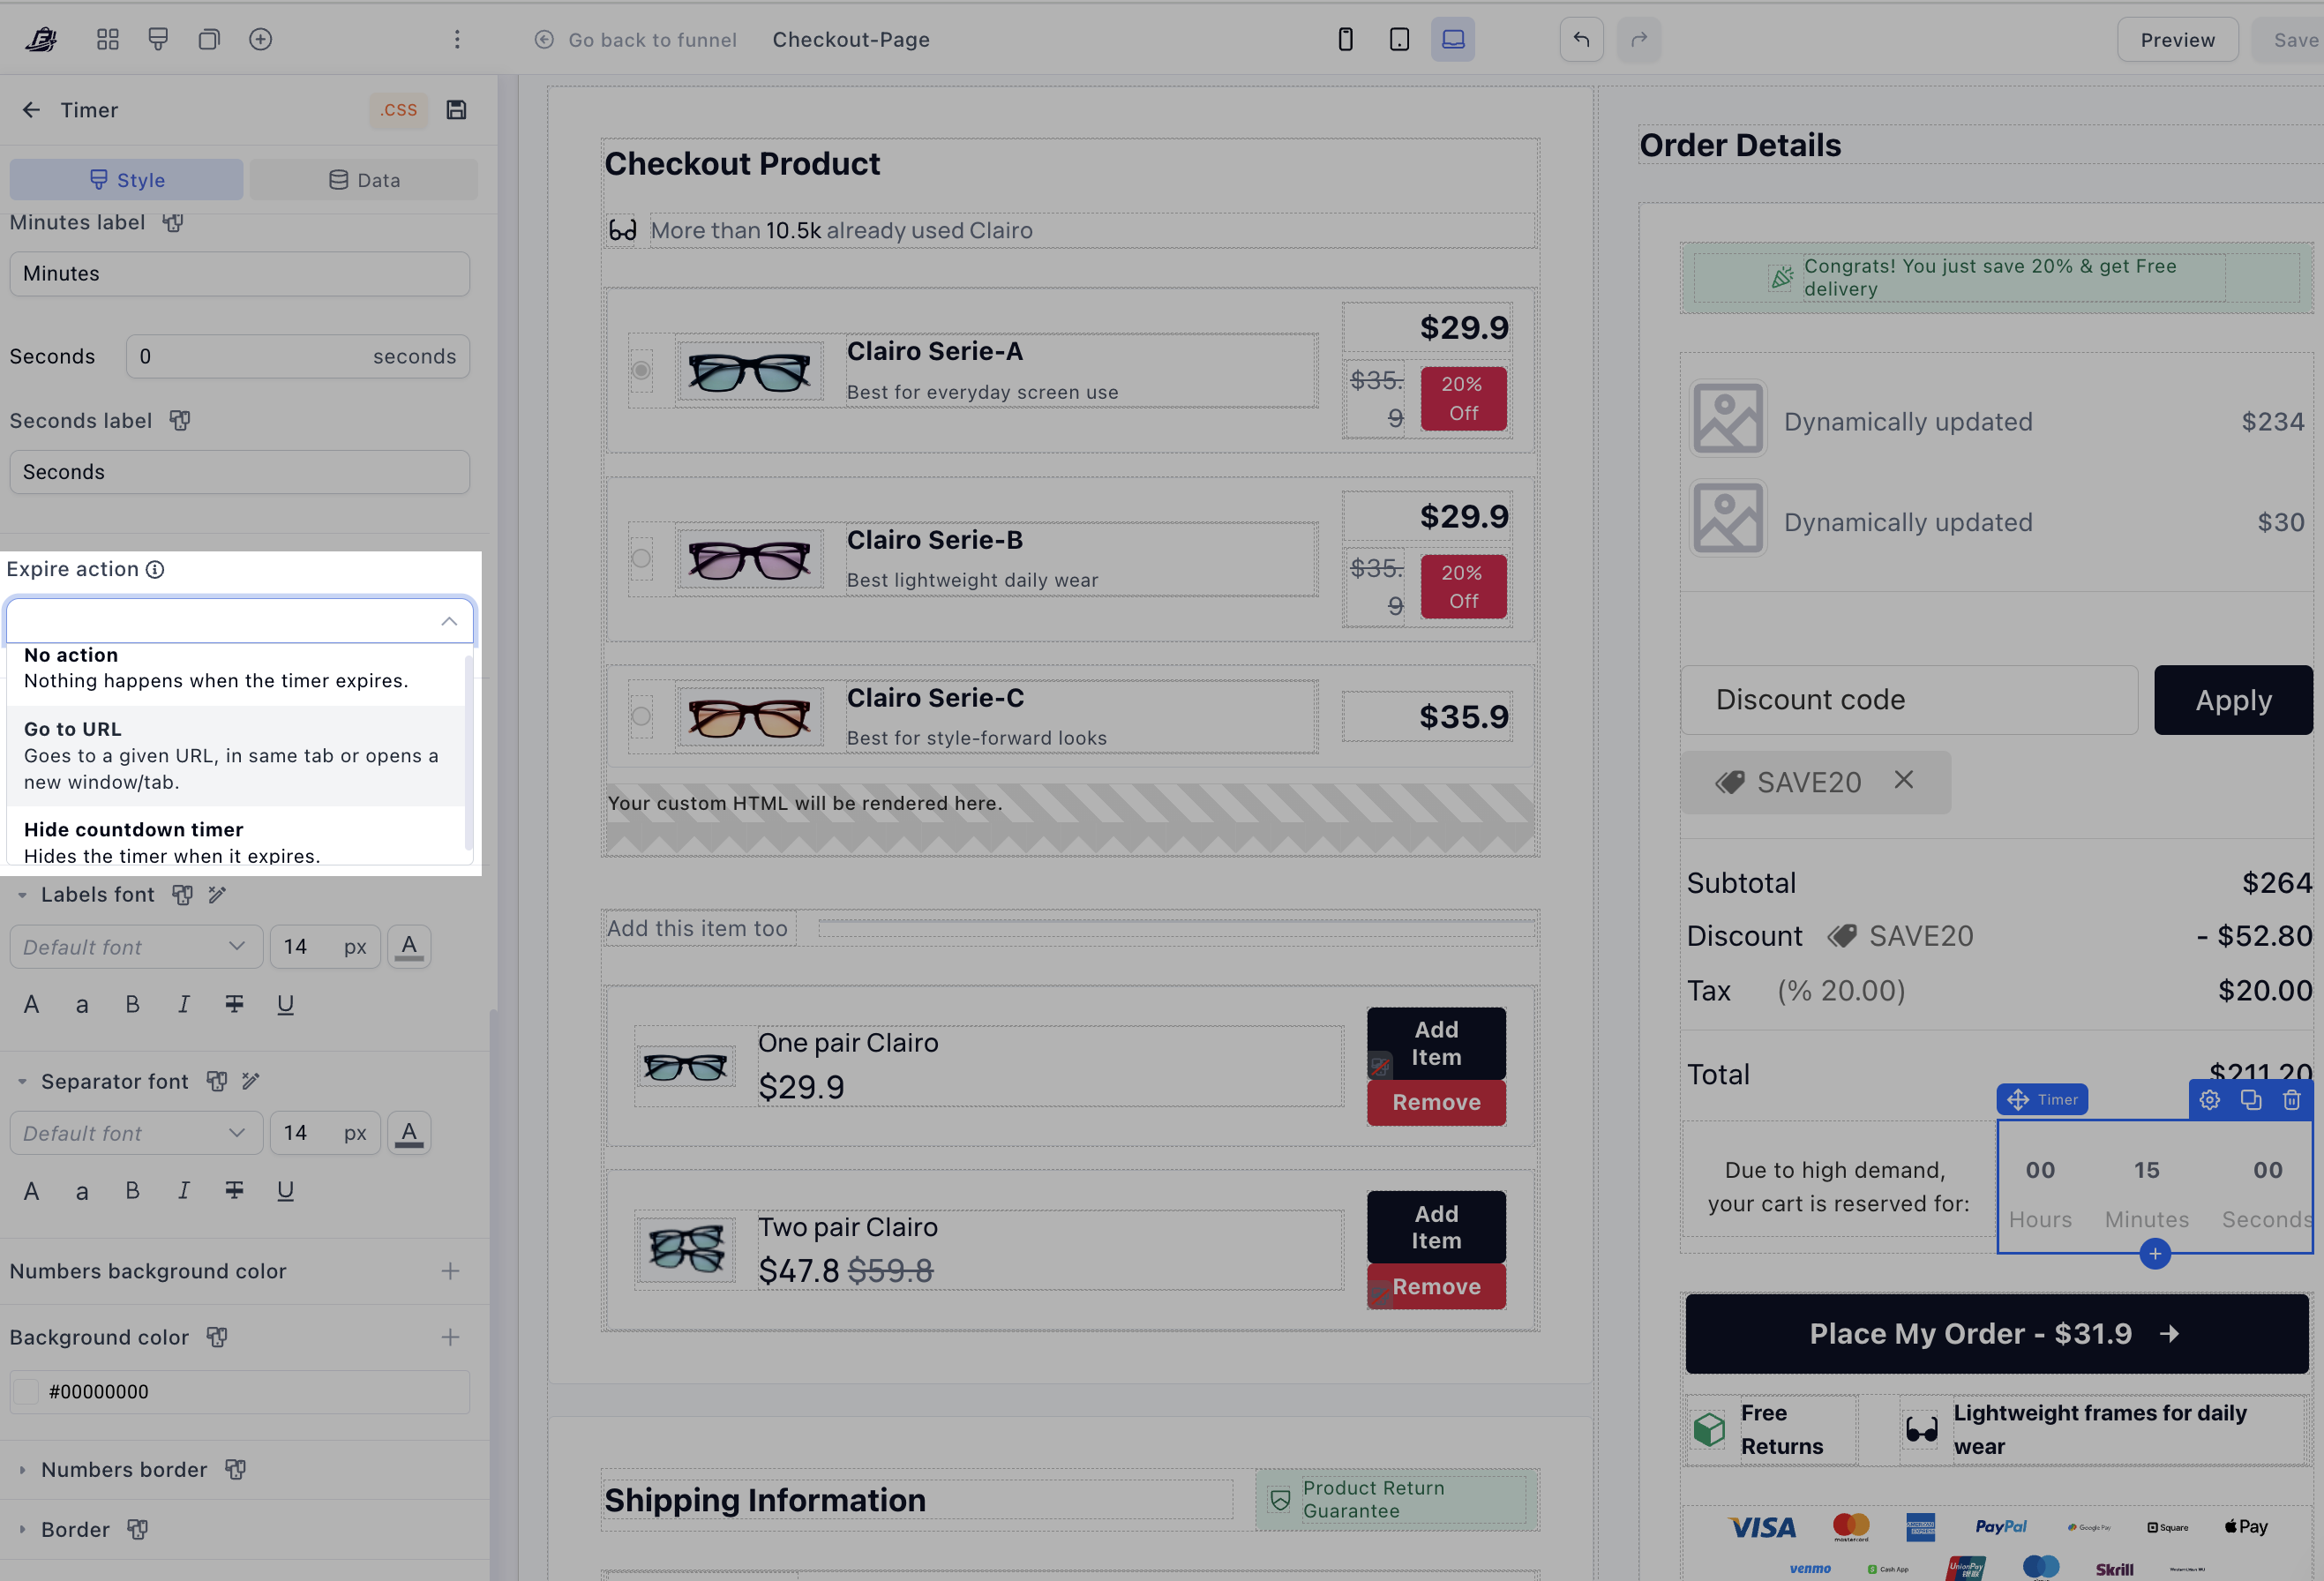
Pro-Tip (Enforce the Consequence): What happens when the timer actually hits zero?
Most decent funnel builders will let you set an “expire action”, like making the timer disappear, or redirecting the user to a new link.
The highest-converting move is the redirect.
If your timer hits zero and just vanishes but the checkout stays open, the customer instantly knows it was a bluff.
Instead, set the timer to automatically redirect them back to your main landing page (or a custom “Cart Expired” page). Yes…. it forces them to start over, but it proves your scarcity is 100% real. When they inevitably re-add the item to their cart, they won’t hesitate, they will sprint through the checkout.
3. Real “Low Stock” Thresholds 
Don’t say “Hurry, only 2 left!” if you have 10,000 units sitting on a shelf. But if your inventory is actually running low, highlight it.
Example:![]()
-
The Copy: “Only 14 units left in this color. Next restock expected in 4 weeks.”
-
Why it works: It pairs scarcity (low stock) with consequence (having to wait a month). If you’re dropshipping and have infinite stock, run a genuine limited-batch drop instead: “We only allocated 500 units for this promo.” Once those 500 are gone, raise the price. Actually keep your word.
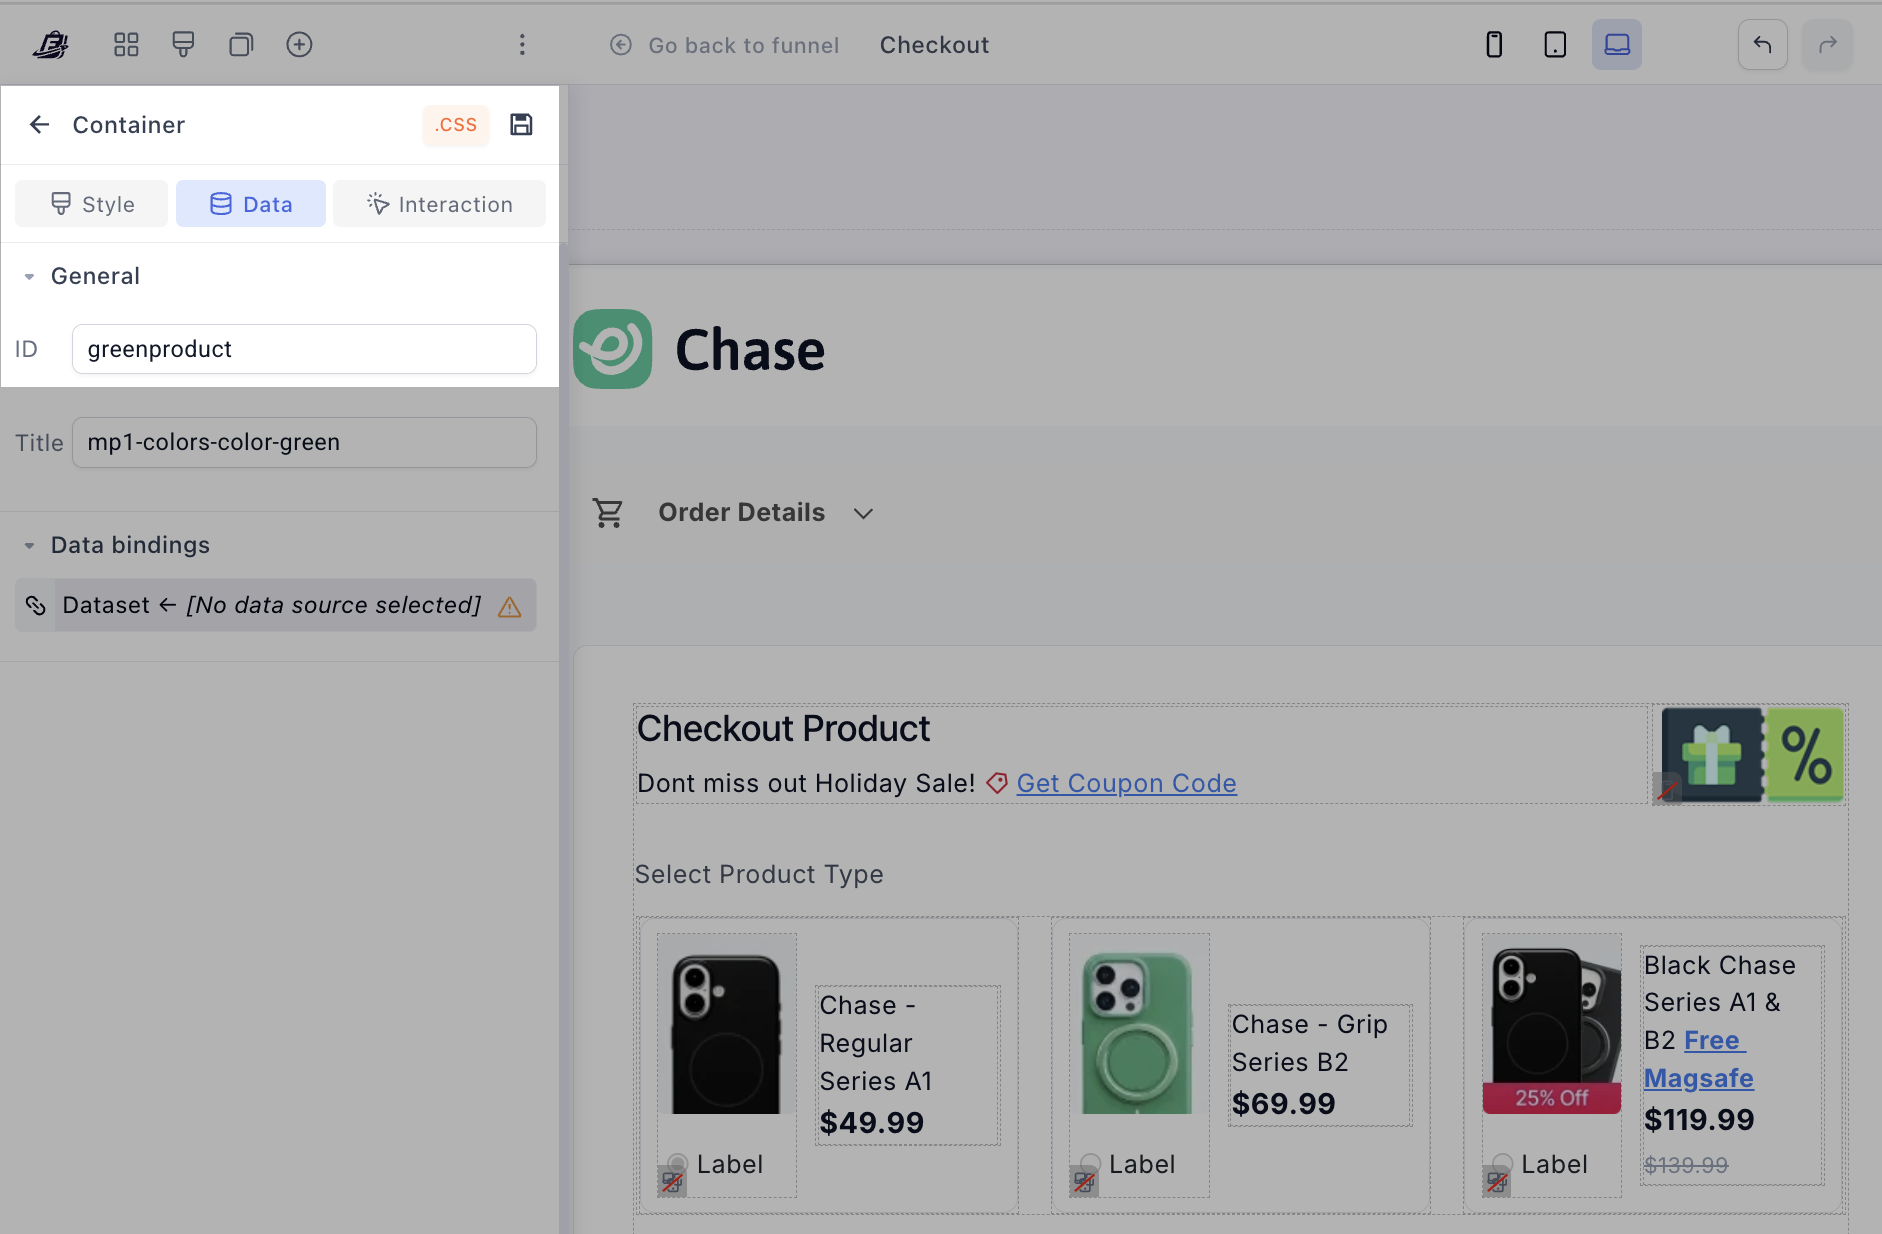
How to Implement On Hover Stock Notice in Funnelish
![]() Step 1: Select Your Product Variant Container
Step 1: Select Your Product Variant Container
-
Go to your checkout step in Funnelish
-
Click on the specific variant container (e.g. the green color swatch)
-
Make sure you’re selecting the outer container, not just the image.
![]() Step 2: Give the Container a Unique ID
Step 2: Give the Container a Unique ID
On the left panel:
-
Go to Data → General
-
Set a custom ID, for example:
greenproduct
![]() This ID can be anything you want — just make sure:
This ID can be anything you want — just make sure:
-
it’s unique
-
no spaces (use lowercase)
![]() Step 3: Add the CSS
Step 3: Add the CSS
Go to:
![]() Page Settings → Custom CSS
Page Settings → Custom CSS
Paste this:
#greenproduct {
  position: relative;
  overflow: visible !important;
}

/* hidden by default */
#greenproduct::after {
  content: "Only 14 units left • Restock in 4 weeks";
  position: absolute;
  top: 100%;              /* below container */
  left: 50%;
  transform: translateX(-50%) translateY(6px);
  margin-top: 4px;
  background: rgba(0,0,0,0.9);
  color: #fff;
  padding: 6px 12px;
  border-radius: 999px;
  font-size: 11px;
  white-space: nowrap;
  opacity: 0;
  transition: all 0.2s ease;
  pointer-events: none;
  z-index: 9999;
}

/* show on hover */
#greenproduct:hover::after {
  opacity: 1;
  transform: translateX(-50%) translateY(10px);
}
![]() Step 4: Test It
Step 4: Test It
Hover over your container of choice & you should see:
![]() “Only 14 units left • Restock in 4 weeks”
“Only 14 units left • Restock in 4 weeks”
 The “Refresh Test”
Whenever you are building your pages—whether you’re tweaking a Shopify theme or building a custom landing page, always ask yourself this one question:
“If the customer refreshes this page, or comes back tomorrow on their phone, will my claim still be true?”
If the answer is no, delete it.
Stop relying on cheap gimmicks to force a sale. Focus on building frictionless flows that sell the actual value of your product.
Trust is the highest-converting currency you have. Protect it.