Every Funnelish blog is made of pages, and every page is fully customizable with the Funnelish page builder, the same drag-and-drop builder you use for funnels and stores. This guide covers the five page types, how to edit them, and how their settings work.
The pages your blog ships with
A new blog comes with a complete set of pre-built, published pages:
-
Home: your blog’s front page.
-
Blog posts template: the template used to render your blog posts.
-
Category: the template used to render your blog categories.
-
Contact us: a ready-made contact page.
-
About Us, Terms, Privacy: custom pages you can adapt or replace.
You can edit any of these, and add new pages with the New page button.
Page types
Each page has a Page Type, which determines its role in the blog.
Home page
The landing page of your blog, shown at your blog’s root URL. Use it to feature your latest or best content, introduce your brand, and capture newsletter signups.
Blog post
A template, not a single page. Every post you publish is rendered through the blog post template you assign to it. The template defines the layout, and the post supplies the content (title, cover image, body, author, and dates) dynamically.
You can create multiple post templates and choose which one each post uses in its post settings.
Category
Also a template. Each blog category is rendered through this page, listing the posts that belong to it.
Contact us
Your blog’s contact page.
Other
Custom pages for anything else, such as terms of service, privacy policy, about pages, resource pages, or any standalone content you want to publish alongside your posts.
Because template pages render post and category data dynamically, you can redesign your entire blog by editing just a couple of pages. A dedicated guide on building template pages with data binding is coming soon.
Editing a page
-
In the Blog tab, hover over a page card and open its menu, or click through to the page settings and click Edit page.
-
The page opens in the Funnelish page builder, where you can change anything: layout, sections, elements, styles.
-
Changes to a published page are saved as draft changes. The live page keeps serving the last published version until you click Publish changes. That’s why a page can show a status like
Published (draft changes): it’s live, with unpublished edits waiting.
Page settings
Open a page’s settings to control how it’s named, addressed, and indexed:
-
Page name: the internal name shown in your pages list.
-
Page path: the URL slug of the page, appended to your blog URL.
-
Page Type: the page’s role, as described above.
-
SEO title: the title shown in search engine results and browser tabs.
-
SEO description: a summary of the page for search engines. Aim for 140-156 characters and include your target keywords.
-
Page URL: the live URL, with copy and preview shortcuts.
Click Save changes to store your edits, or Publish changes to push them live.
The Repeater element
The Repeater is the element you’ll reach for most when building blog pages, especially the home page and category pages. You design one item (for example a post card with cover image, title, and excerpt), bind the Repeater to a data source, and it renders that design for every item in the source. Change the design once and every item updates.
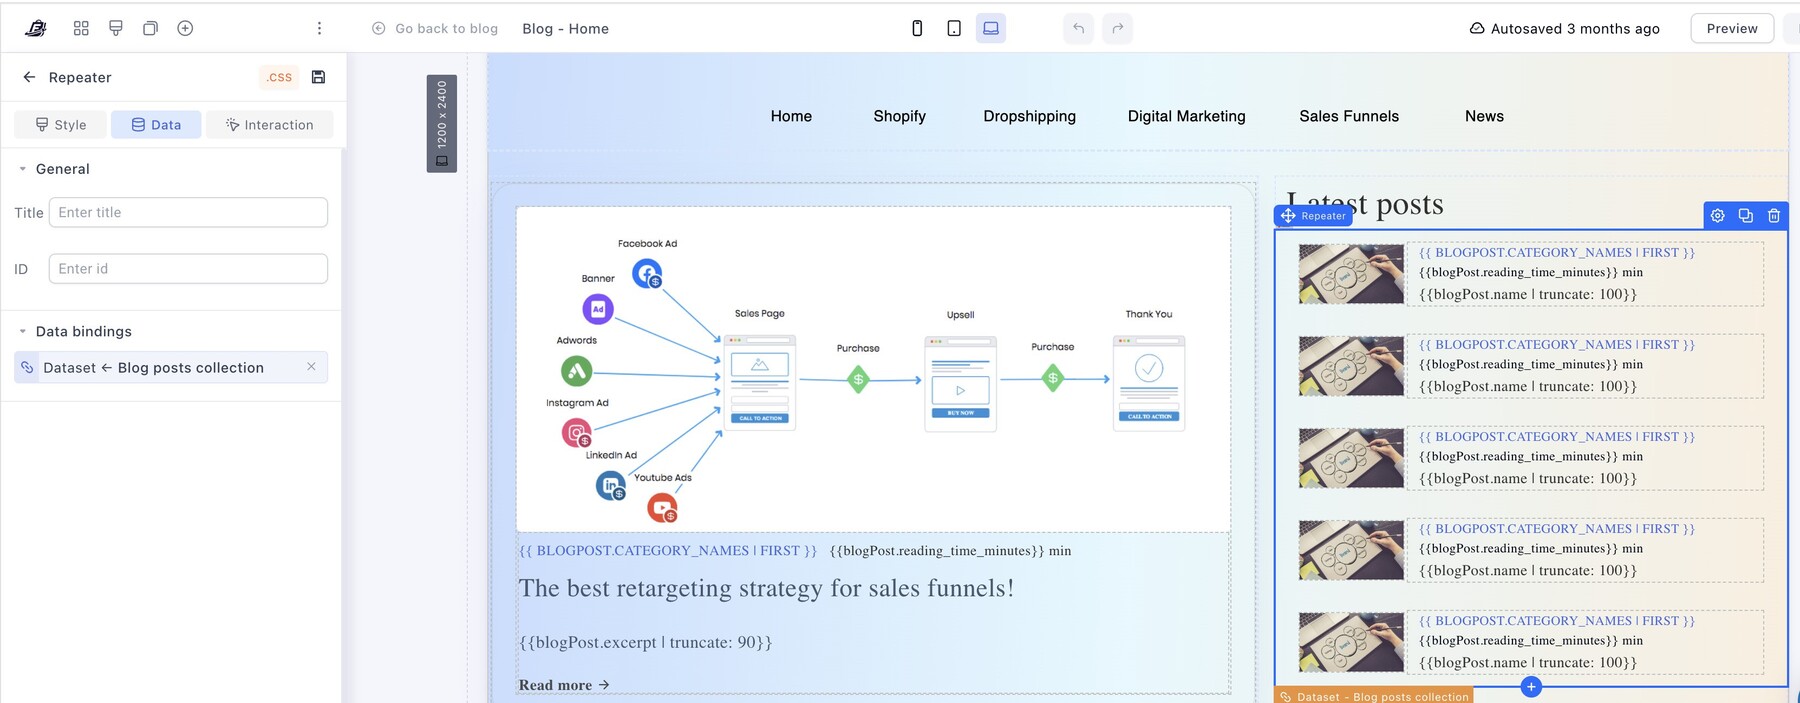
It can be bound to many data sources, including:
-
Latest blog posts: show your newest posts on the home page.
-
Posts from a specific category: build curated sections, such as a row of guides followed by a row of product roundups.
-
All blog posts: a complete post listing or archive.
-
Related blog posts: inside a blog post template, show posts related to the one currently being viewed.
-
Categories: list your blog categories, for example as a grid on the home page.
That’s how the pre-built Home and Category pages work under the hood, so the fastest way to learn the Repeater is to open one of them in the builder and inspect it.
Dynamic content with Liquid
Blog pages support Liquid, the templating syntax, so you can render dynamic data and build conditional flows directly inside your pages.
You can write Liquid in two places:
-
Custom HTML element blocks (recommended): drop a custom HTML element onto the page and write your Liquid inside it. This keeps your code away from text formatting.
-
Regular element text: the renderer also picks up Liquid written in the text of normal elements.
Liquid code must reach the renderer intact. Text formatting applied inside a Liquid tag (bold, links, styled spans) can break it, which is why custom HTML blocks are the safer place for anything beyond a simple variable.
The upcoming data binding guide will cover this in more depth, with the variables available on each page type.
Keep Learning
-
Write and publish blog posts: create the content your templates will render.
-
Create a blog: blog-level settings like domain, path, and favicon.
-
Page builder: what the builder can do across blogs, funnels, and stores.
Questions about blog pages? Reply below or ask in Ask the community and the community will help you out.