Two small elements with an outsized effect on conversions. Countdown timers give buyers a reason to act now instead of “later”. Progress bars reassure them that they’re on track and almost done. Both live in the elements panel and drop into any container or row.
Countdown Timers
Click the container or row cell that will hold it, then pick the Timer element from the left panel:
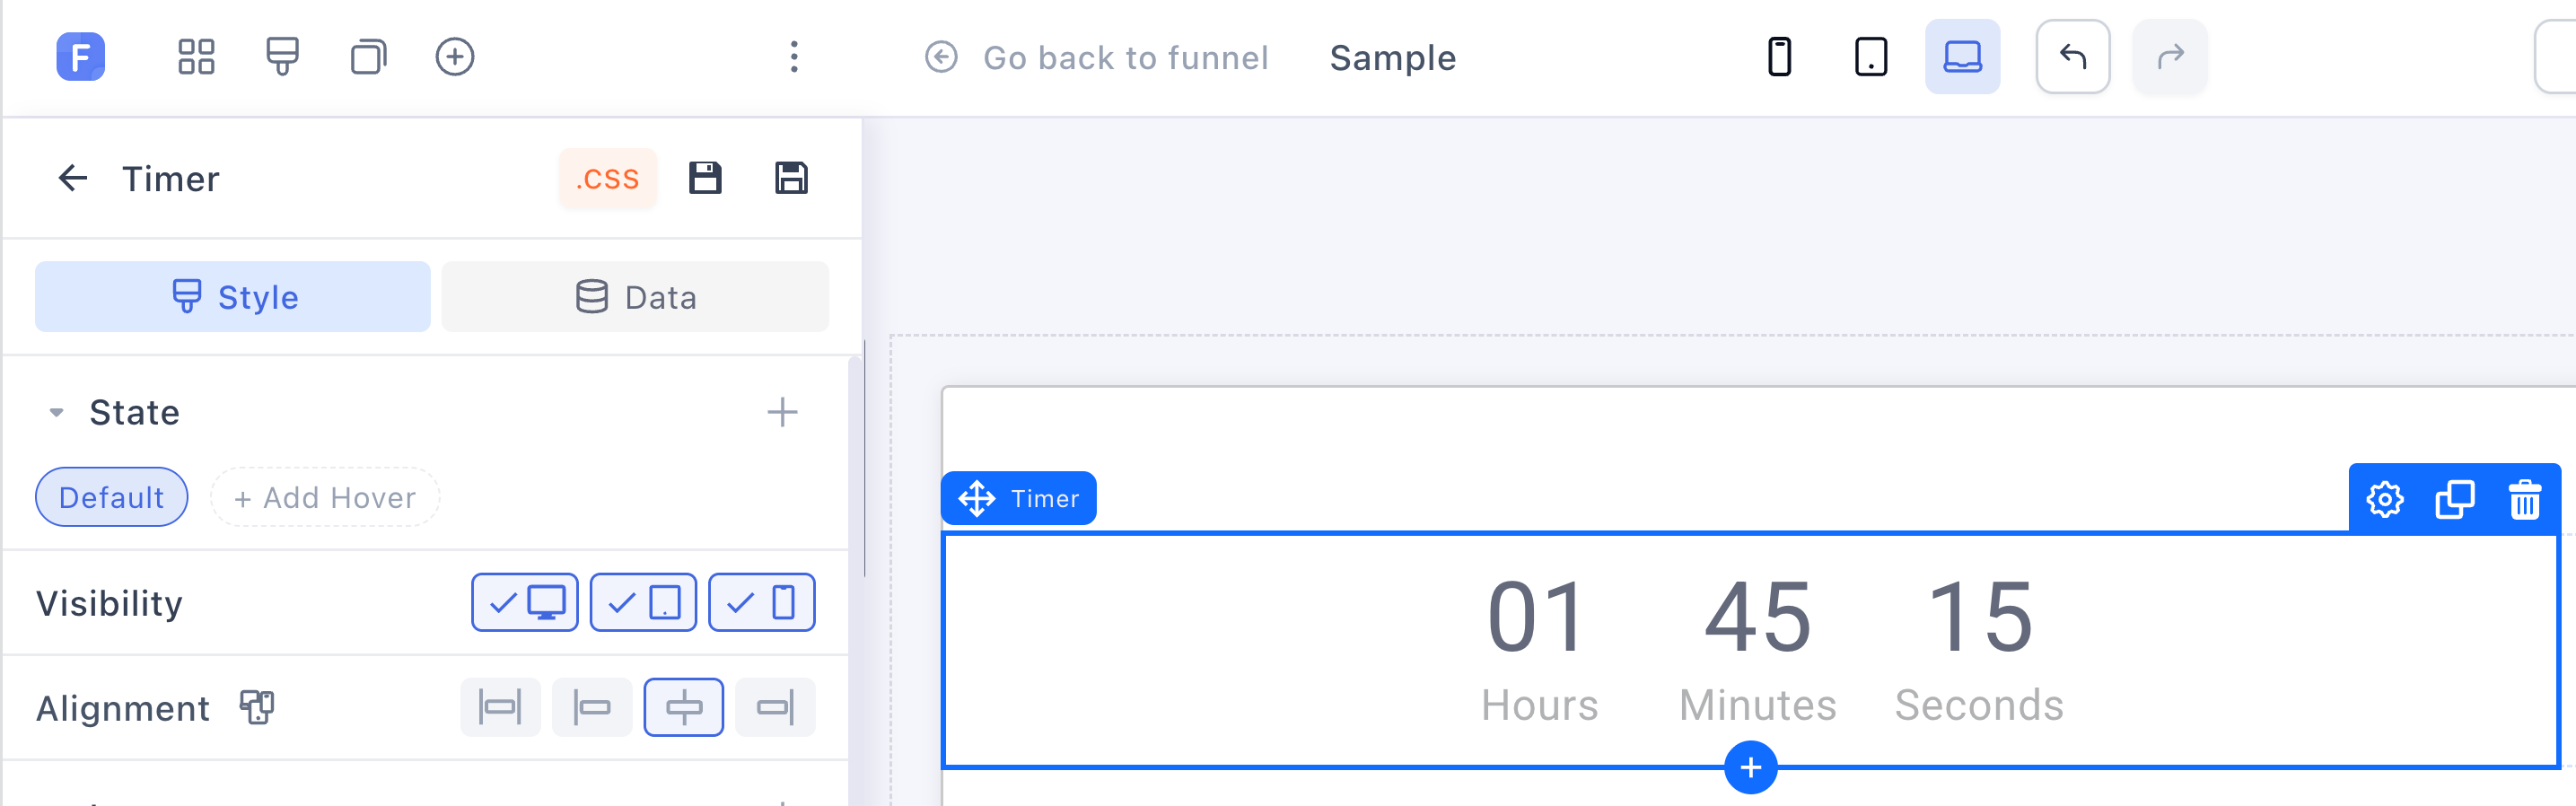
Time and labels
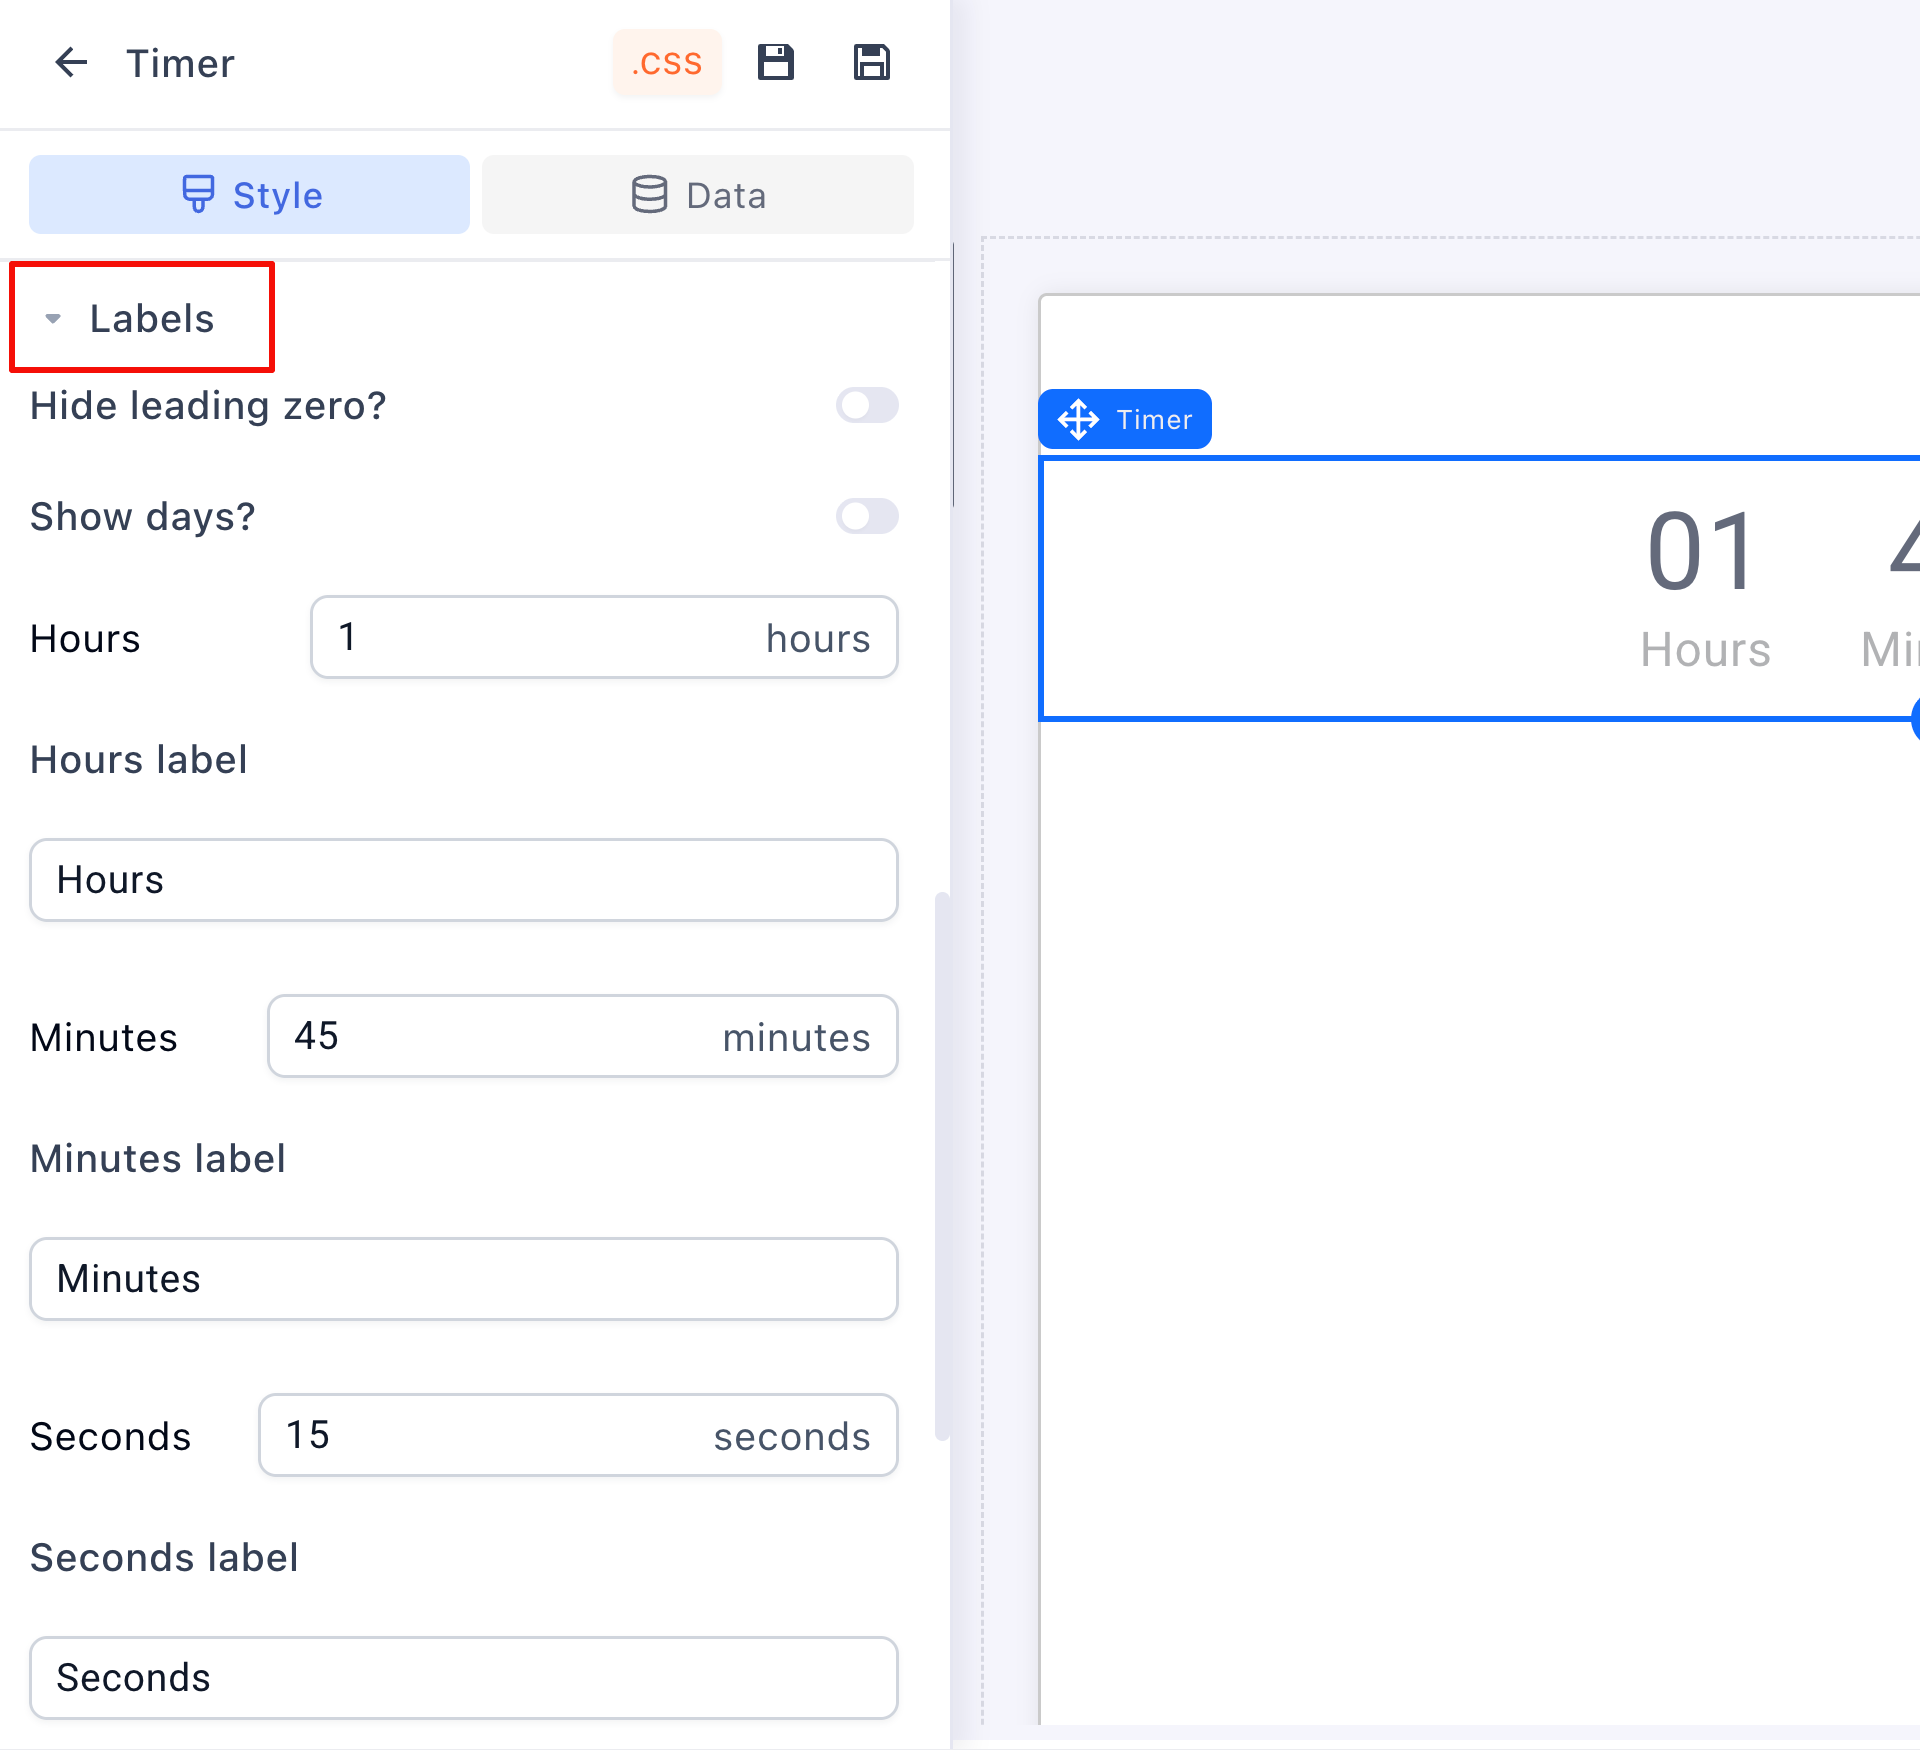
Set the starting duration in the settings panel. Each unit has its own editable label:
-
Hours, Minutes, Seconds set the countdown, and a Days unit can be switched on for longer campaigns like a launch week.
-
Labels are plain text, so rename them freely: shorten to “Hrs / Min / Sec”, or translate them for non-English funnels.
-
Show separator puts a divider between the units, and Hide leading zero turns “09” into “9”.
-
Layout is yours: labels under the numbers or beside them, spacing, and separate fonts for numbers, labels and separators. The number blocks can take their own background color and border, which is how you get the classic flip-clock look.
When the countdown hits zero
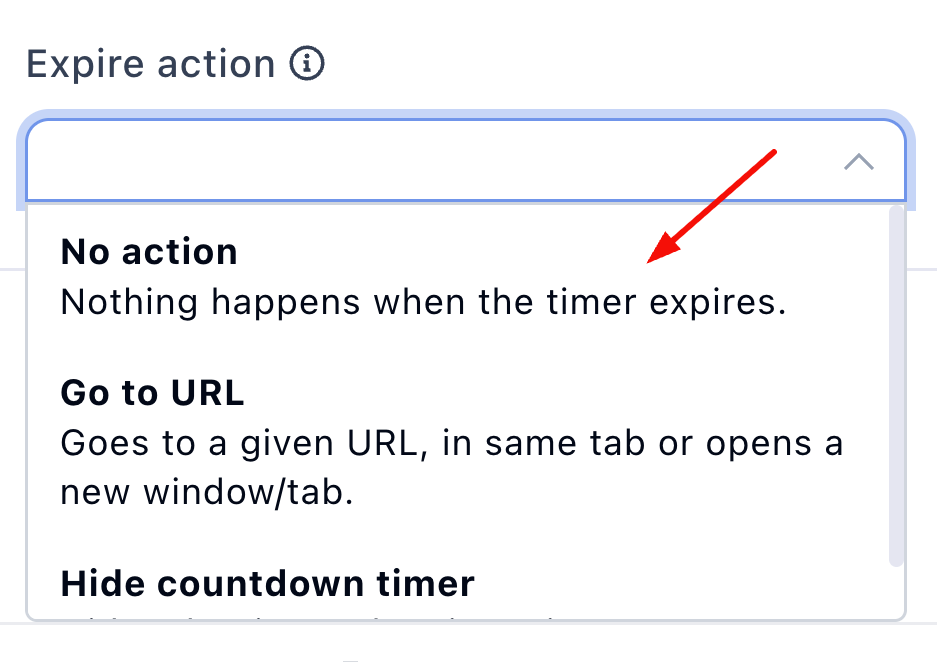
Scroll to Expire action to decide what happens at 0:00. The default is No action, the clock just stops:
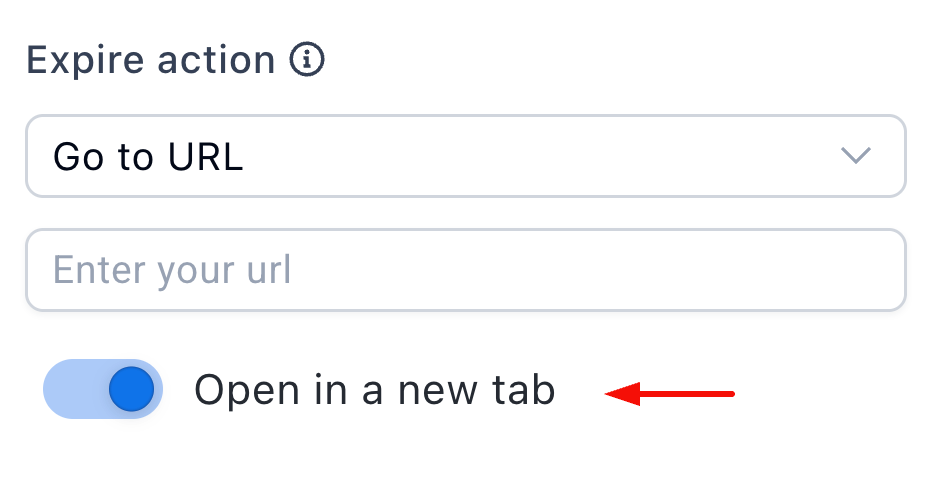
- Go to URL: send the visitor to another page, with a toggle to open it in a new tab. Point an expired offer at the full-price page.
- Hide countdown timer: the timer disappears from the page at zero.
Make the deadline mean something. A timer that expires into a redirect or a vanished discount trains buyers that your deadlines are real. A timer that resets on every visit trains them to ignore it.
Progress Bars
The same way: click the parent container, then pick Progress bar from the panel:
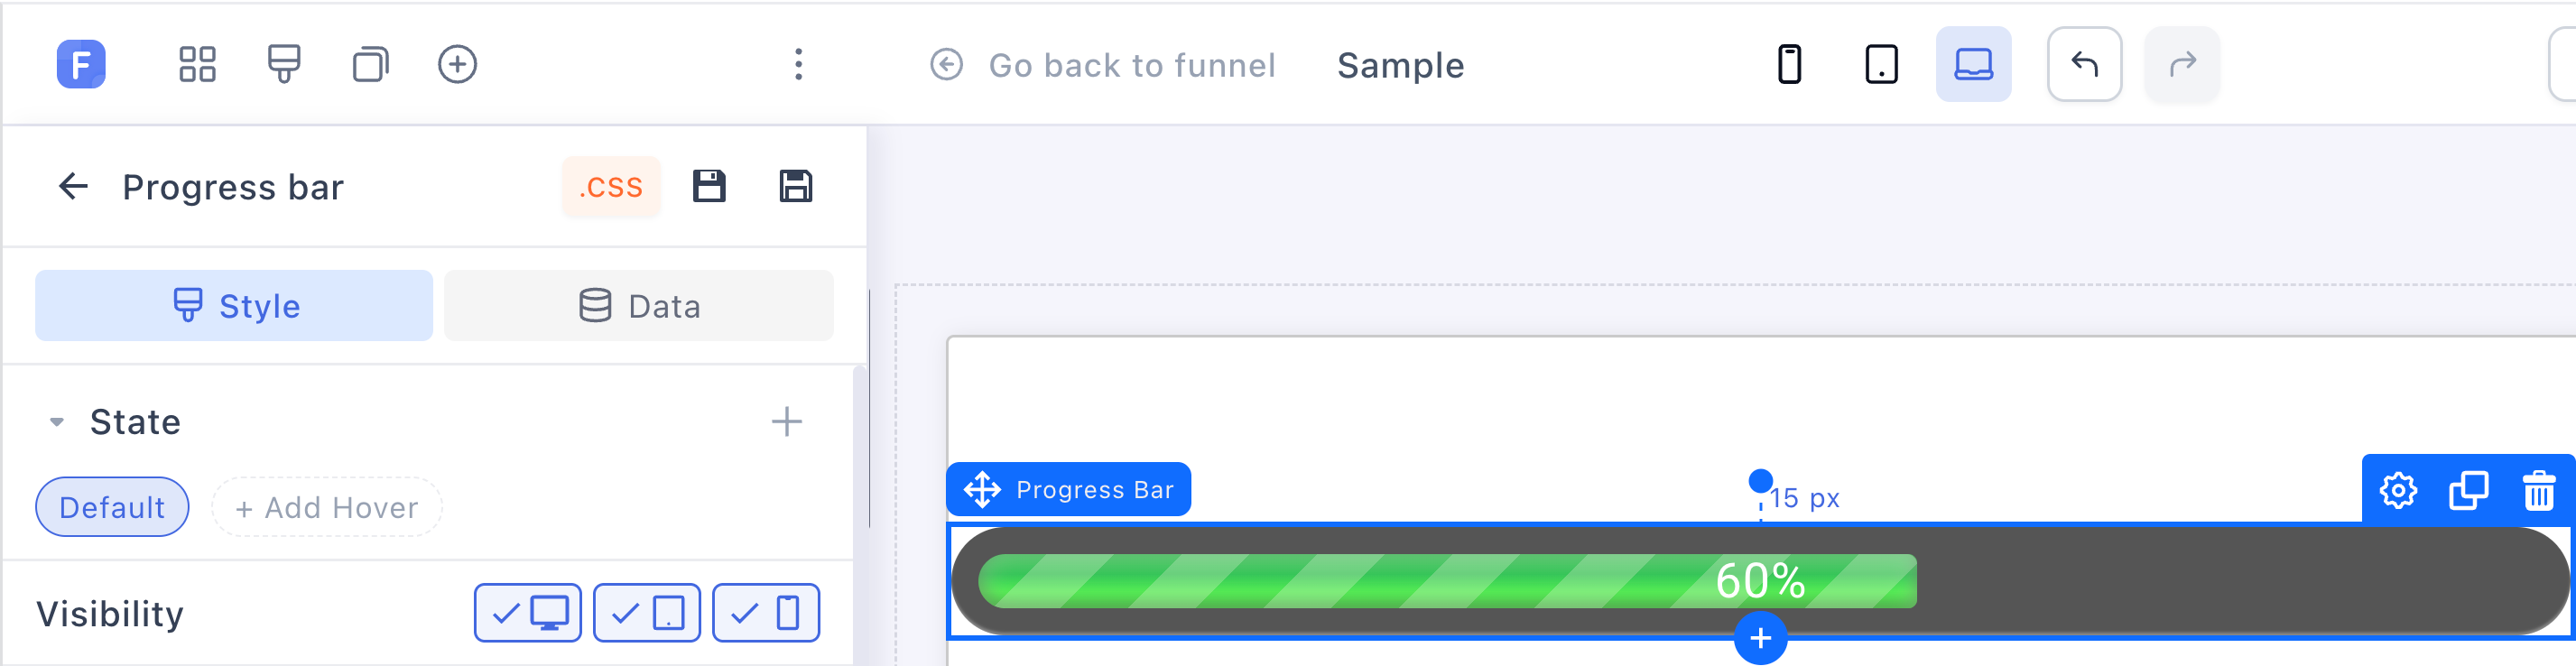
Value and label
Value sets how full the bar is, as a percentage. Label text is the text shown on the bar, and Label position aligns it left, center or right:
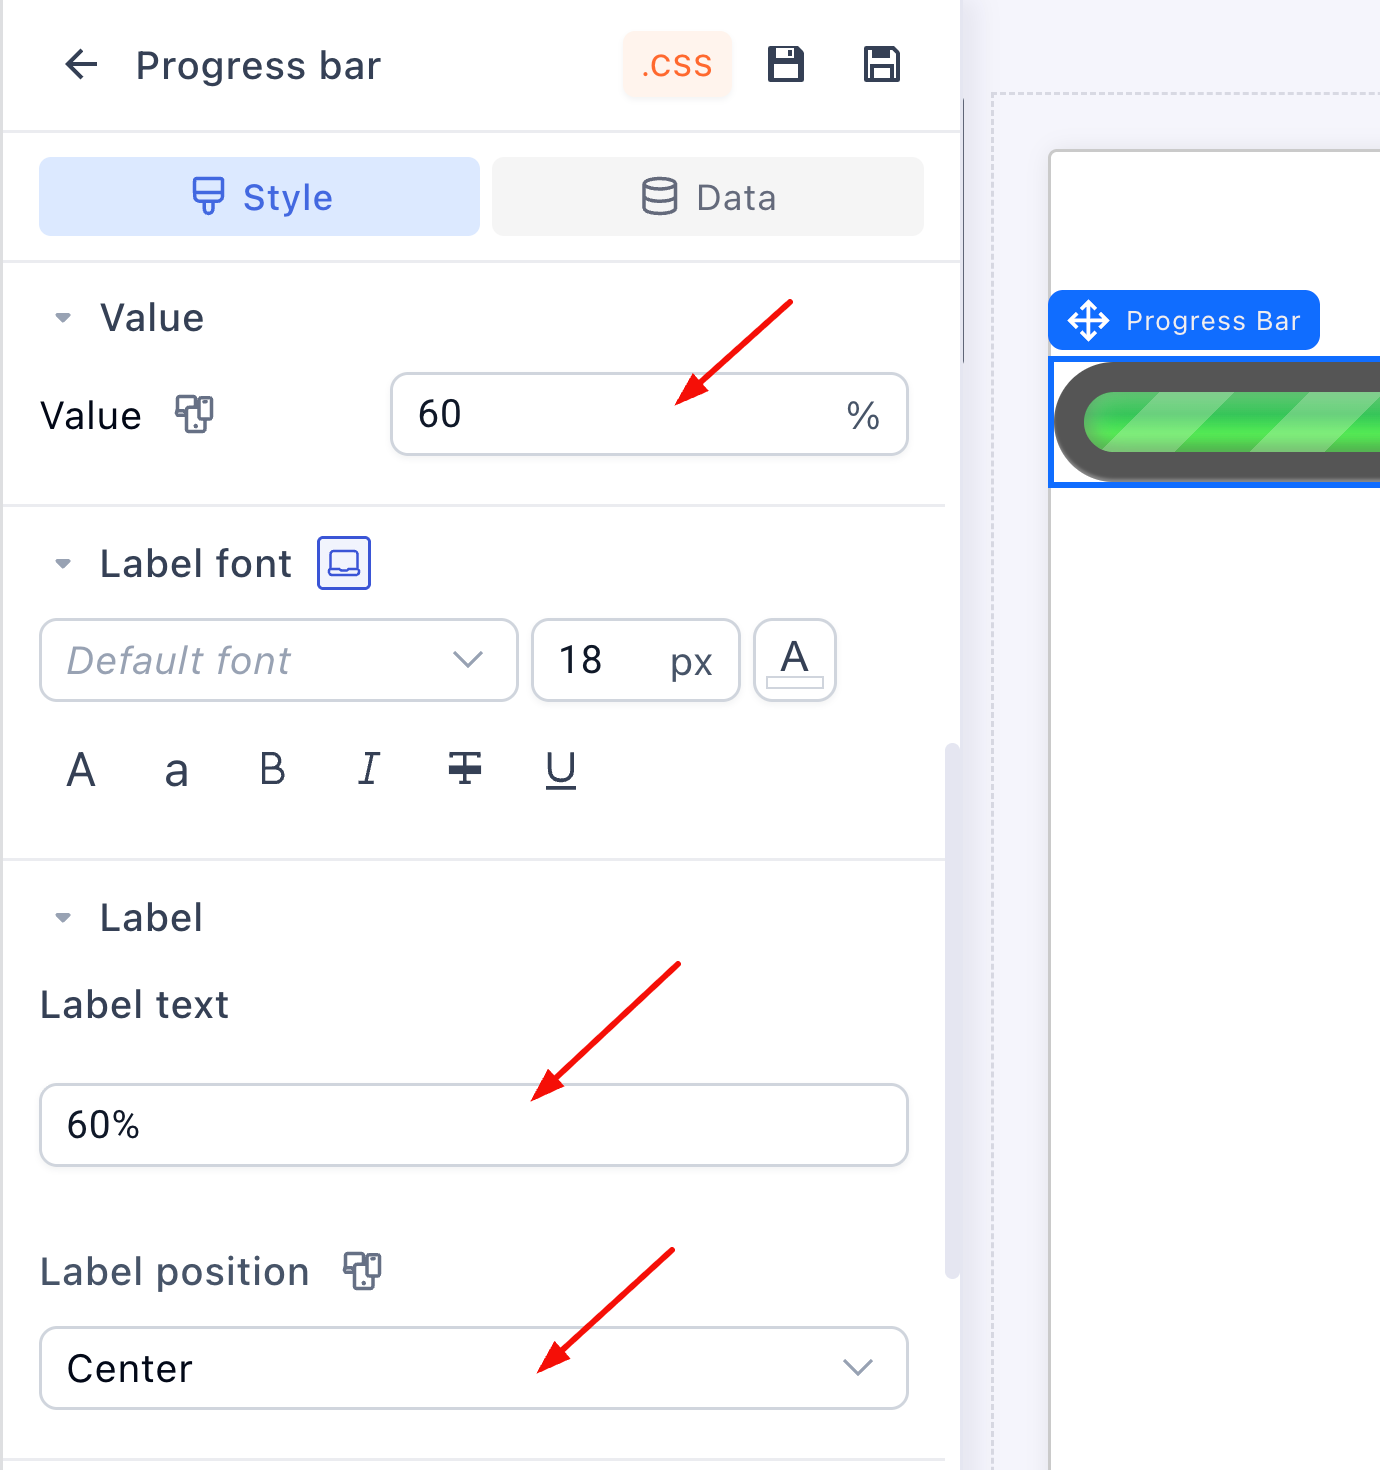
The label doesn’t update itself from the value. If the bar is at 60%, type “60%” (or whatever you want shown) into Label text yourself, and keep the two in sync when you change them.
Styling and animation
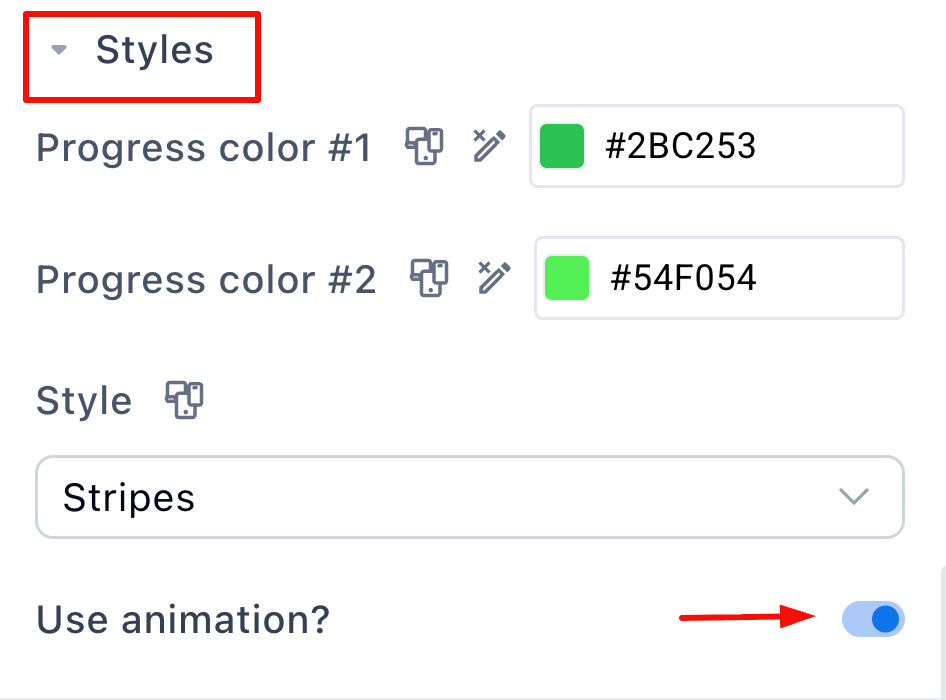
Under Styles, set the bar’s two fill colors (they blend as a gradient), the track color behind it, and the bar height. Choose the Stripes style or a flat Simple fill, and switch on Animated to make the stripes move:
Where progress bars pay off
-
Top of the checkout: a bar at 80% with “Almost done!” tells the buyer the finish line is close. Put it at 100% with “Order complete” on the thank you page.
-
Multi-step flows: bump the value on each step of a 2-step form or quiz funnel so the journey visibly advances.
Related articles
Not sure your timer is set up right, or want feedback on where the urgency should sit in your funnel? Start a topic in Ask the community with a link to your page.
Or clone a funnel from Templates : most of the high-converting ones ship with countdown timers already placed where they work.