The Payment Form is the element that takes money. Drop it on your checkout page, connect your payment methods, and that’s the whole job, it renders the card fields, the wallets and every other method you’ve enabled, and it’s what makes one-click upsells work on the steps that follow.
New to the editor? Start with the Page Builder overview.
Before you start
The step must be a Checkout step. Payment forms don’t work on landing, upsell or other step types. On a blank step choose Checkout; in a template it’s the Order page. You can change the type in the step settings.
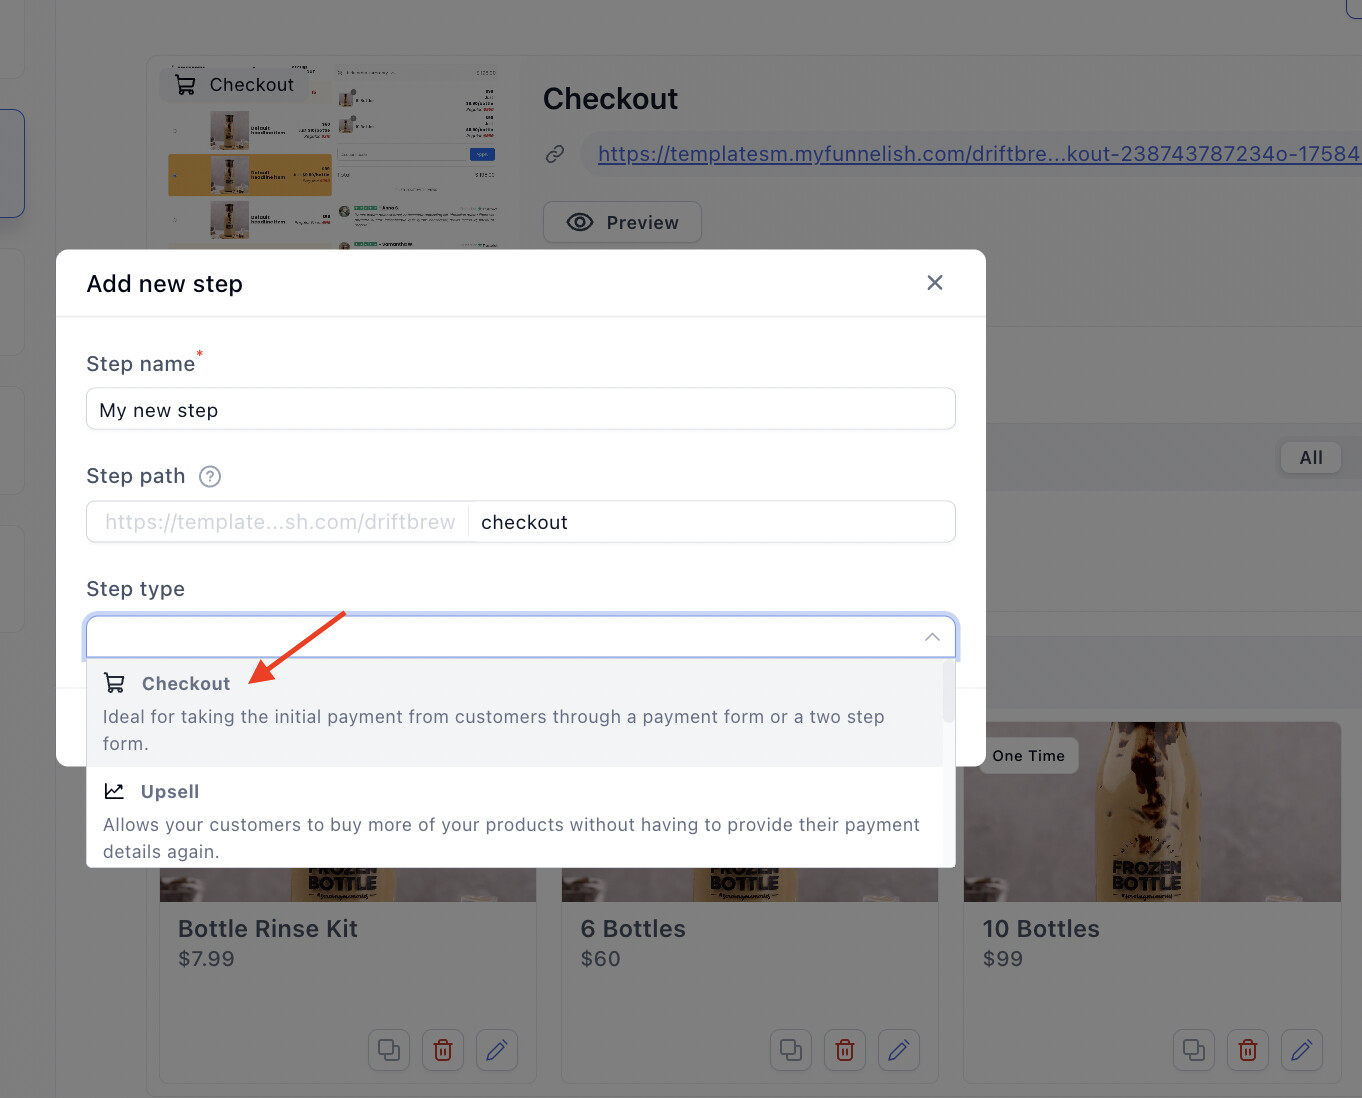
You also need products in your funnel before the form can be tested or previewed.
One payment form per step, visible or hidden. Duplicate payment forms can cause duplicate charges.
Add the payment form
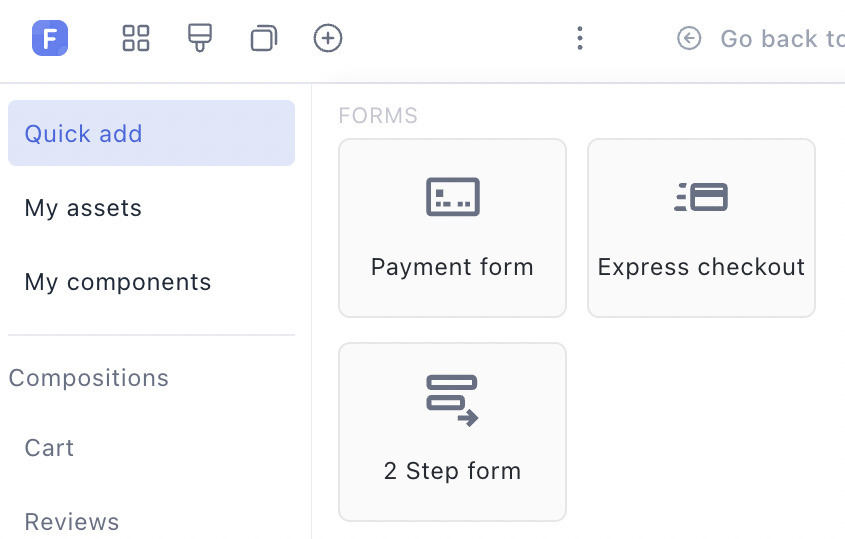
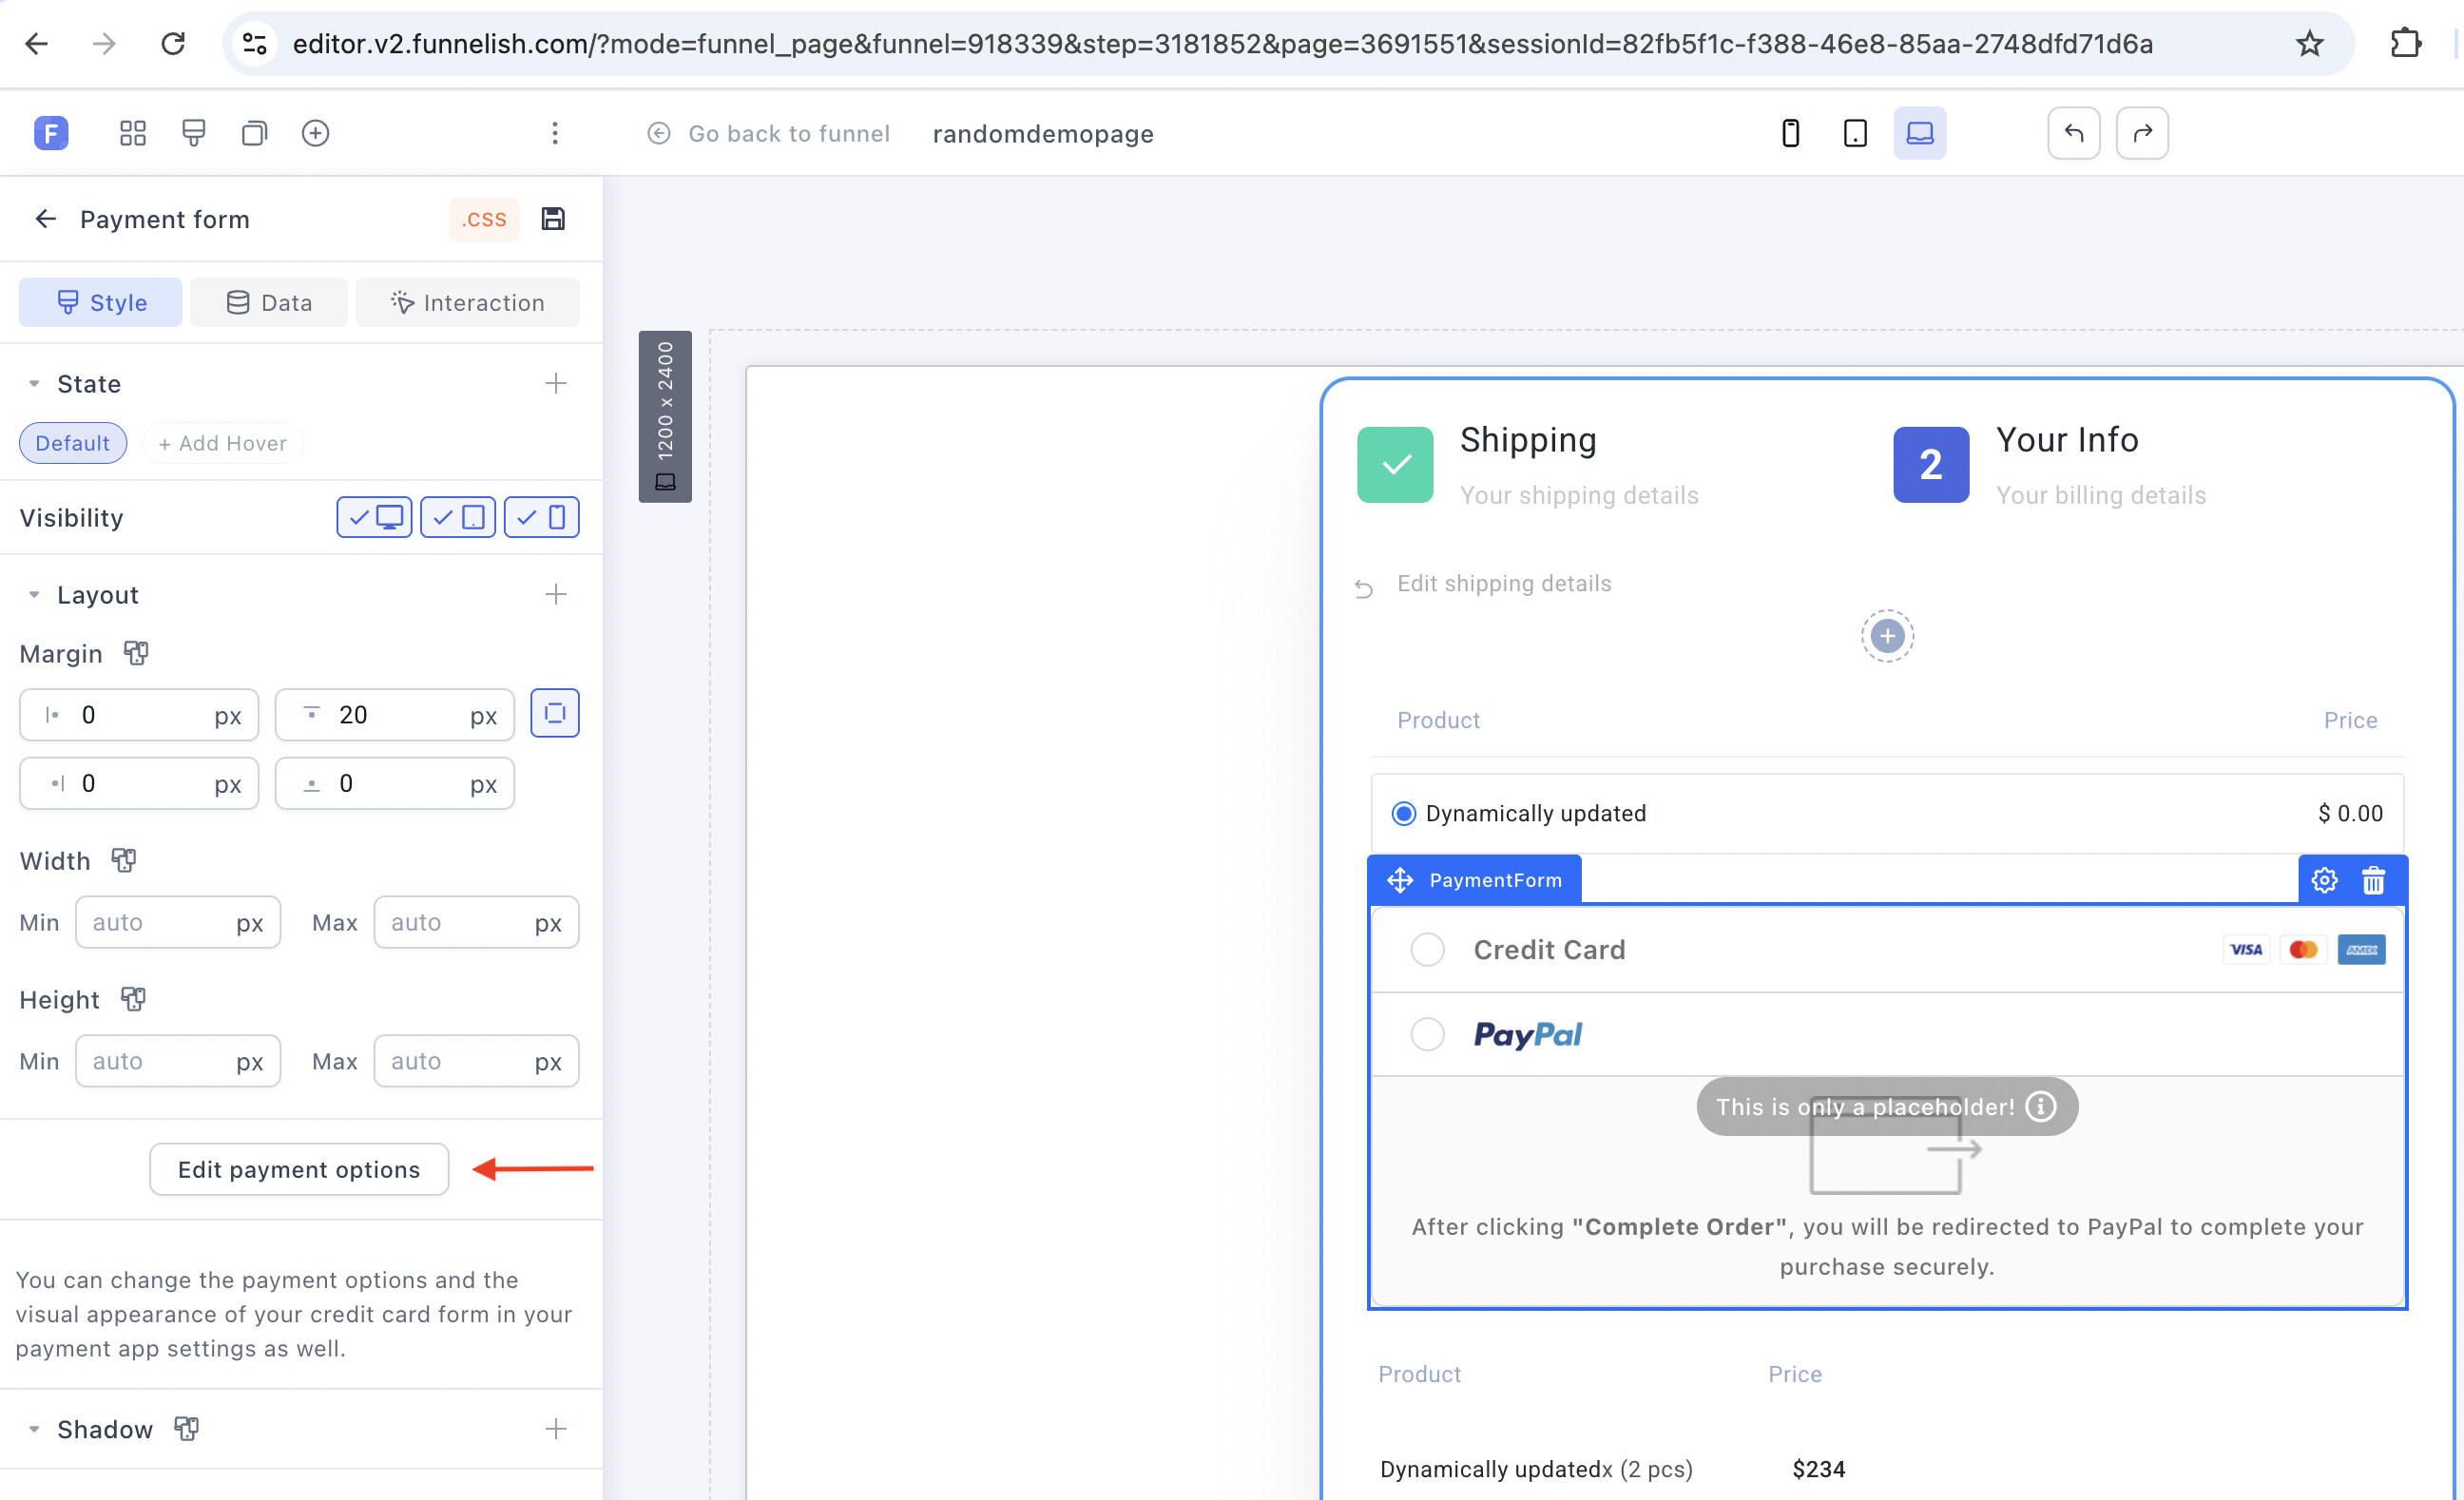
Drag the Payment Form widget onto your checkout page and click it once to open its settings.
Then click Edit payment options in the side panel:
Connect payment methods
-
Switch on the Funnelish Pay toggle to activate the form
-
Click Add a new payment method
-
Pick the method and enter its credentials
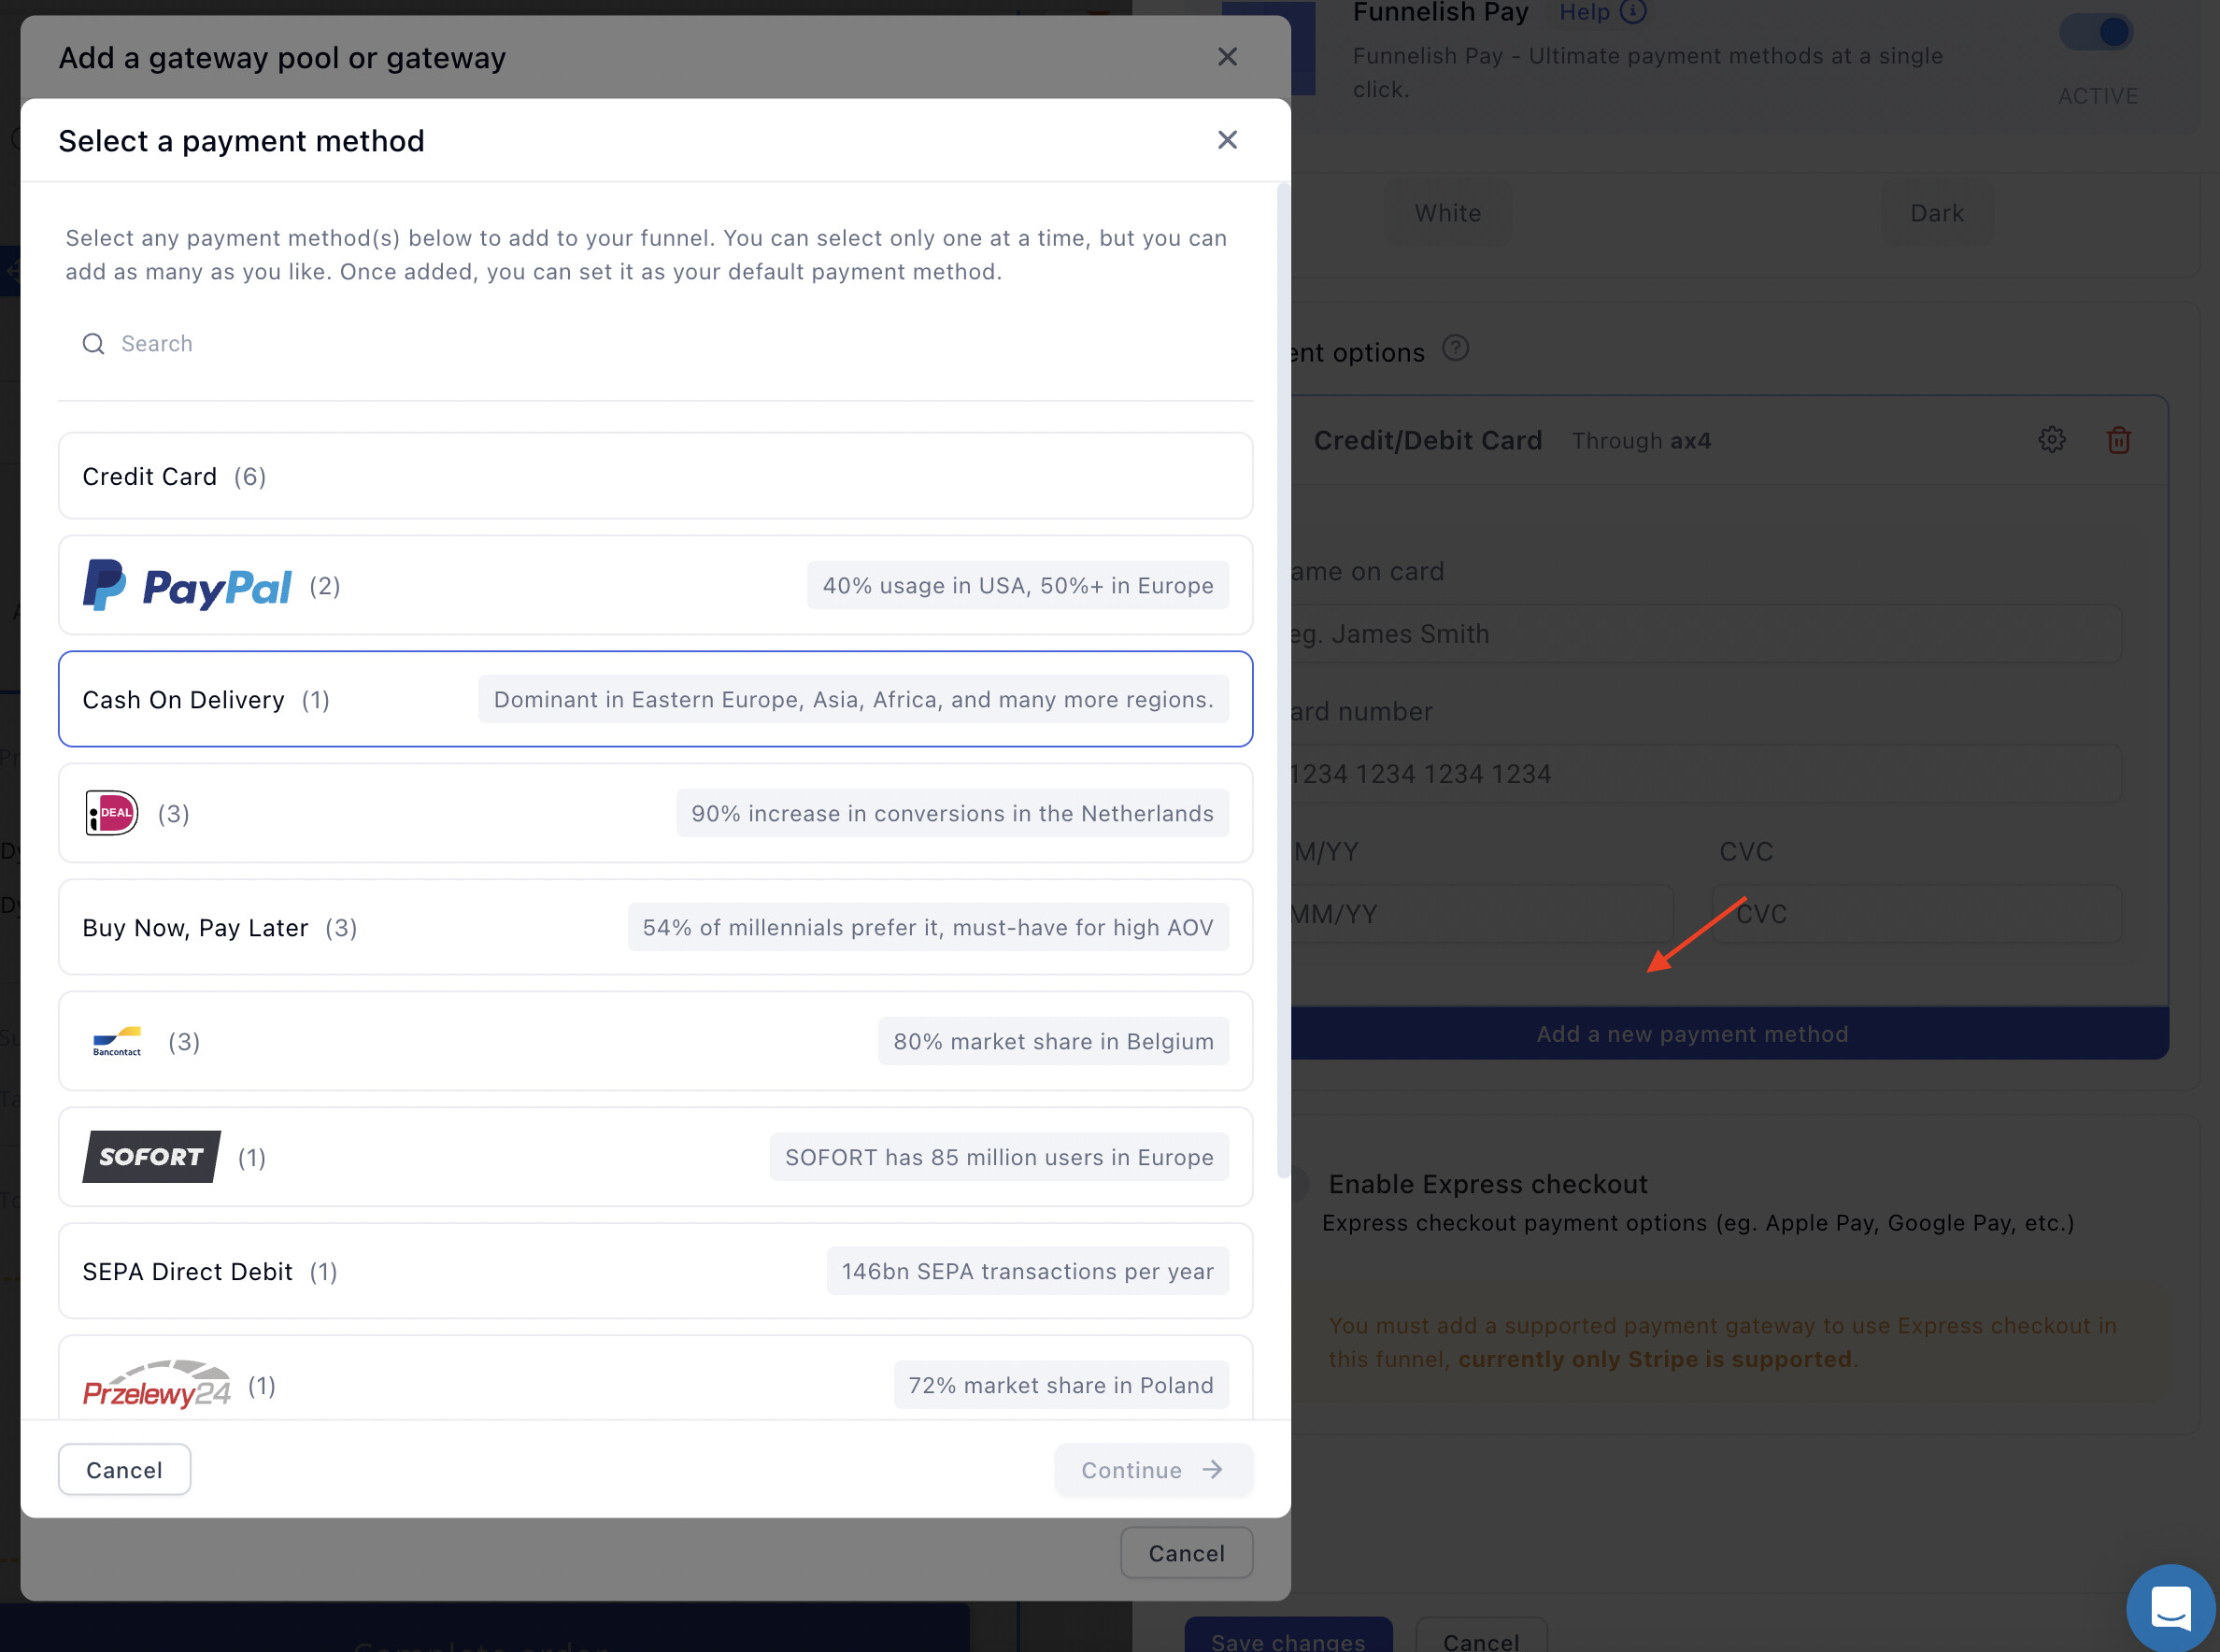
Setup guides per method: card payments (Stripe, Airwallex, NMI, Checkout.com), PayPal, Klarna, express checkout, and every option in Add Payment Methods to Your Checkout.
Gateways belong to your account, not to one funnel. Connecting a gateway here, from Funnel → Apps → Funnelish Pay, or from Settings → Gateways is the same action, the gateway becomes available everywhere. What you choose per payment form is which of your connected methods appear on that checkout.
Running volume across several merchant accounts? Instead of a single gateway, point the form at a payment route: it spreads transactions across your accounts by your rules, retries declines on a second gateway, and fails over automatically if one goes down.
Style it and set a default
Pick a theme for the form (white background by default):
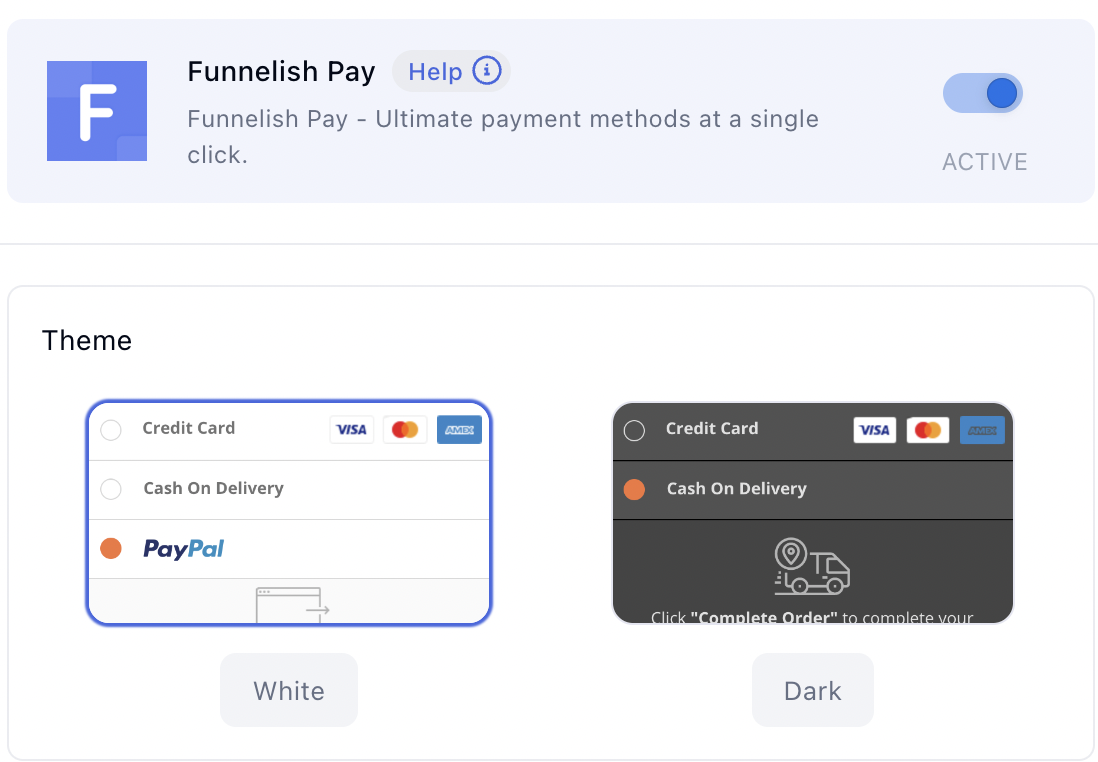
Then use the radio buttons to set the default payment method, the one pre-selected when the page loads:

Card field labels are editable in many cases, useful for translating the form into your market’s language.
Build the rest of the checkout from compositions
The payment form handles payment. For the address fields around it, don’t build from scratch: Compositions ship pre-built checkout blocks made of containers and form elements, including shipping and billing address collection, with the optional billing address and its “Same as shipping address” toggle already wired up.
Open the Compositions panel, find the Checkout group, and drag in what you need. Everything is fully editable afterwards. See Compositions & Saved Assets.
One-click upsells come for free
Once a buyer pays through the payment form, every step after the checkout, upsells and downsells, can charge them with a single click, no card re-entry, for every payment method the form accepted. You don’t configure anything extra for this: it follows from having the payment form on the checkout step.
That’s what makes post-purchase offers work. See One-Click Upsells & Downsells.
Preview and test
Click Save changes, then Preview. The form opens in a new tab with the default method highlighted.
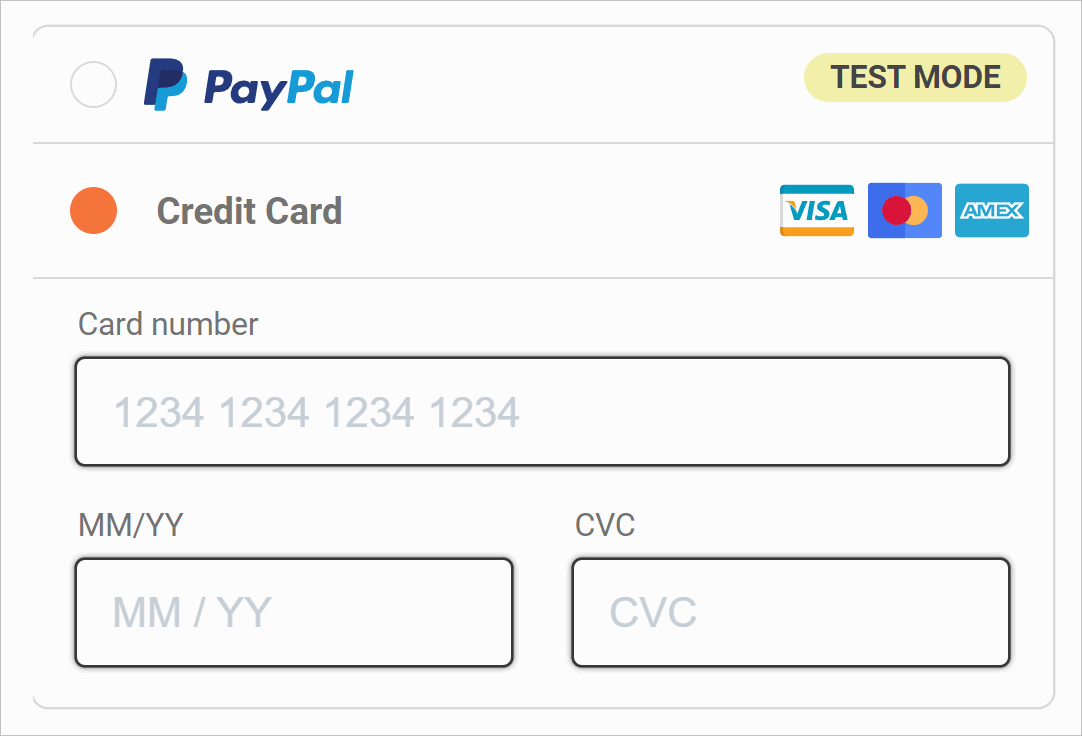
Before real traffic, run a test payment through the whole funnel, on mobile as well as desktop, and once for each method you enabled.
When to use a 2-Step Form instead
The panel holds a second widget: the 2-Step Form. It collects customer details in step one, then reveals products, payment and the order summary in step two.
Choose it when the order of information matters:
-
The price should come after the details. Free-plus-shipping offers and lead-first structures work better when the buyer commits their name and address before seeing the charge.
-
You want the contact captured even if they don’t pay. Step one submits before payment, so abandoners still enter your abandoned cart automations with an email and address on file.
For everything else, a normal checkout with the payment form converts better: fewer steps, fewer places to drop off.
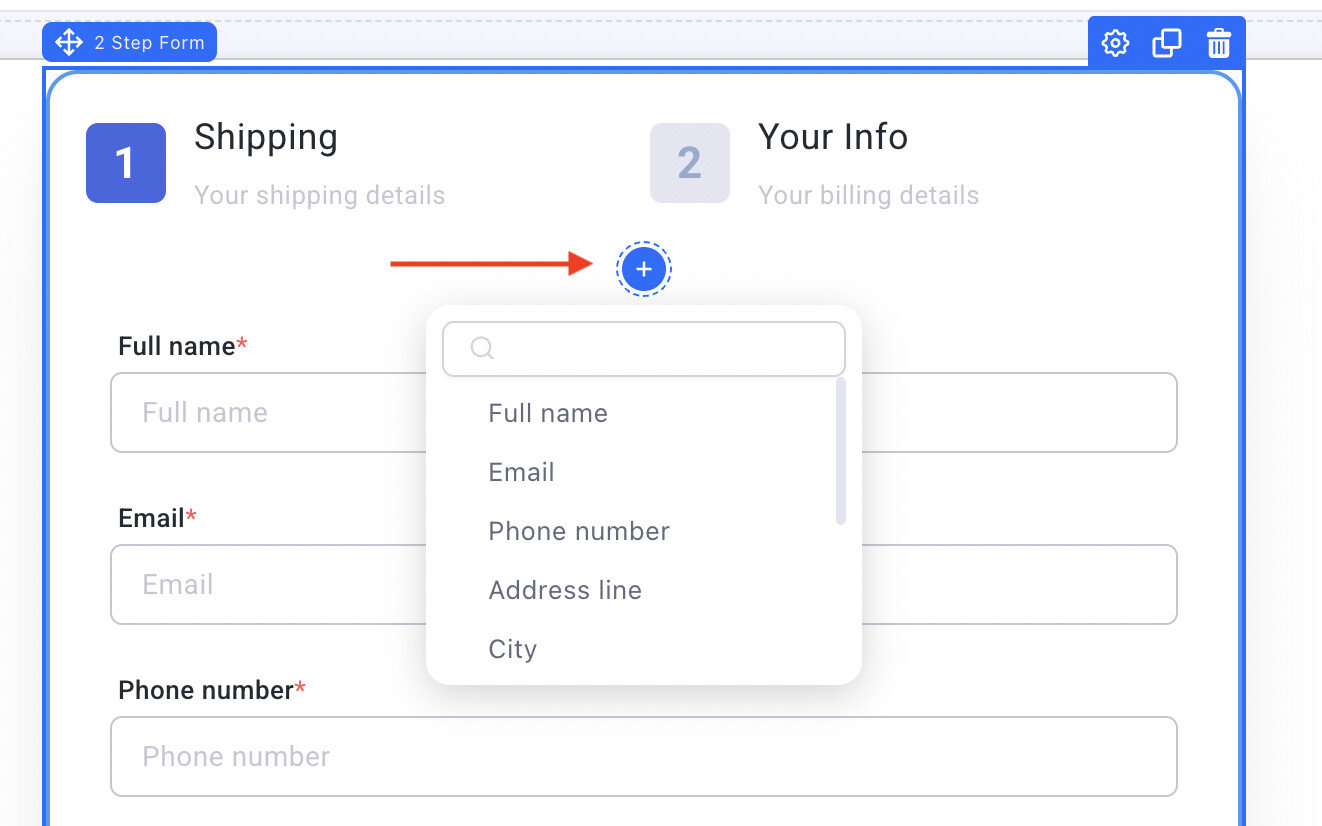
Working notes if you use it:
-
Click the Shipping or Your Info headings to rename the sections
-
Click any field once to edit it in the side panel: required or optional, labels, placeholder text, input type, styling. The trash icon deletes it; the plus (+) at the top of the form adds it back at the bottom, then drag it into place
-
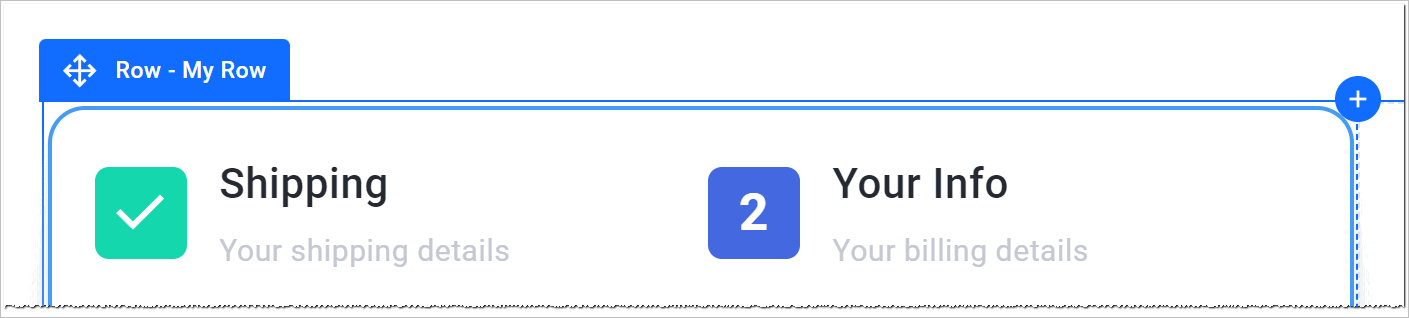
Click the number 2 to reach the second part, which holds the product list, the payment form, the order summary, an order bump and the CTA button
-
Its embedded payment form is configured exactly as described above: click the field, then Edit payment options
-
To preview the payment part, click Preview, then Go to step #2 on the live page
Same rule applies: one payment widget per step. Don’t combine a 2-Step Form and a standalone payment form on the same page.
Keep learning
-
Page Builder overview: the map of the whole editor and every element
-
Configuring the Checkout Step: the checkout page end to end
-
Collect Payments: Start Here: gateways, methods and the payments map
-
Compositions & Saved Assets: pre-built address and checkout blocks
-
Want a checkout that already converts? Clone a funnel from Templates
 Questions? Reply below or ask in Ask the community.
 Missing an editor feature? Suggest it in Feature requests — the most-voted requests shape the roadmap.