Popups catch visitors at the moments that matter: about to leave, deep into the page, or clicking for more detail. In Funnelish a popup is a small canvas you design like any other part of the page, then show either automatically (exit intent, scroll, time on page) or on click.
Popups are reusable. The same popup can be used on multiple funnel steps, and any change you make to it appears everywhere it’s used.
Create a popup
-
Open a funnel step and click Edit page.
-
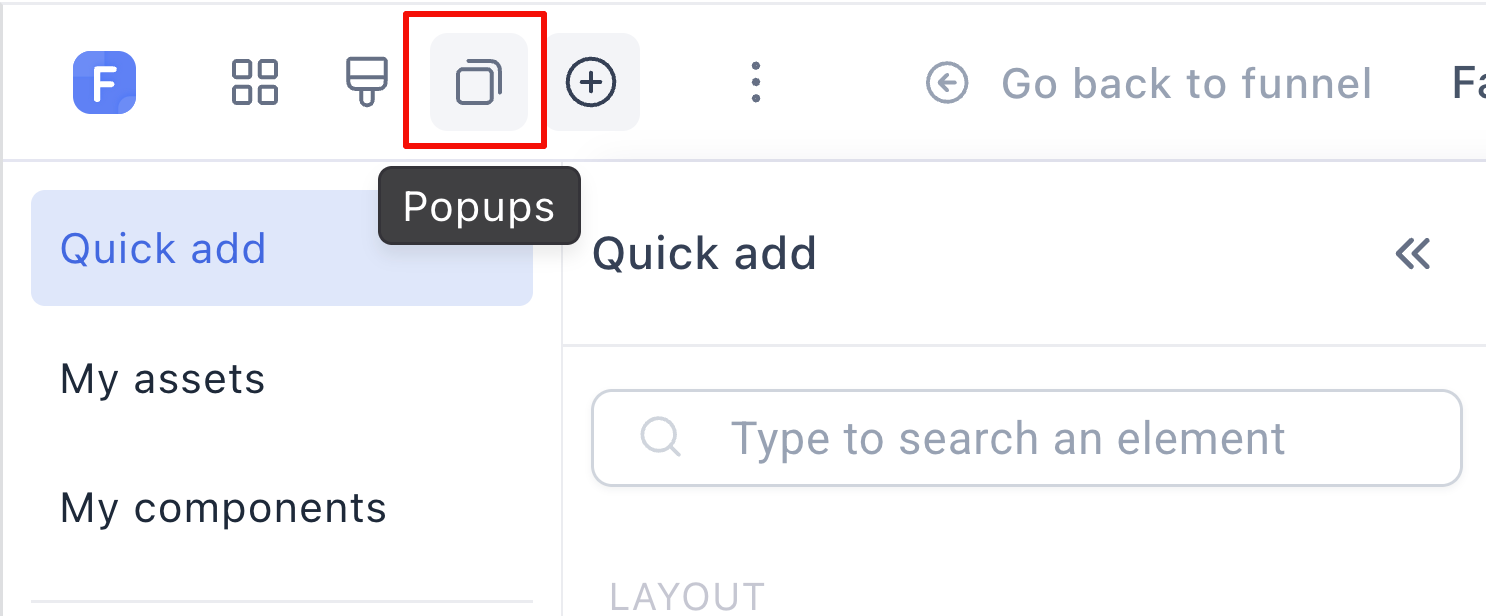
Click the Popups icon in the top left corner of the editor:
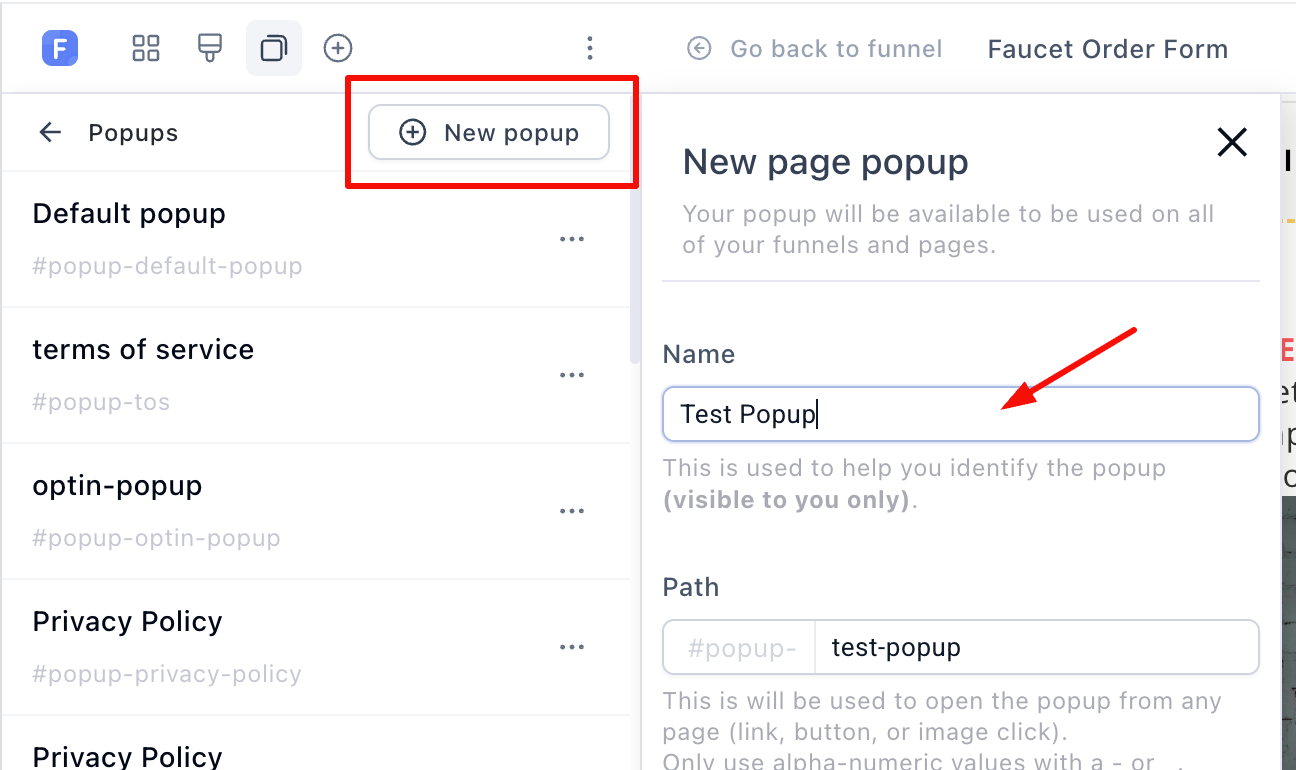
- Click New popup and give it a unique name. Funnelish creates the popup’s path automatically:
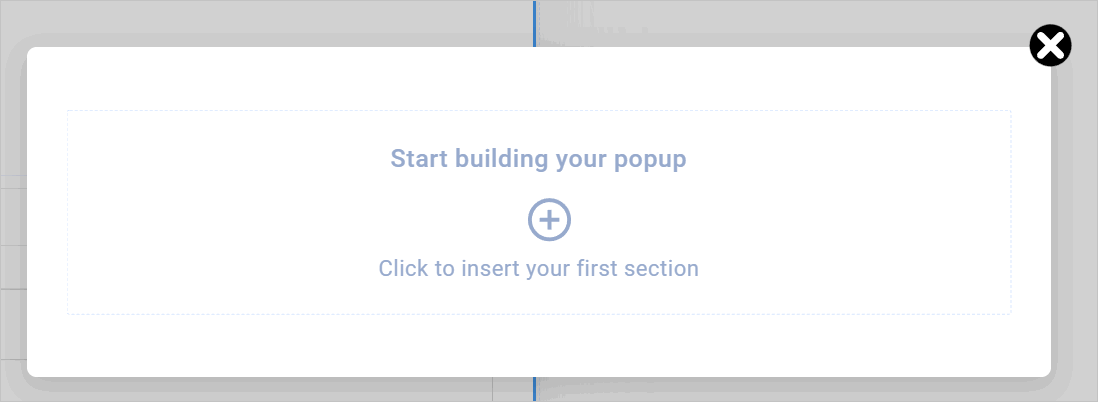
- Click Create popup. A default popup opens on the canvas with its settings panel:
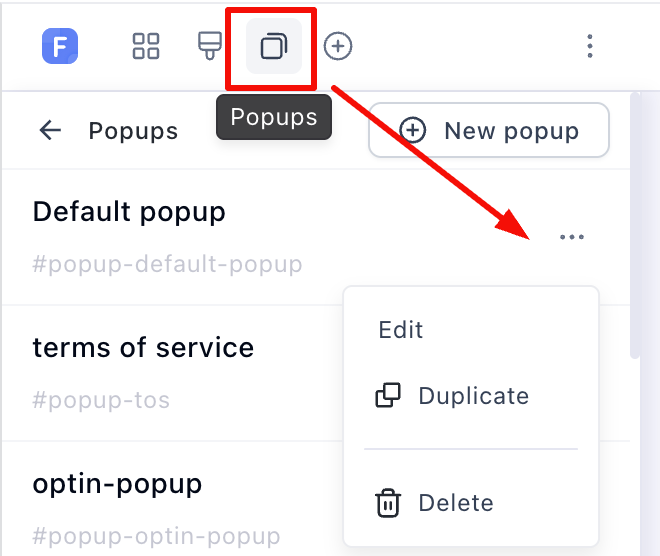
To reopen a popup later, click the Popups icon, pick it from the list, and use the ellipsis menu to Edit, Duplicate or Delete:
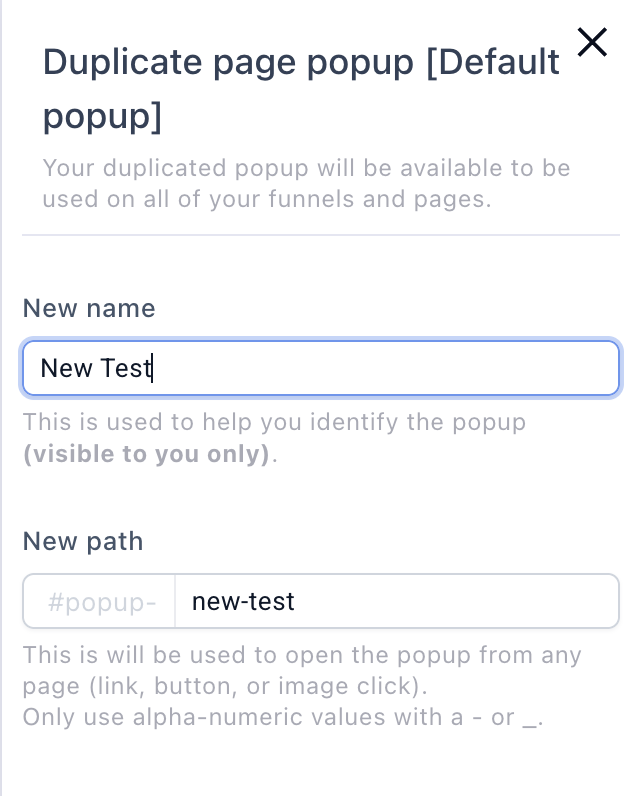
Build the popup content
A popup is a canvas. Set its width in the properties panel (default is Medium), then add rows and containers and drag elements in, the same way you build a page:
-
Headline and paragraph for the offer or message.
-
Form fields if you’re capturing an email before the visitor leaves.
-
A CTA button for the action you want. Inside a popup, buttons get an extra click action, Close popup, which is what your “No thanks, I’ll pass” dismiss button should use.
-
Images, video, timers, anything the page builder has.
Show it automatically: page triggers
Each step chooses which popup shows and when, from the page properties. Click the ellipsis on the popup, select Page properties, then pick the popup under Page popup and choose its trigger:
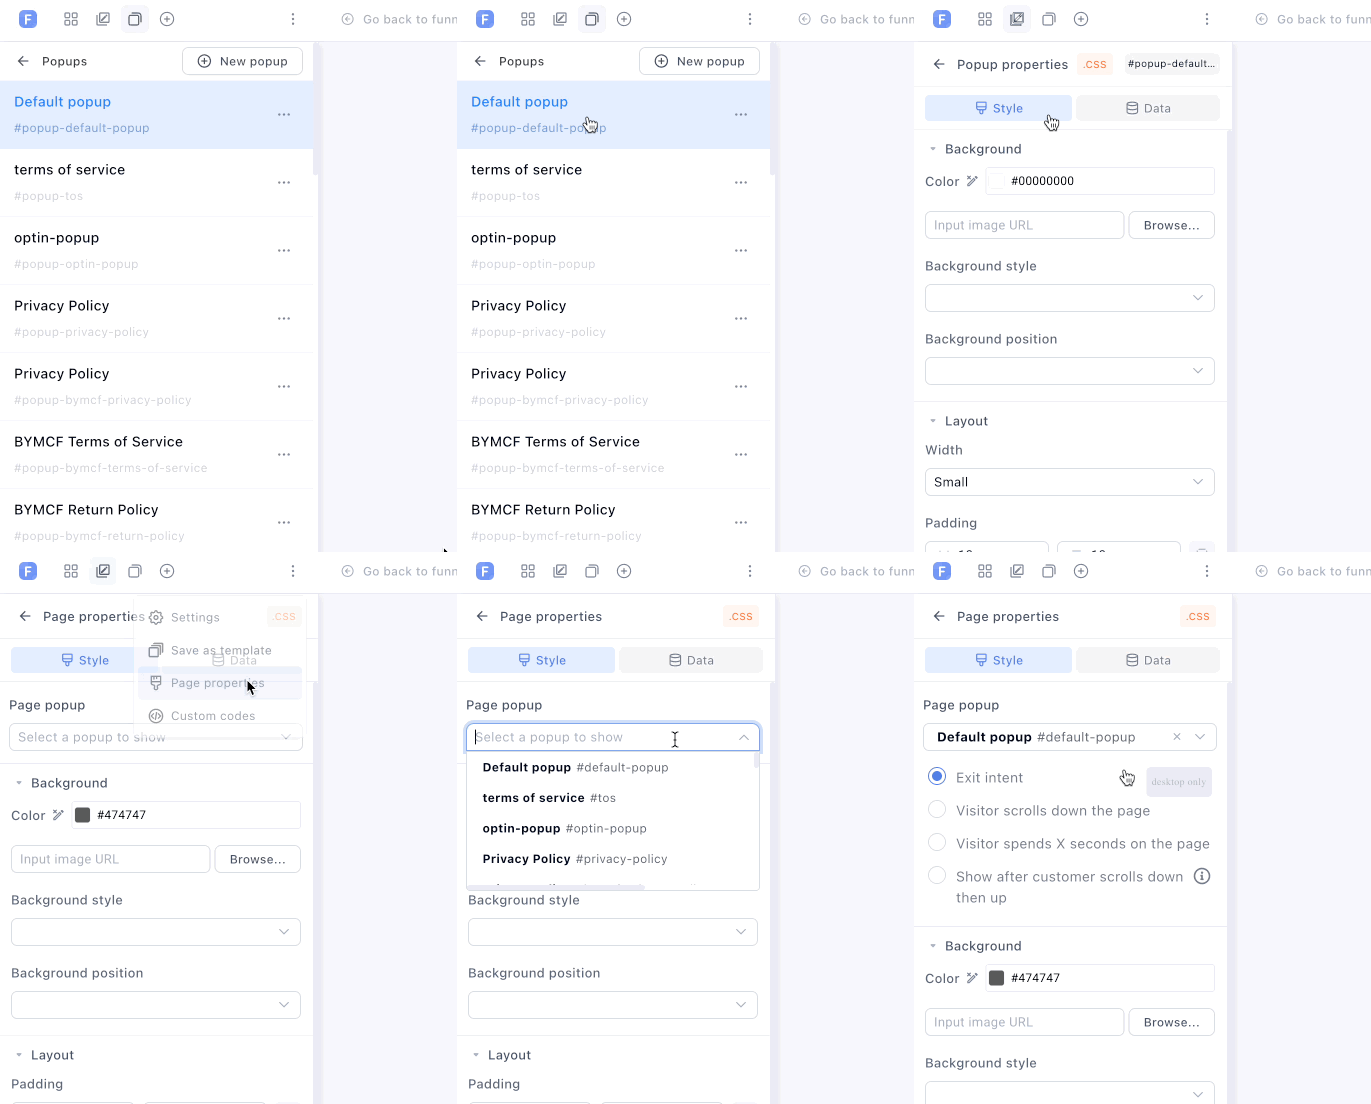
-
Exit intent: shows when the visitor moves to leave the page. Desktop only, since it tracks the cursor heading for the close button.
-
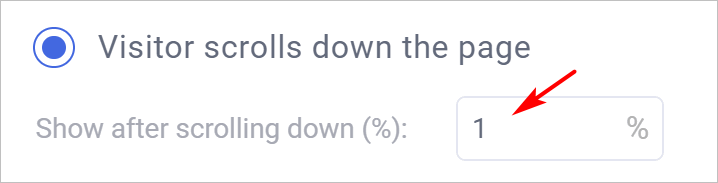
Visitor scrolls down the page: shows after the visitor scrolls a percentage of the page. Good for engaged readers on long-form pages.
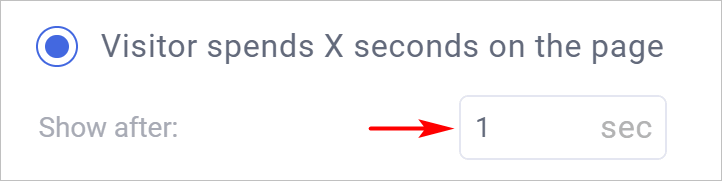
- Visitor spends X seconds on the page: shows after a fixed time.
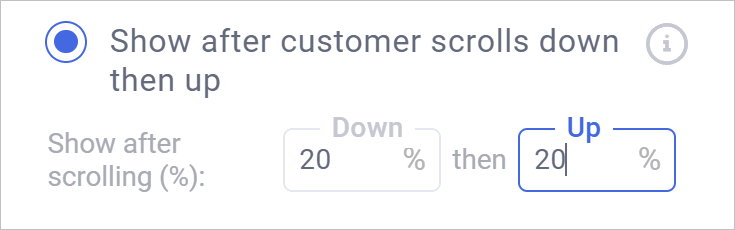
- Scrolls down then up: the visitor scrolls down a set percentage, then back up. This is the closest thing to exit intent on mobile, where there’s no cursor to track, so use this trigger for mobile exit offers.
Show it on click
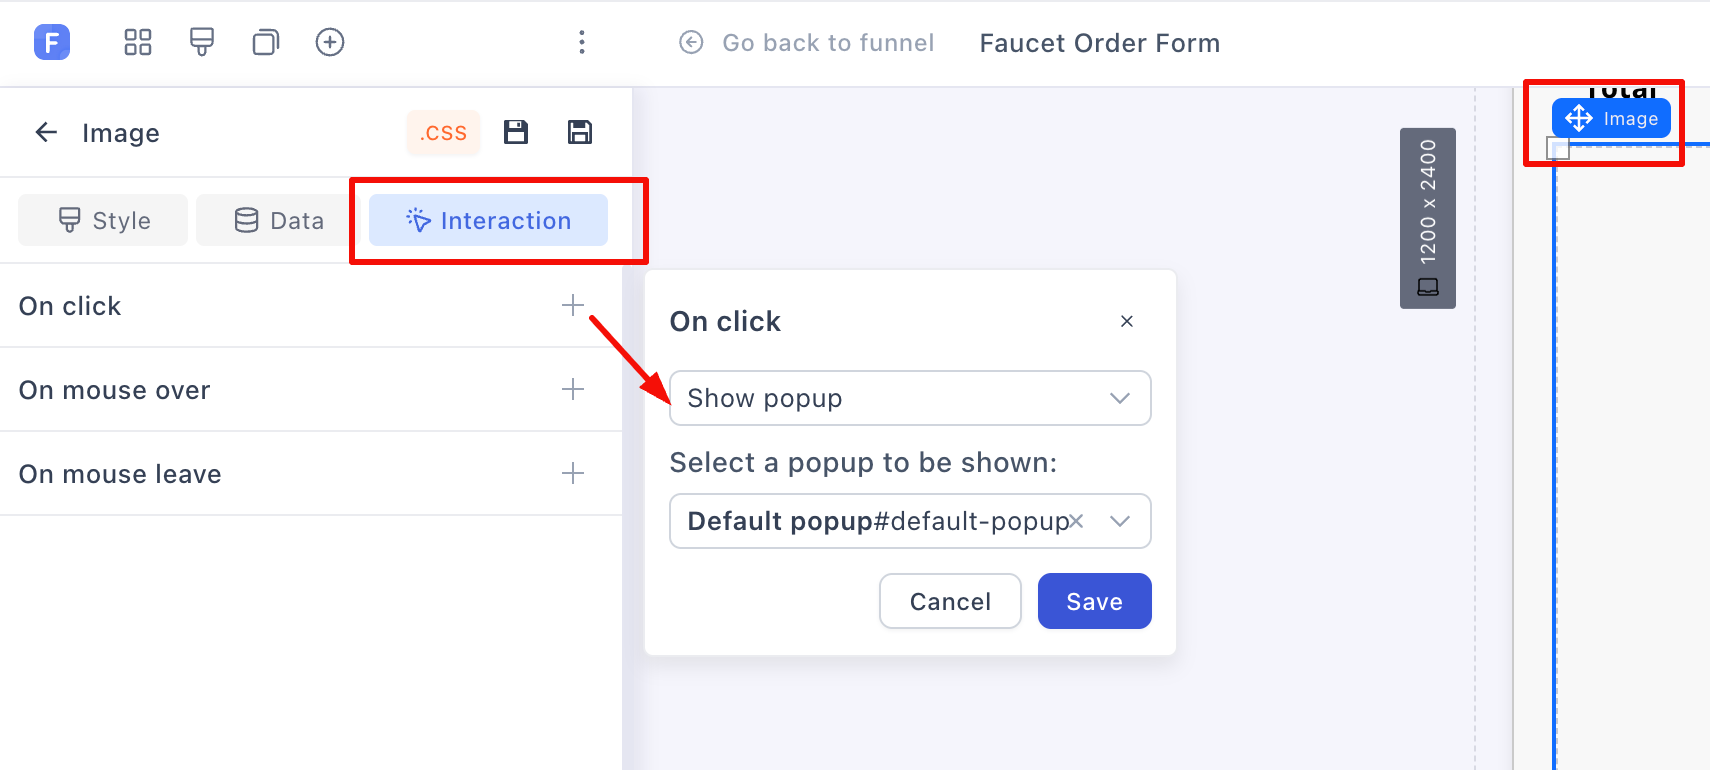
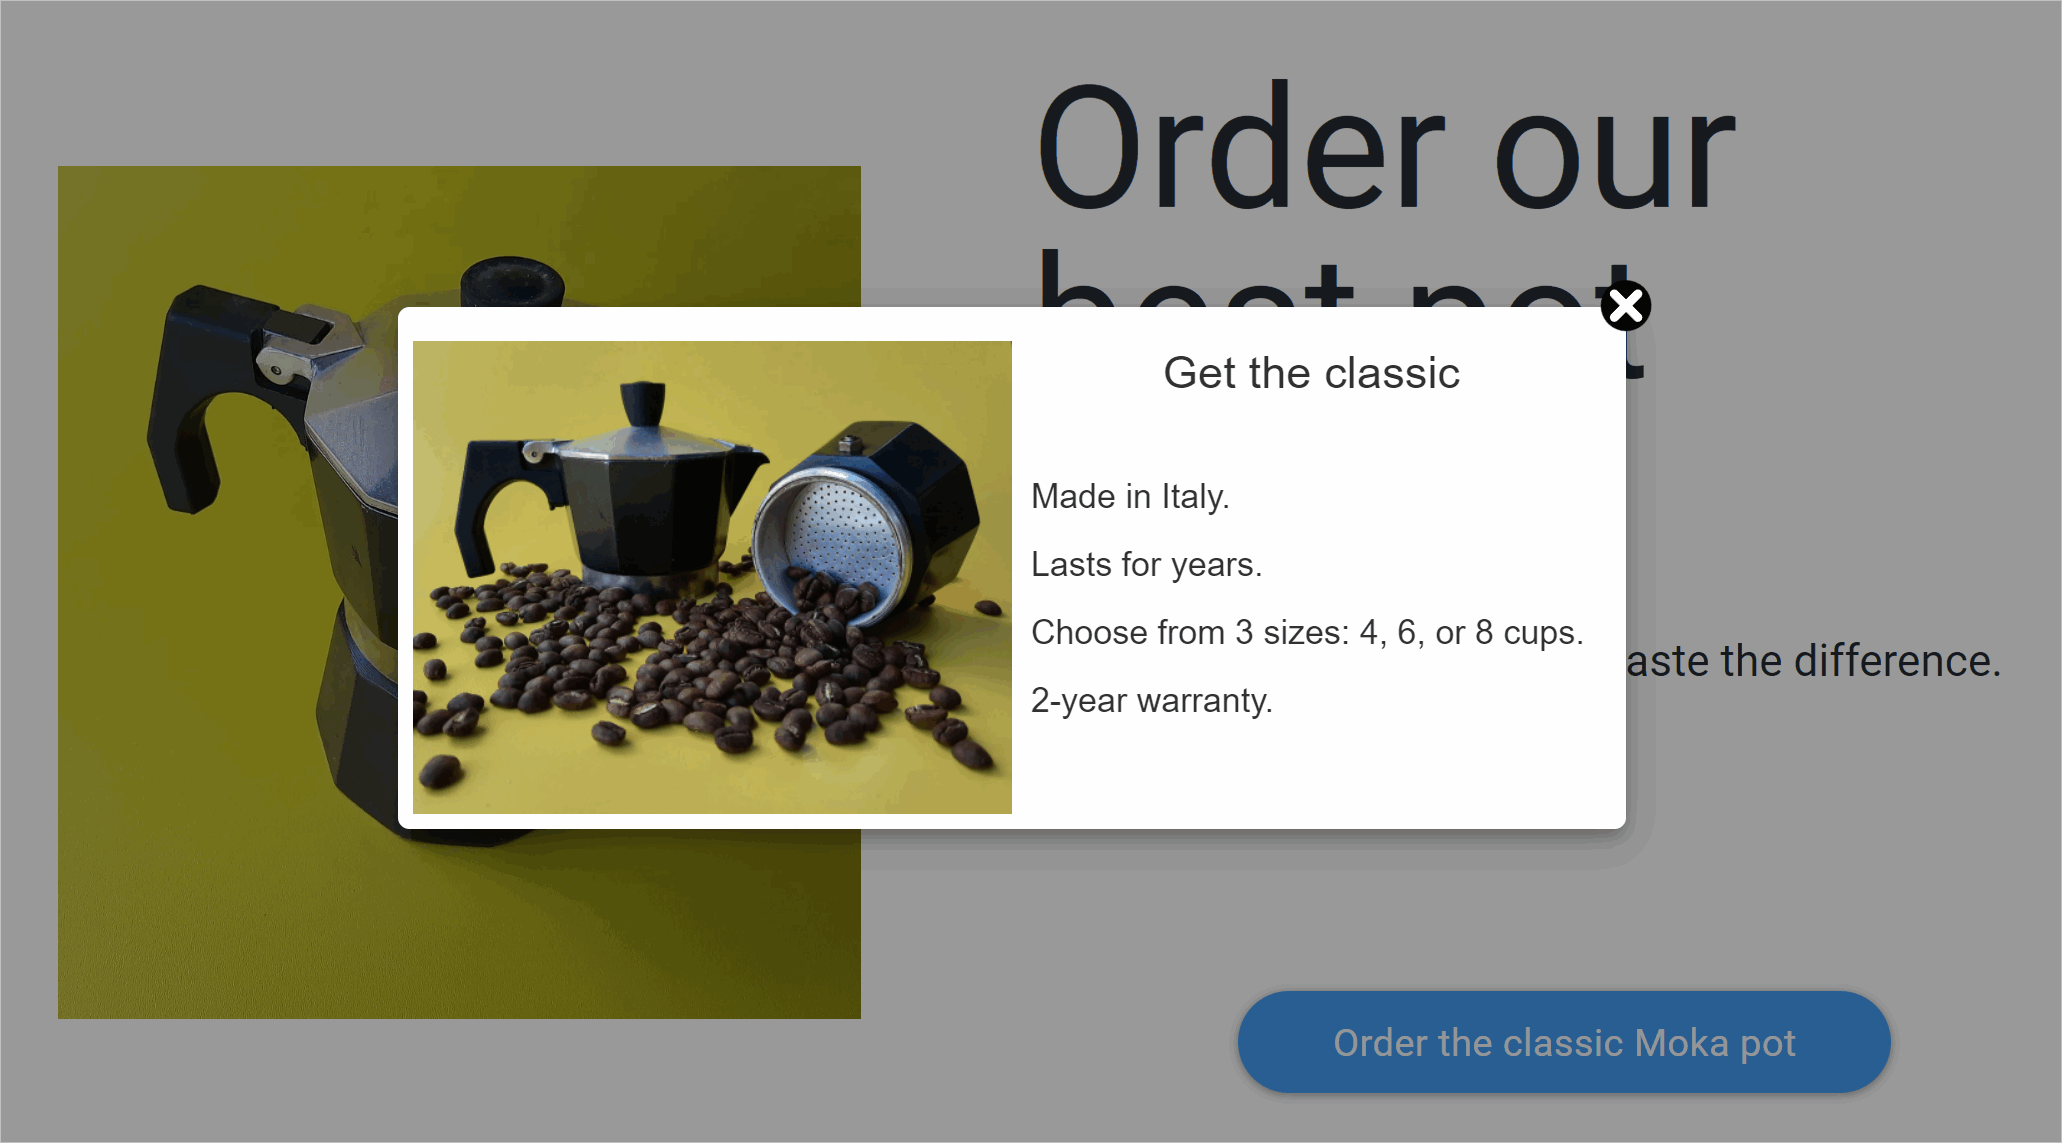
Any button, image or container can open a popup through its Interaction tab: set On click to Show popup and pick the popup from the dropdown:
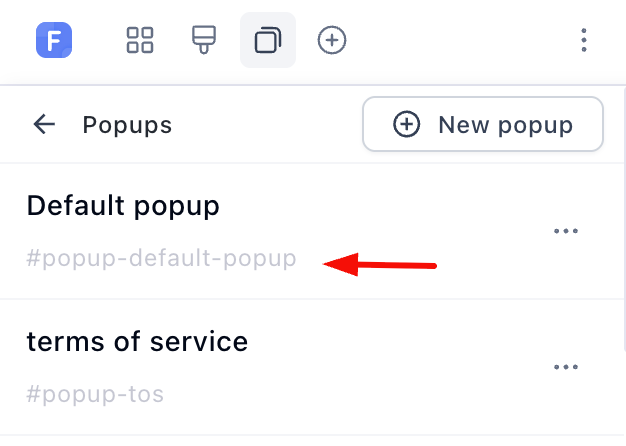
For a link inside a block of text, use the popup’s path instead. Copy it from the popup list:
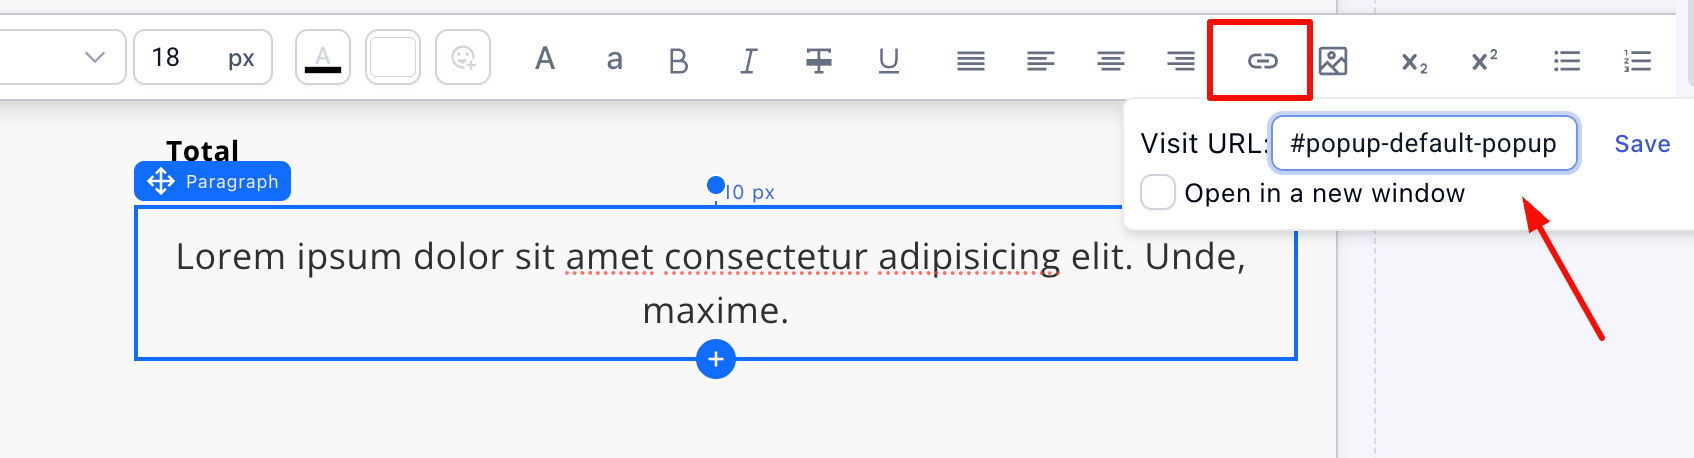
Then highlight the text, click the link icon, and paste the path into the Visit URL field:
Popups that earn their place
-
Exit intent discount: a last offer before an abandoning visitor is gone. Pair the desktop exit intent trigger with the down-then-up trigger for mobile.
-
Email capture: a form field plus button, so a leaving visitor at least joins your list and your abandonment emails.
-
Detail on demand: size charts, ingredient lists, shipping and returns policies. A click-triggered popup answers the question without sending the buyer away from the checkout.
-
Video popup: a testimonial screenshot or thumbnail that opens the full clip.
Always preview after wiring things up: Save changes, then Preview, and check the trigger fires the way you expect:
Related articles
Stuck on a popup that won’t trigger, or want a second pair of eyes on your exit offer? Start a topic in Ask the community with a link to your page and someone will take a look.
And if you’d rather start from something working: the funnels in Templates come with popups, timers and CTAs already wired up. Clone one and open its popups to see how they’re built.