The Meta Pixel app (Facebook Pixel) lets you track every important event across your Funnelish pages automatically: page views, leads, checkouts, purchases, upsells and more. It fully supports the Meta Conversions API, so your critical events are also sent server-side in real time for maximum accuracy, even with iOS 14+ and ad blockers in the mix.
No coding required. Activate the app, paste your Pixel ID, and every relevant event is tracked on auto-pilot.
| Funnels | Blogs | Customer Portals | Stores | |
|---|---|---|---|---|
| Available on |  |
|
|
|
 What the app tracks by default
Out of the box, the app fires all standard Meta events automatically:
| Event | When it fires (default) |
|---|---|
| PageView & ViewContent | On every page visit. |
| Lead & AddToCart | When a customer opts into your funnel, or a new lead is detected. |
| AddPaymentInfo & InitiateCheckout | When a customer enters payment details, just before the charge is processed. Great for retargeting failed payments and high-intent customers. |
| Purchase | On every successful purchase, with accurate value and currency. Covers order forms, order bumps, upsells, and downsells. |
| CompleteRegistration | When a customer completes the whole funnel and lands on the Thank You page. |
On top of that, the app includes:
-
Fully customizable events — every event’s trigger can be changed or turned off to fit your setup. More on this below.
-
Conversions API (server-side tracking) — all events except PageView/ViewContent are also fired server-side in real time as customers move through your funnel.
-
Multi-pixel support — run up to 5 pixels simultaneously, so you can track data across multiple Meta Business Managers at once.
-
Pixel lazy loading — reduces fake bot data by loading the pixel intelligently.
-
Automatic form support — works with both standard and 2-step order forms, OTOs (upsells and downsells), and order bumps out of the box.
 Get your Pixel ID
First, copy your Pixel ID from your Meta Business Suite account:
-
Log in to Meta Business Suite.
-
On the left menu, click All tools.
-
Scroll down and click Events Manager. A new browser tab opens.
-
Locate the pixel you want to use and copy its ID.
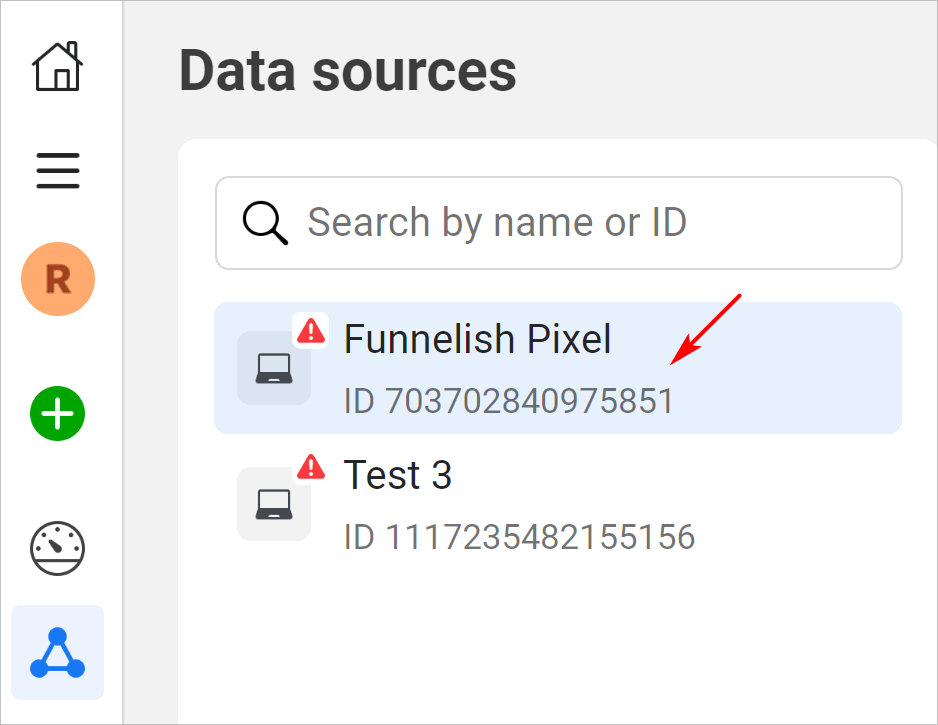
➕ Don't have a pixel yet? Create one in 2 minutes
On the Meta Business Suite Events Manager:
-
Click the green plus (+) button on the side menu.
-
In the pop-up window, check the Web box, then click Connect.
-
Enter a unique name and click Create Pixel.
-
Enter your website URL and click Check.
-
Once Facebook verifies your site, click Next.
-
Choose Conversions API and Meta Pixel, then click Next.
-
Read through the slides, then choose Set up with partner integration.
-
Click Next, then Close.
Keep this browser tab open. You’ll need it again for the Conversions API step below.
 Activate the app and paste your Pixel ID
Back in Funnelish:
-
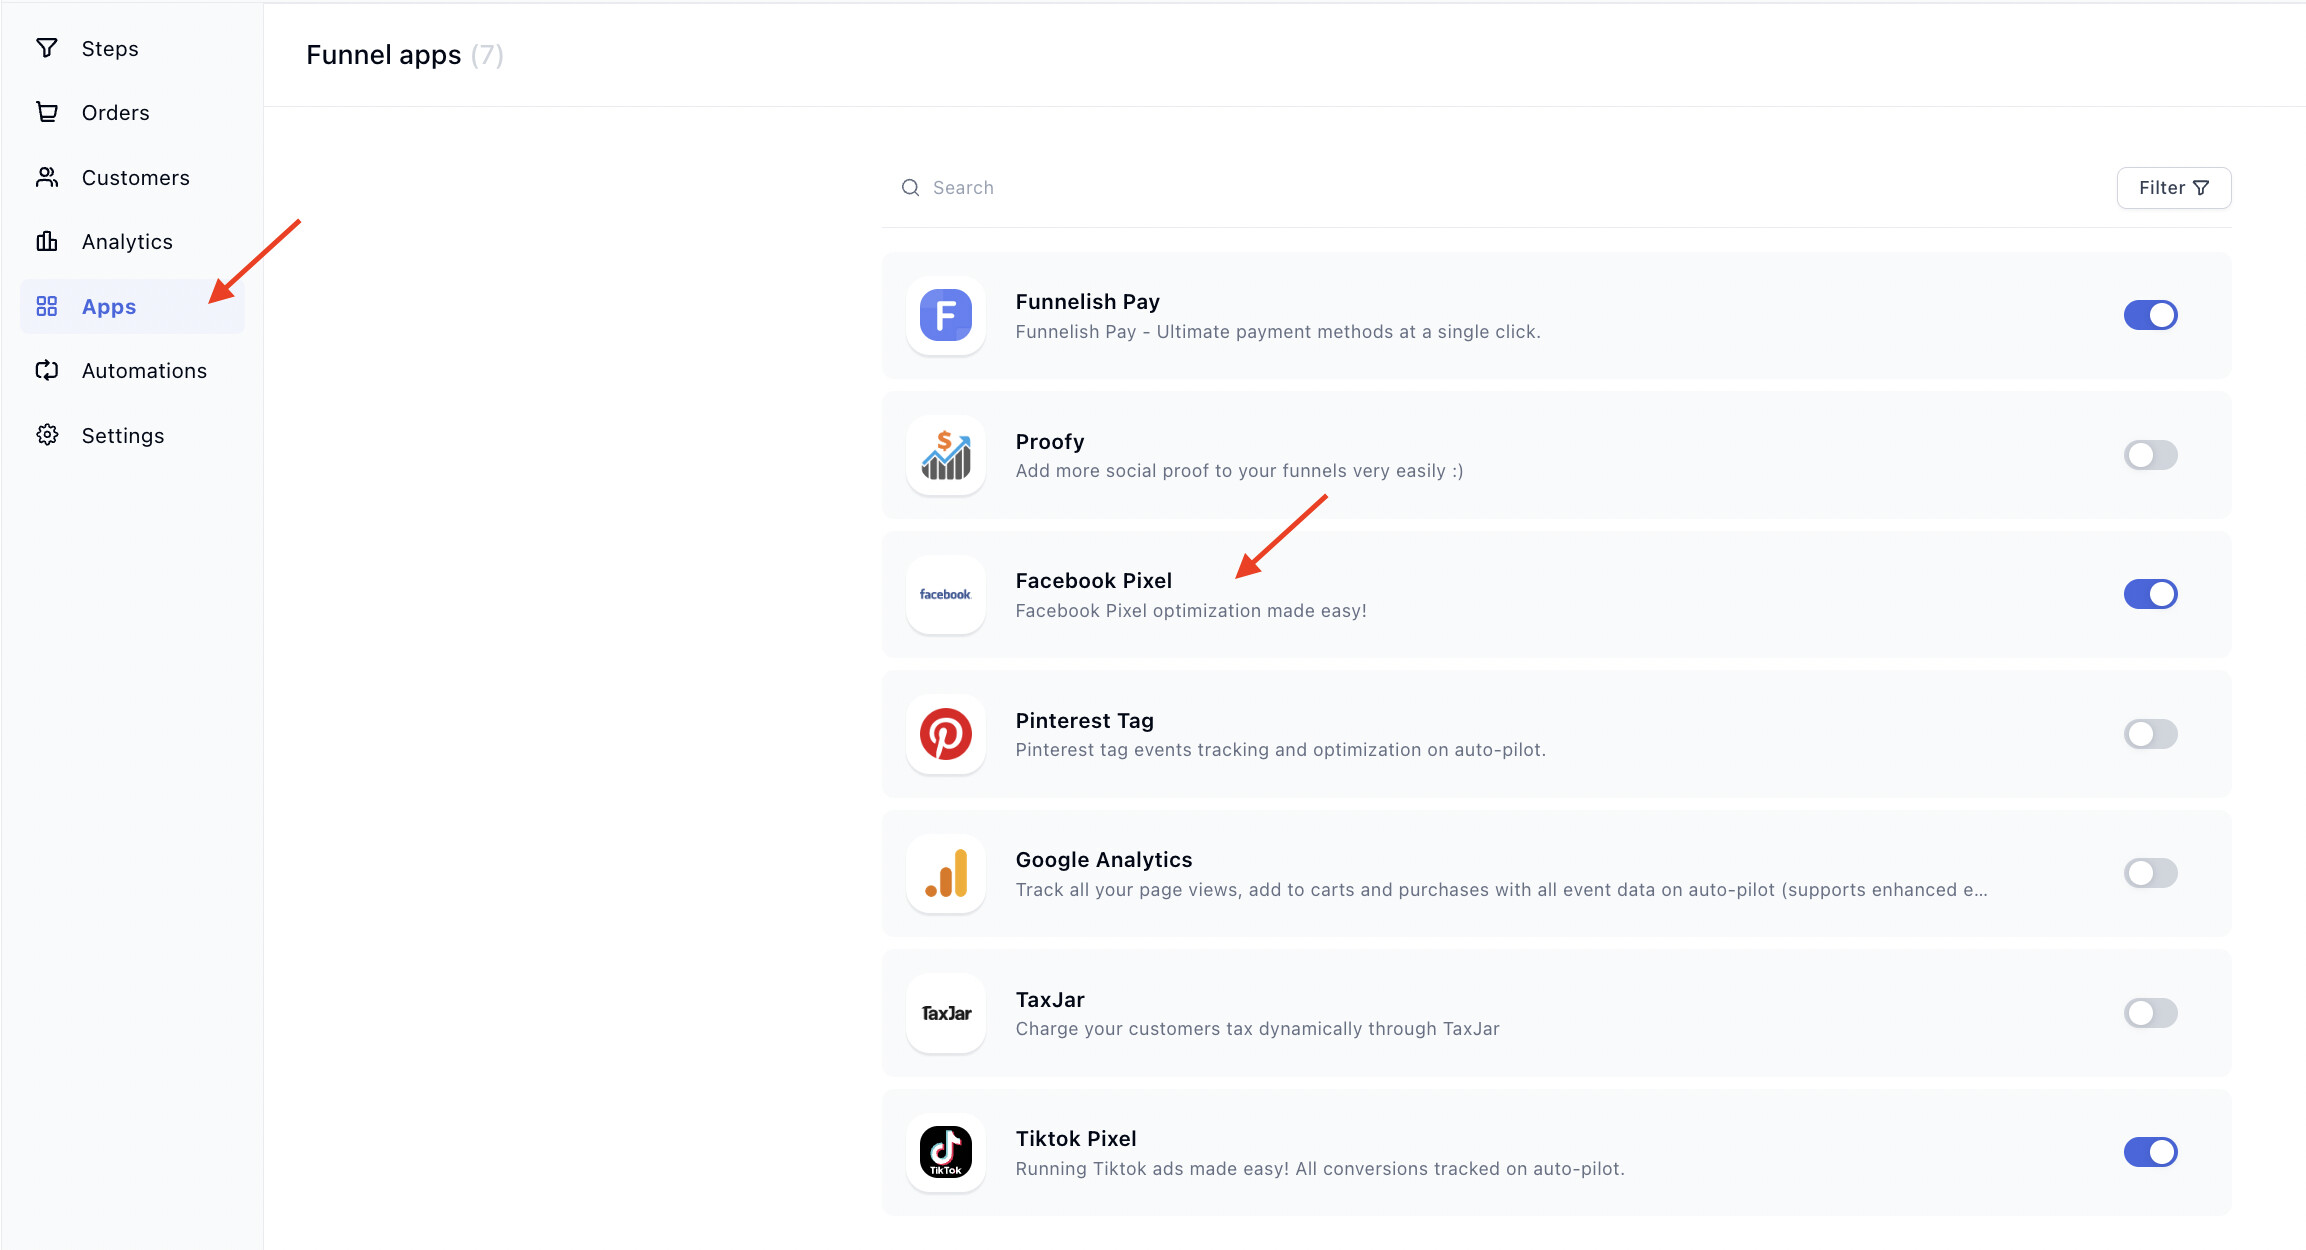
Open your funnel (or blog, portal, or store) and go to the Apps tab.
-
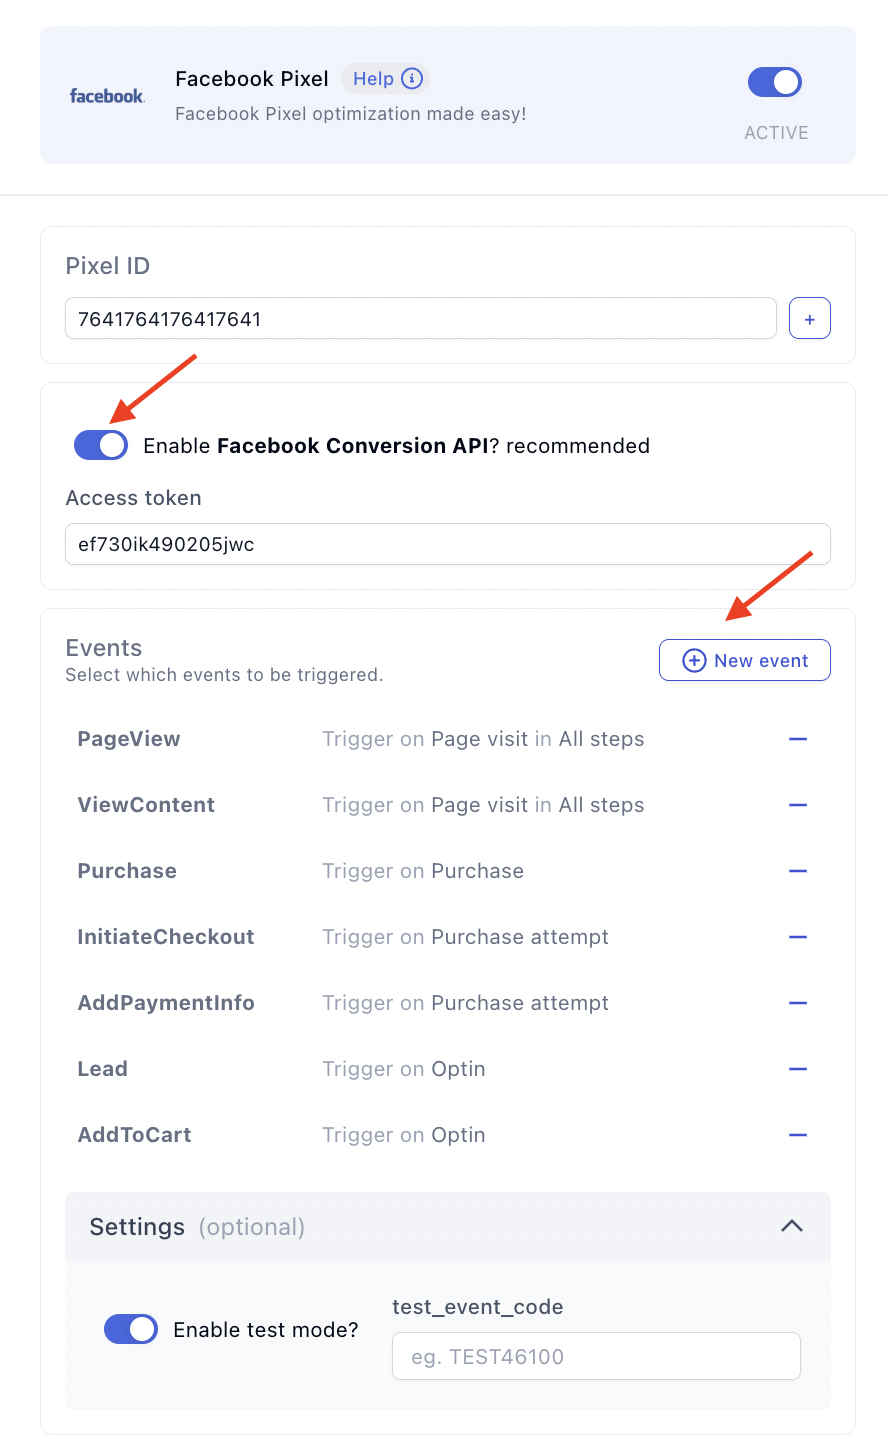
Find Meta Pixel and enable it.
-
Paste your Pixel ID into the field.
-
Click Save changes.
That’s it for basic tracking. Your pixel is now live. For the best data quality though, don’t stop here: connect the Conversions API next.
 Connect the Conversions API (highly recommended)
The Conversions API sends your events server-side, directly from Funnelish to Meta. This means more accurate attribution, better campaign optimization, and reliable tracking even when browsers or ad blockers interfere with the pixel.
Back on your Meta Business Suite tab:
-
Click the name of your pixel in the side menu.
-
Open the Settings tab.
-
Scroll down to the Conversions API section and click Generate access token.
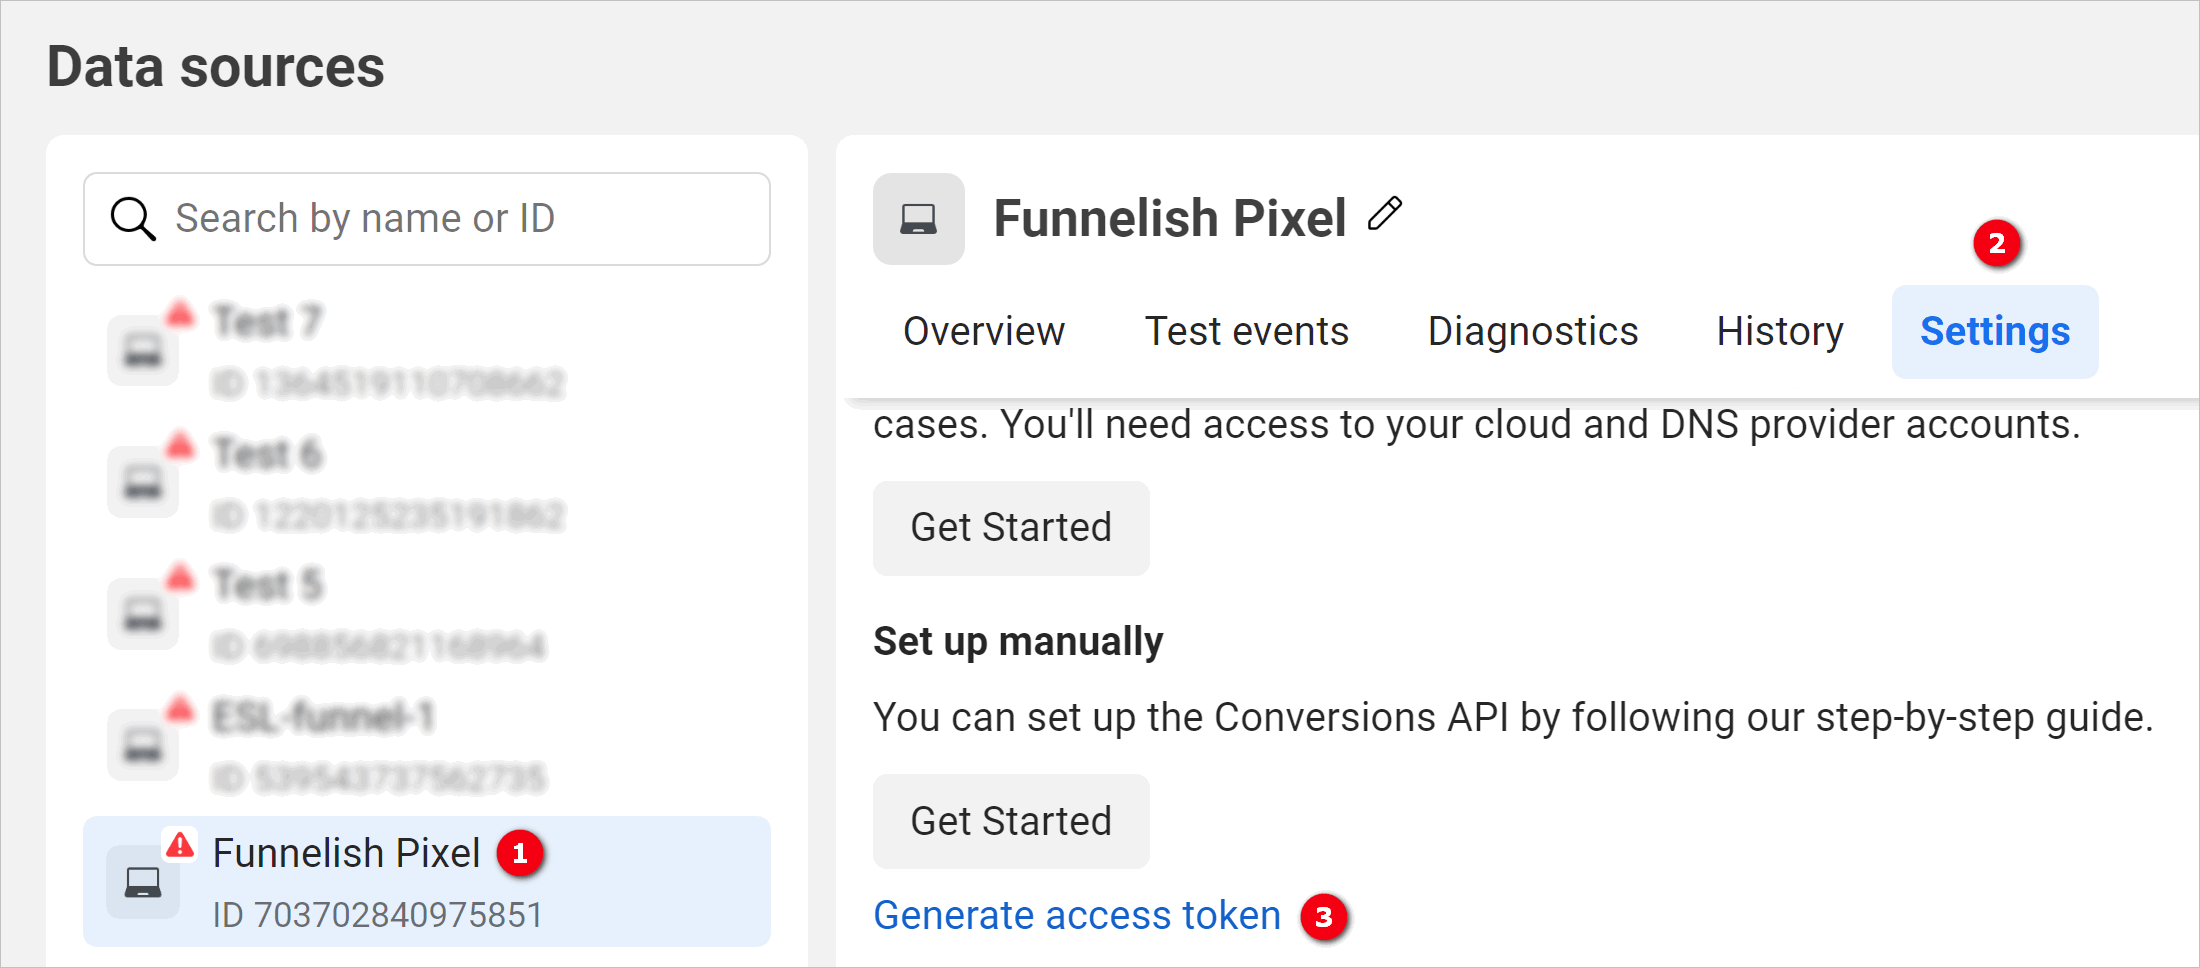
- Click the token to copy it.
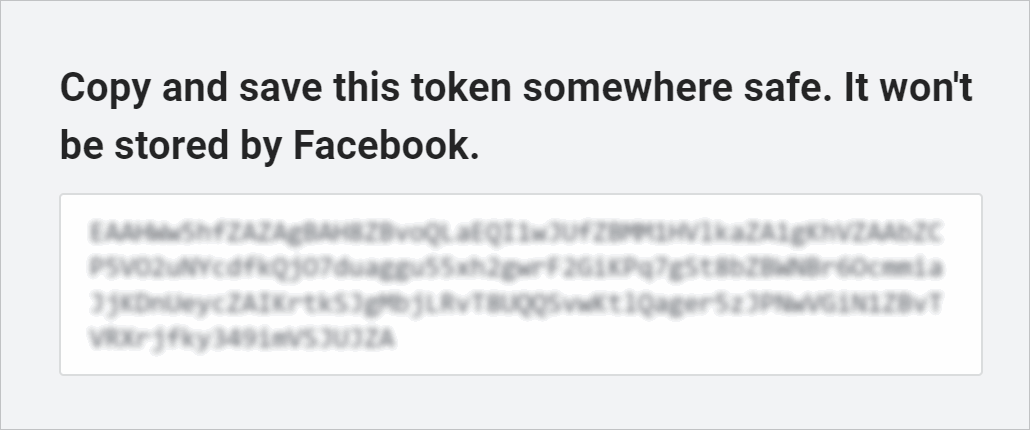
Then back in Funnelish:
-
Open the Meta Pixel app settings inside your funnel.
-
Paste the access token into the field.
-
Click Save changes.
 Customizing event tracking
The default behavior works great for most funnels, but every event is fully customizable. Inside your funnel, blog, portal, or store, go to Apps → Meta Pixel settings, where you can:
-
Change what triggers an event — for example, fire an event on a specific button click or on a specific page visit instead of the default trigger.
-
Turn off events you don’t want to track at all.
This replaces the old workaround of adding custom tracking code to your pages. No code needed anymore, everything is configured right from the app settings.
Testing your pixel
-
Use the Meta Pixel Helper Chrome extension to verify events fire as you browse your funnel.
-
Or use Test Events inside Meta’s Events Manager to watch events arrive in real time.
Disable ad blockers when testing. Traditional ad blockers block the Meta Pixel entirely or cause it to misbehave, which makes it look like your setup is broken when it isn’t.
 Event de-duplication
Since Funnelish sends critical events both from the browser (pixel) and the server (Conversions API), every event carries proper deduplication data so Meta counts it only once.
If you ever notice duplicated or inaccurate events, please report it to our team through support or right here on the community forum.
 Keep learning
More app guides: browse the full Apps documentation category for step-by-step setup guides.
Track and convert smarter:
-
Google Analytics (GA4): Ecommerce Event Tracking — run GA4 alongside your pixel for full-funnel visibility.
-
Facebook Ads Best Practices: No More Wasted Ad Spend — get more out of the events your pixel now tracks.
-
Facebook Ads for Ecommerce — campaign structure and targeting for online stores.
-
Meta Pixel (Facebook Pixel): Conversion Tracking & Conversions API — pair GA4 with the Meta Pixel so your ad platform and analytics agree.
Questions about your pixel setup? Reply below and the community will help you out. 