Triggers start an automation. Actions are what it does next: send an email, wait a day, split by behavior, tag the customer, push data to your CRM. This is the full reference of every action, grouped the way the picker groups them.
Click the + button anywhere in an automation to add an action:
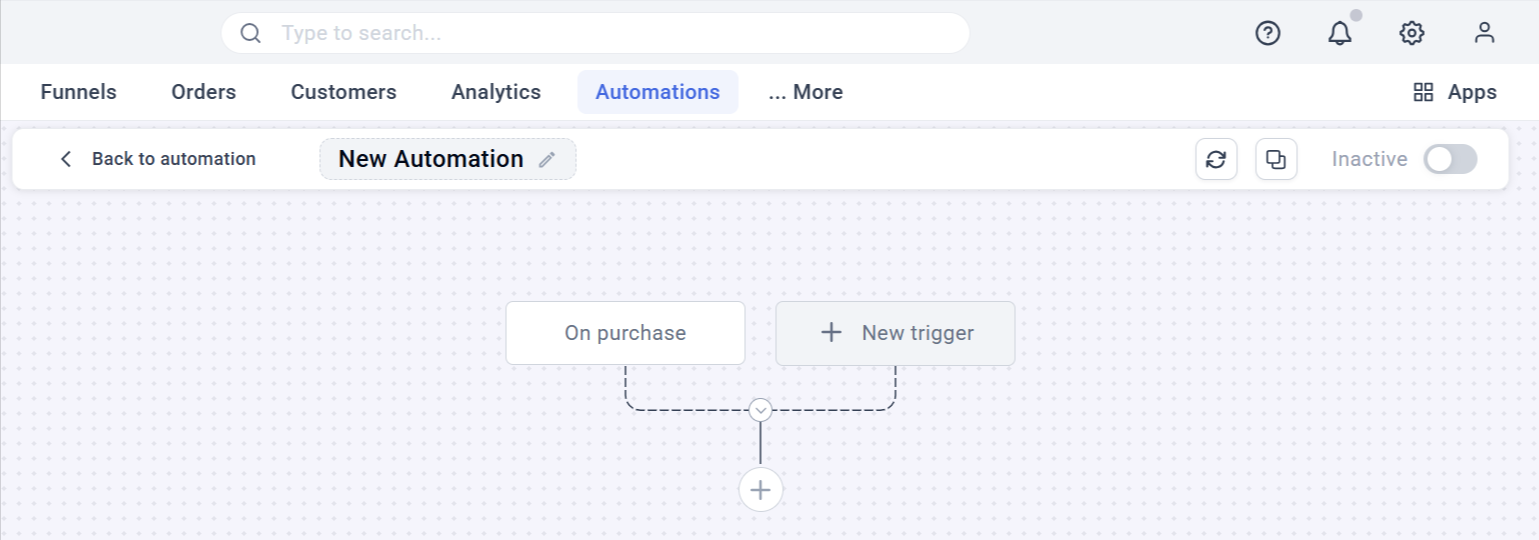
Actions can be rearranged by dragging. If the action you’re moving has actions underneath it, Funnelish asks whether to move the whole branch or just that one action.
Sending actions
Send an email
Sends an email to the customer, either a designed template or a plain text message. This one has its own article: Send Emails From Your Automations.
Send an SMS
Sends a text message to the customer’s phone number through your connected SMS account. Like emails, SMS messages support personalization, and every send is logged on the order timeline.
Send a notification email
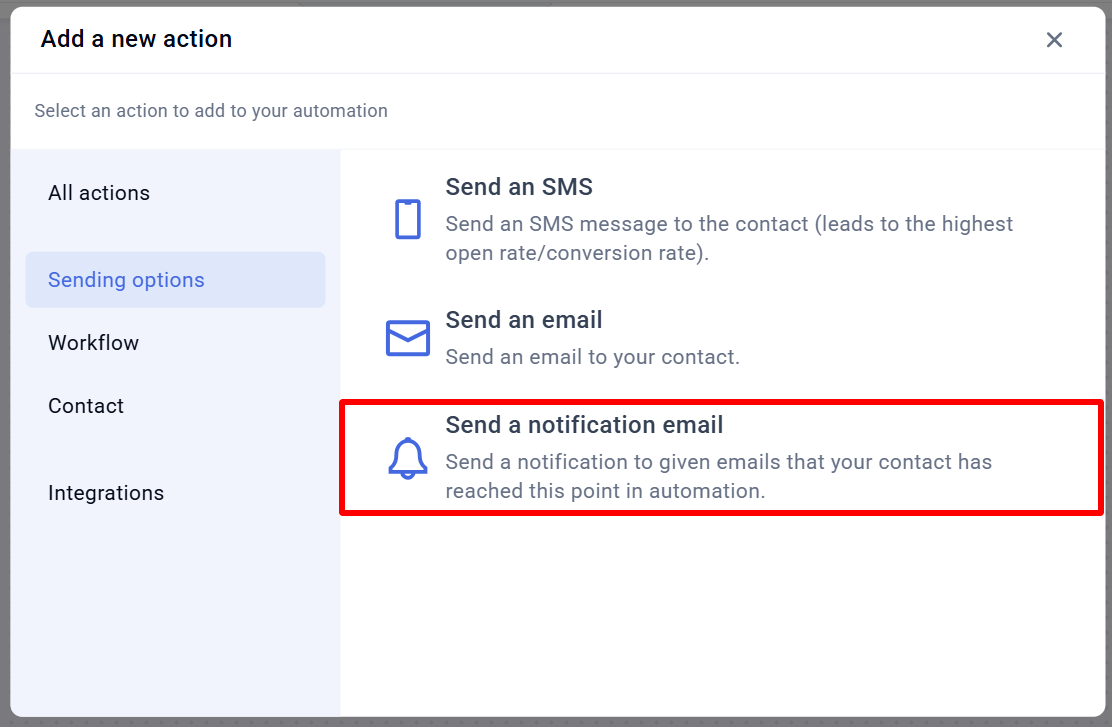
Emails are usually for customers; notifications are for you. This action sends an internal alert to up to five email addresses whenever the automation reaches it: a big order came in, a refund happened, a subscription was cancelled.
Pick it under Sending Options:
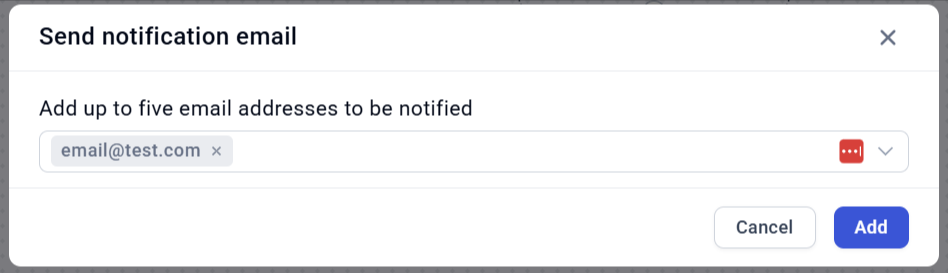
Enter the addresses that should be alerted, then click Add:
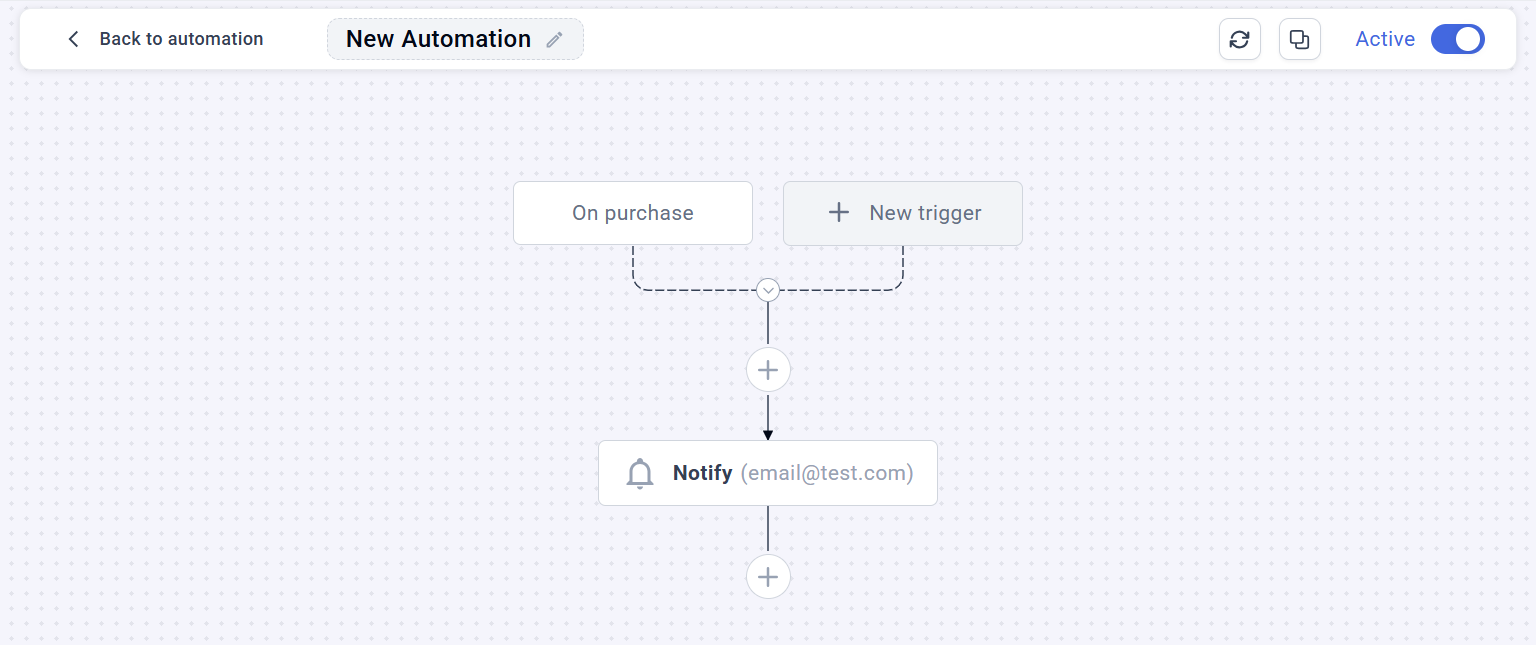
To change the list later, hover the notification box and click the edit icon:
Workflow actions
Wait
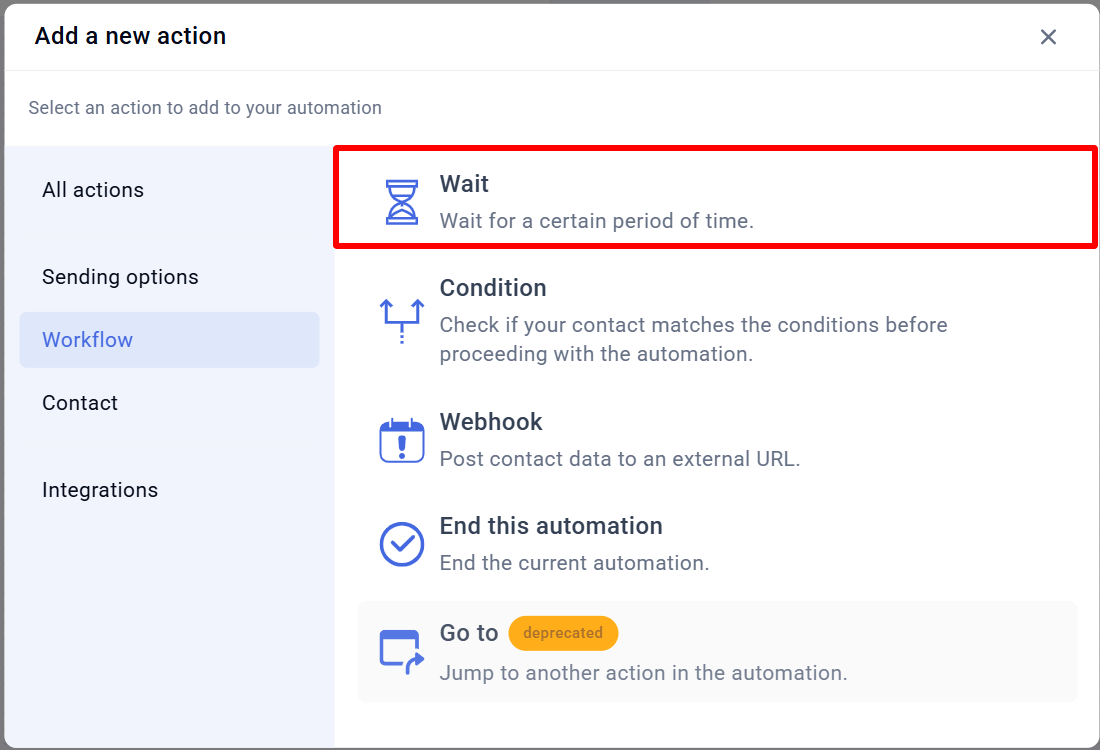
Pauses the automation for a set time before running the next action. Pick Workflow → Wait, then enter a number and a period: minutes, hours, days, weeks or months.
Waits go anywhere in an automation. The classic use is spacing out an email sequence: confirmation now, wait a day, follow-up, wait three days, review request.
Condition
Splits the automation into two branches based on rules, so different customers get different treatment.
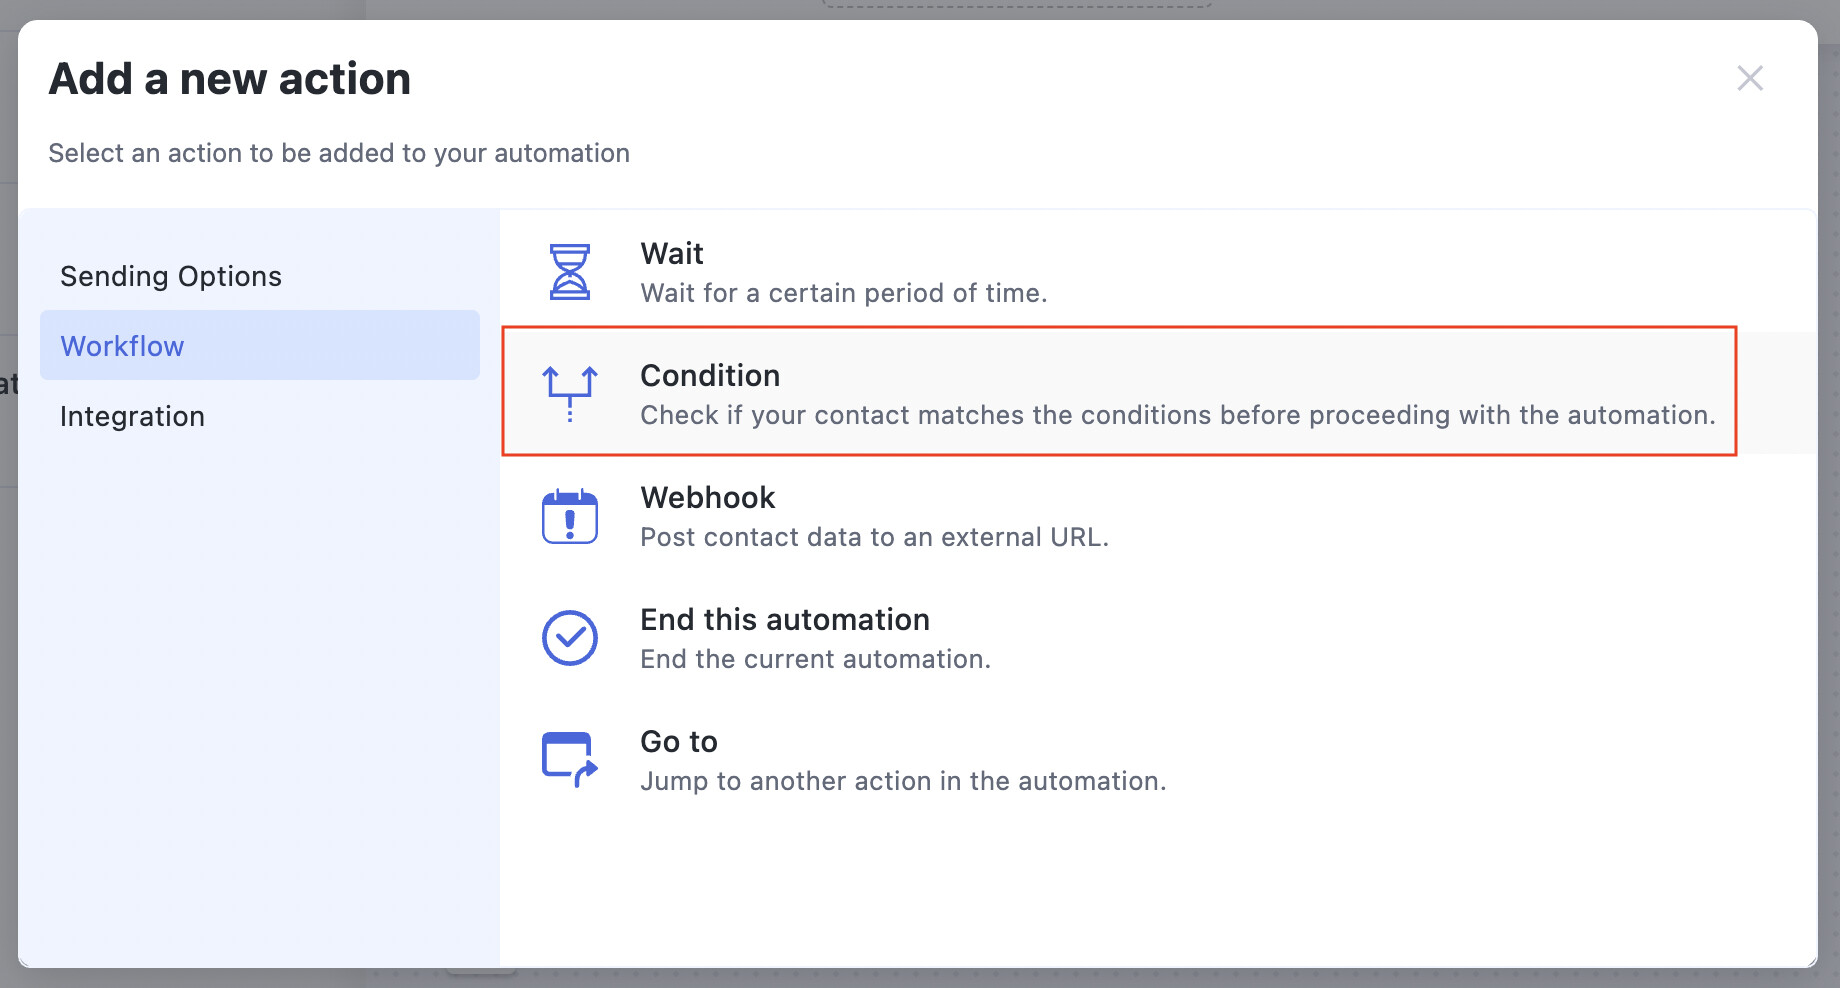
Pick Workflow → Condition:
Build the rules. The example below checks whether the customer bought from the upsell page:
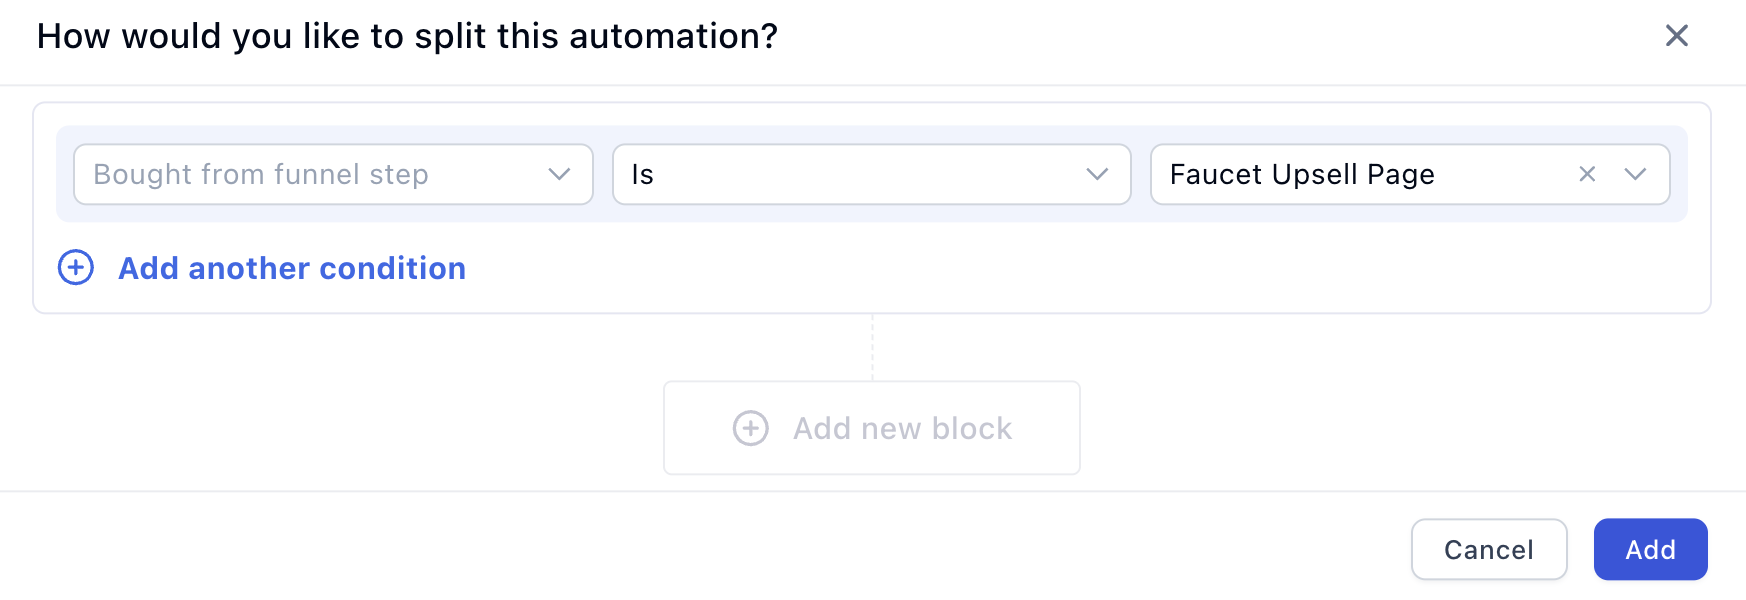
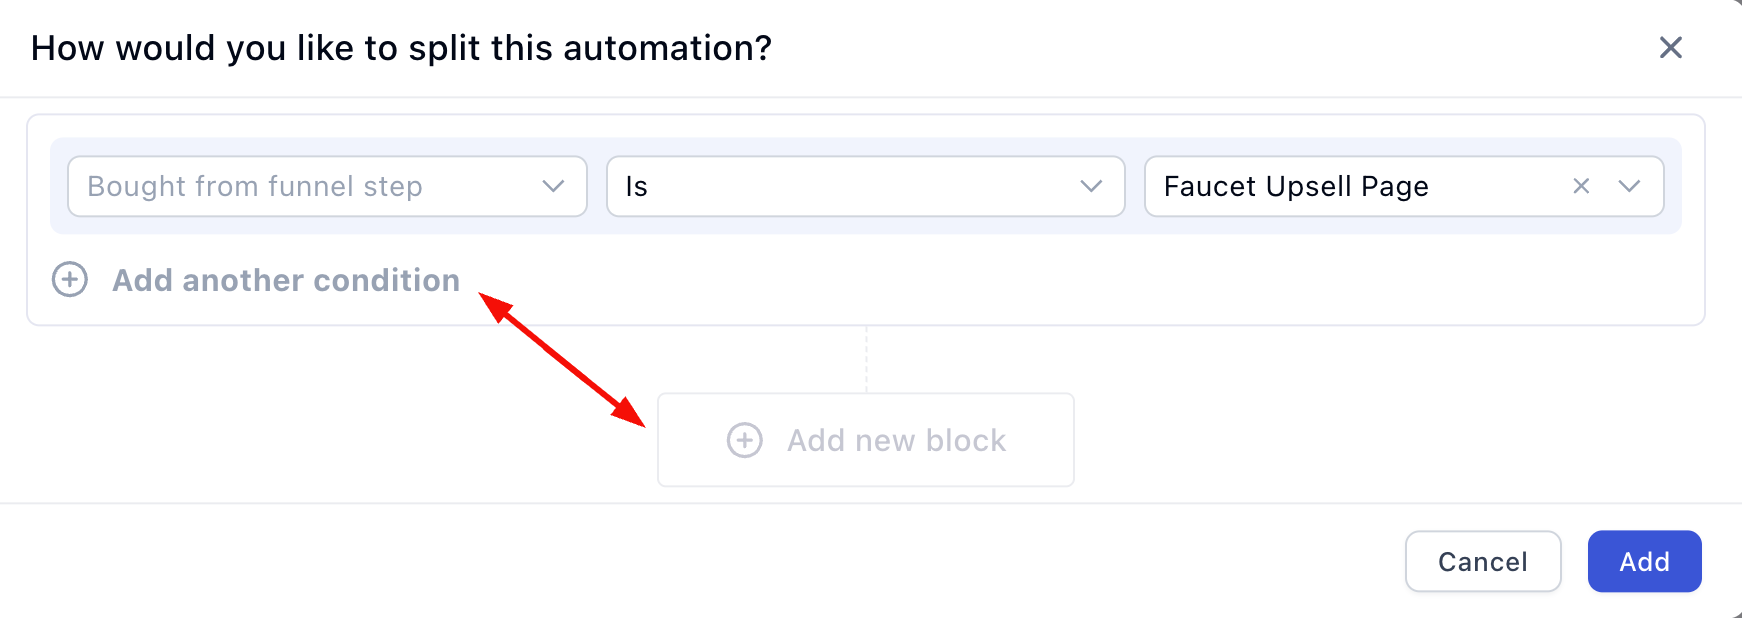
Stack rules with Add another condition or Add new block, and choose how they combine: AND means every rule must match, OR means any one of them is enough:
Click Add and the automation splits into a pass branch and a fail branch:
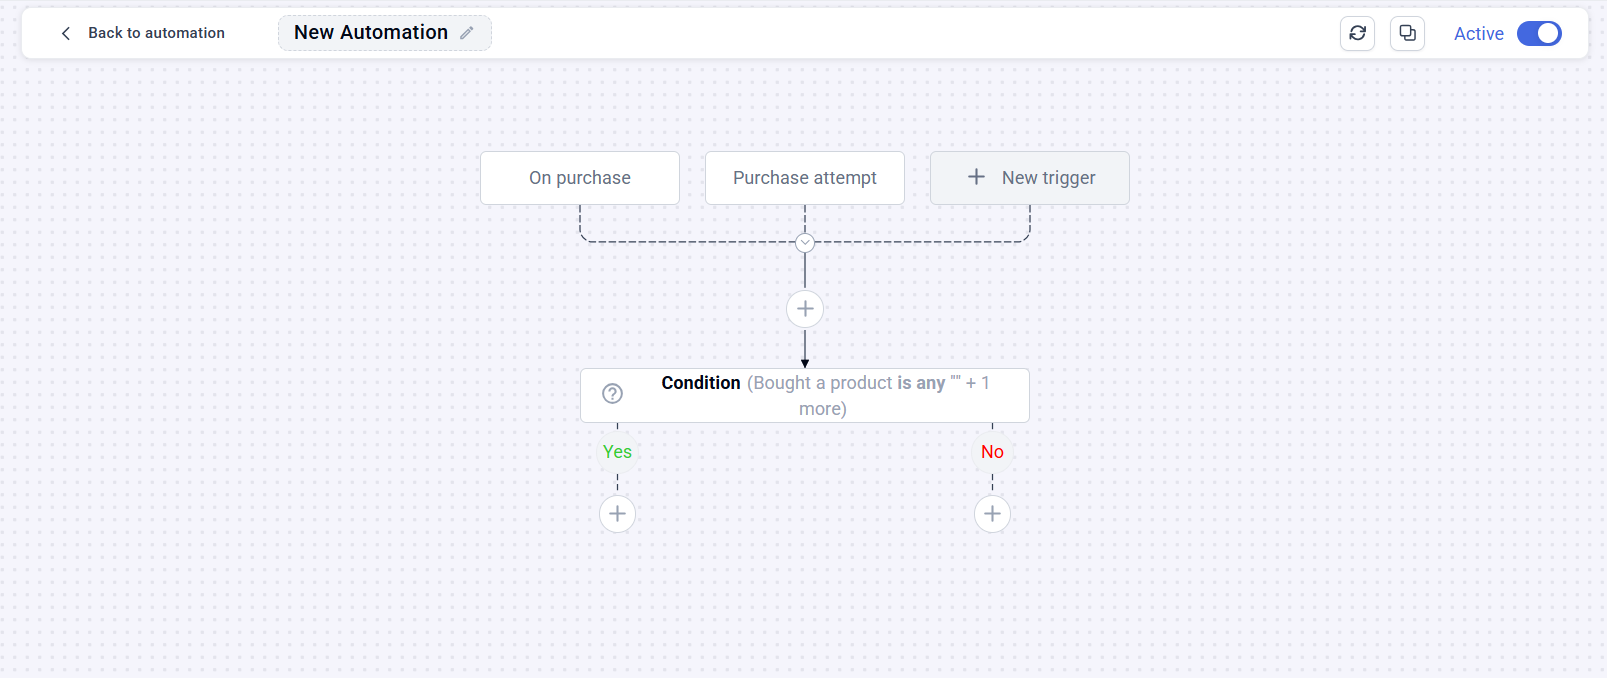
A concrete example: one order confirmation email for buyers who took the upsell, a different one (with the upsell pitched again) for buyers who didn’t.
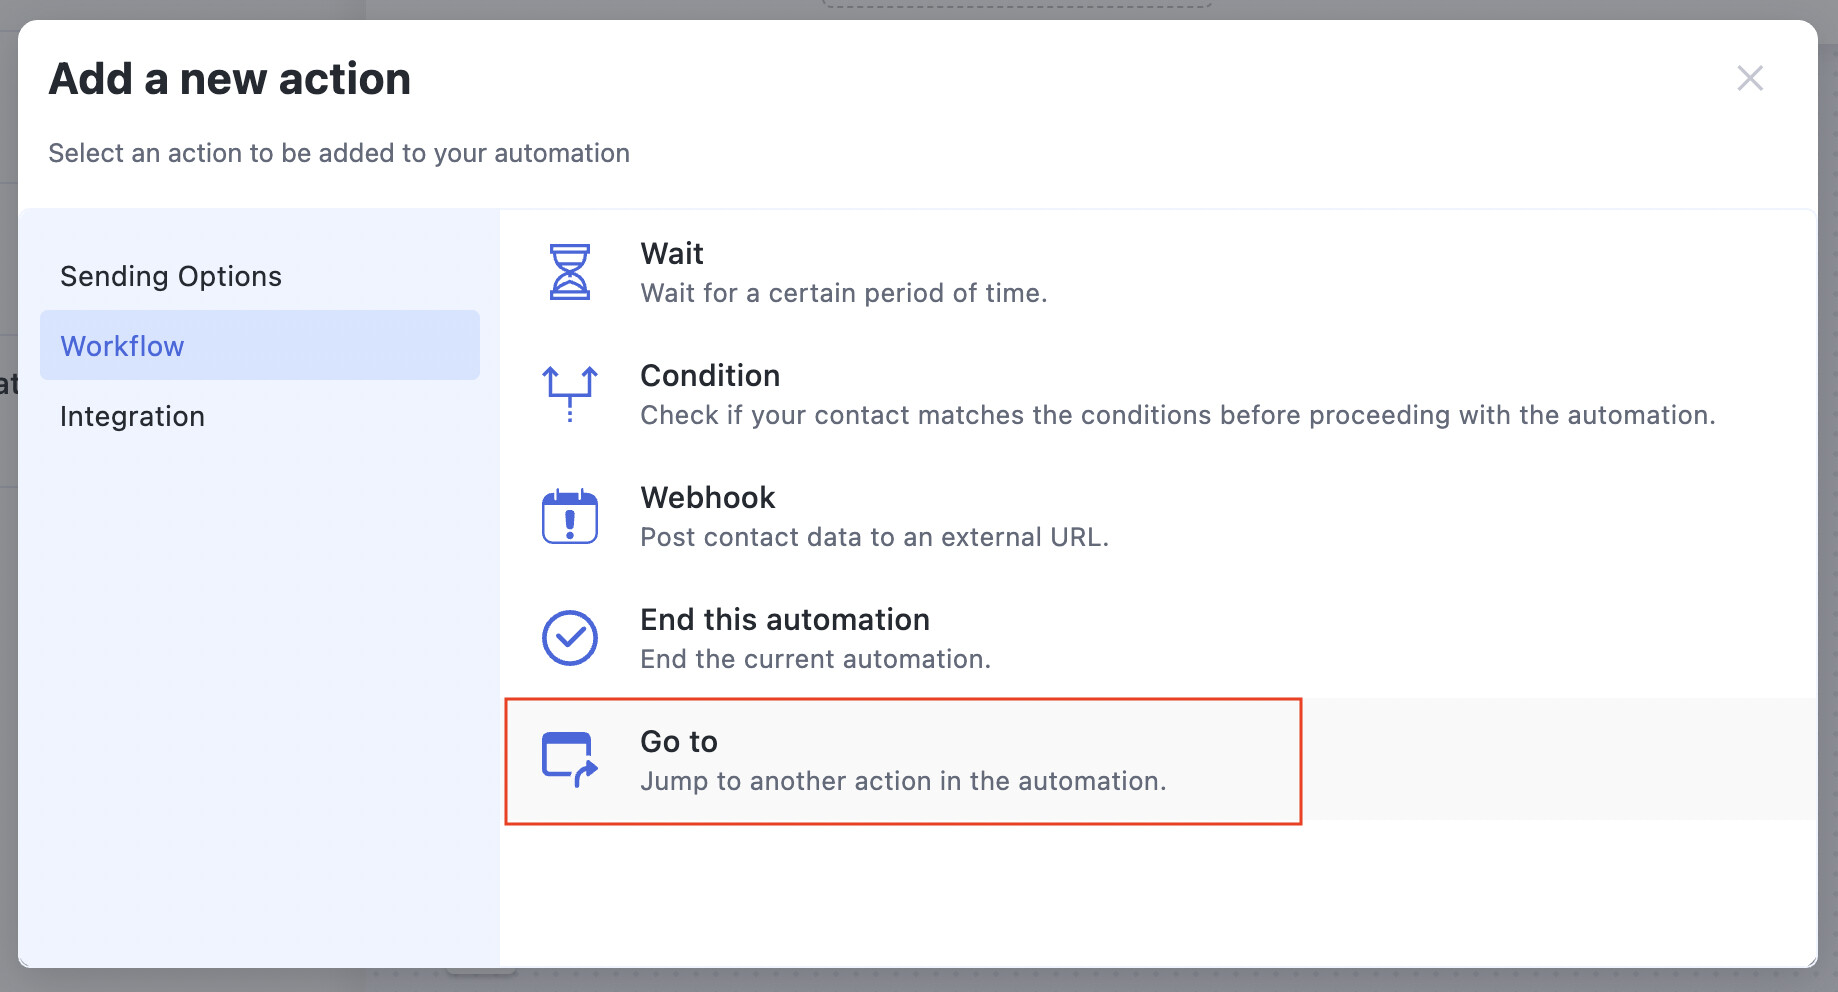
Go to
Jumps the customer to another point in the automation, instead of continuing straight down.
Pick Workflow → Go to, then grab the blue dot at the bottom of the action and drag it onto the action you want to jump to:
The jump shows as a dashed gray line. Click the line to delete it and connect somewhere else. Use jumps to merge two condition branches back into one shared sequence instead of duplicating it.
Add tag / Remove tag
Tags customers automatically based on what they do, keeping your segmentation clean without manual work.
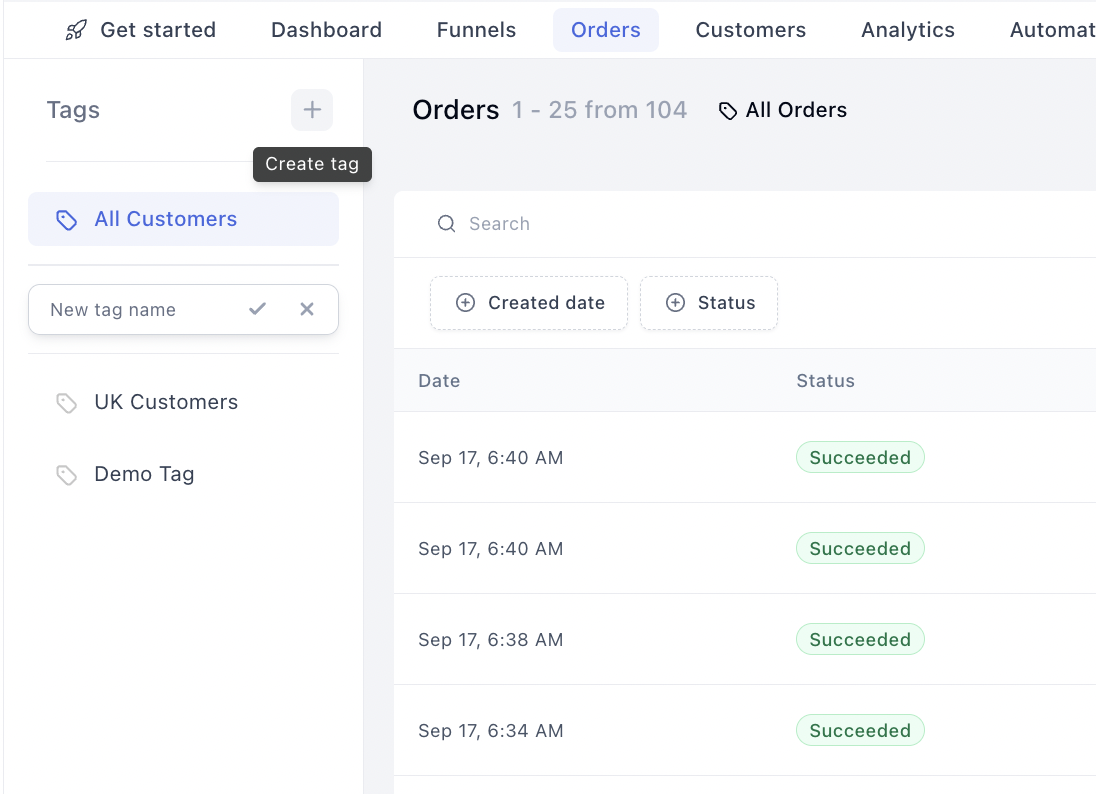
Create and manage tags in the Orders or Customers tab of your dashboard:
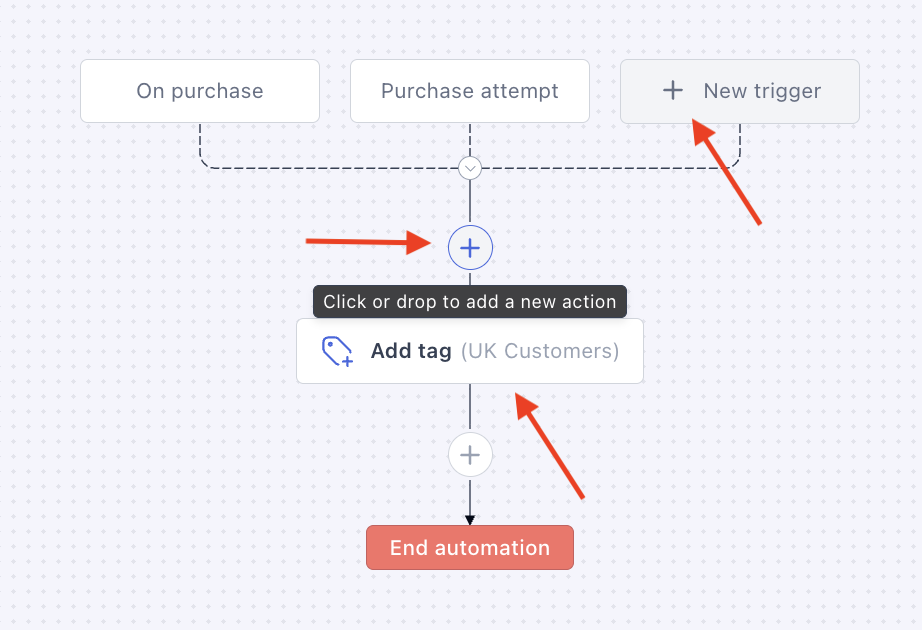
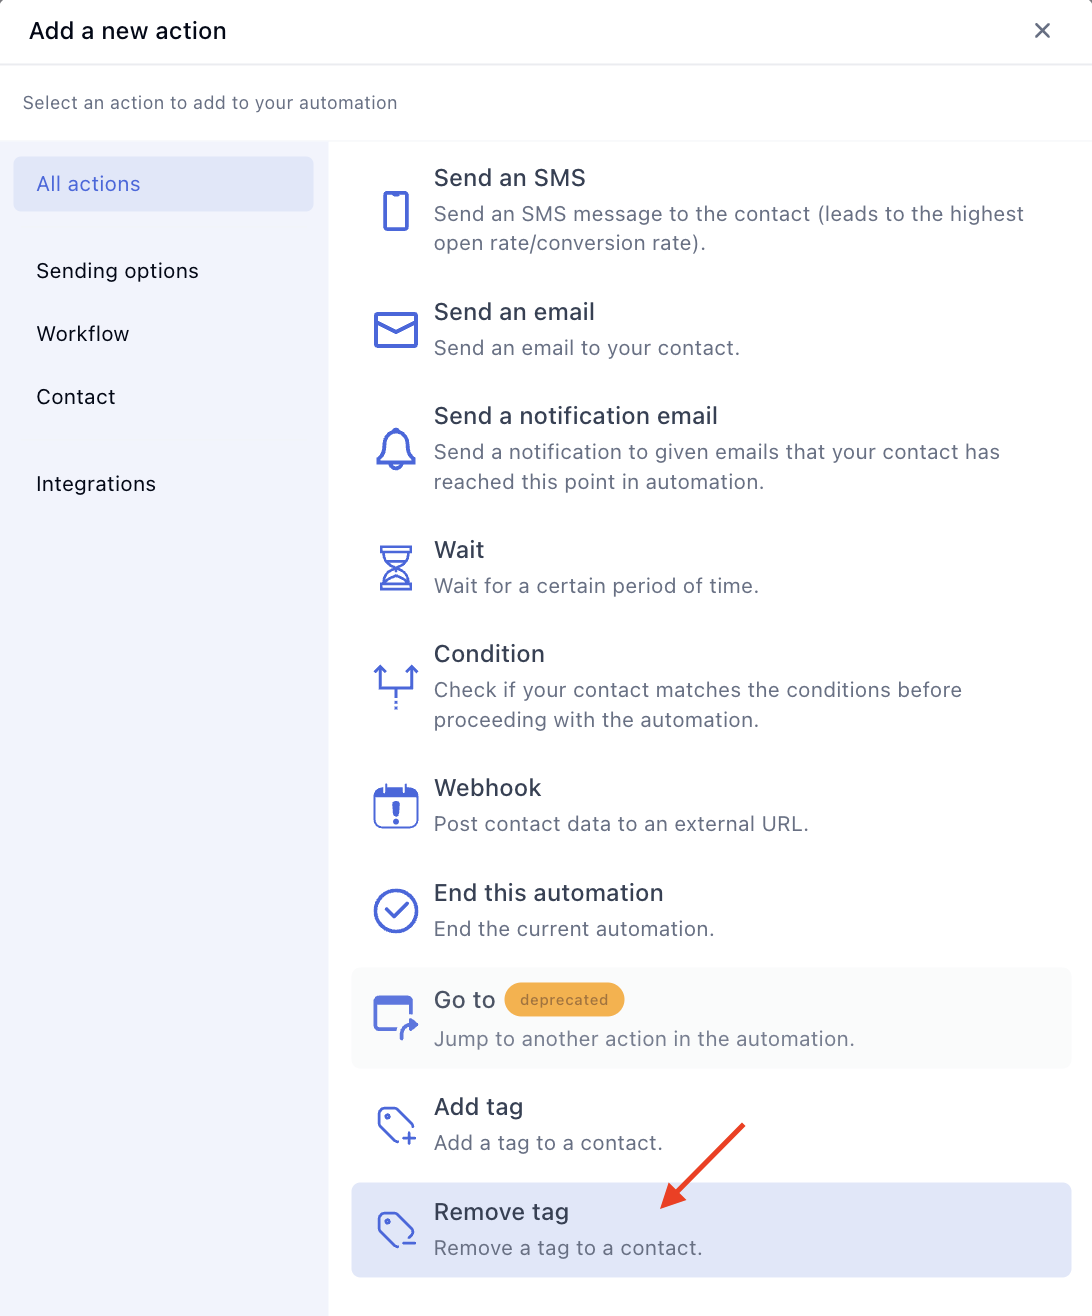
Then, in the automation, add an Add Tag or Remove Tag action and pick the tag:
Typical patterns:
-
Add Customer on first purchase.
-
Add Upsell Accepted when a buyer takes the upsell, then target them differently next launch.
-
Remove Abandoned Cart the moment the purchase completes.
Webhooks
Sends the event’s data to any URL you choose, for custom systems, fulfillment centers, or tools we don’t integrate with directly. Full reference with the exact payload schema and code samples: Send Webhooks From Your Automations.
Integrations
Integration actions push customers and their data into the tools you already use. The integration must be connected to your account first; see the integrations directory.
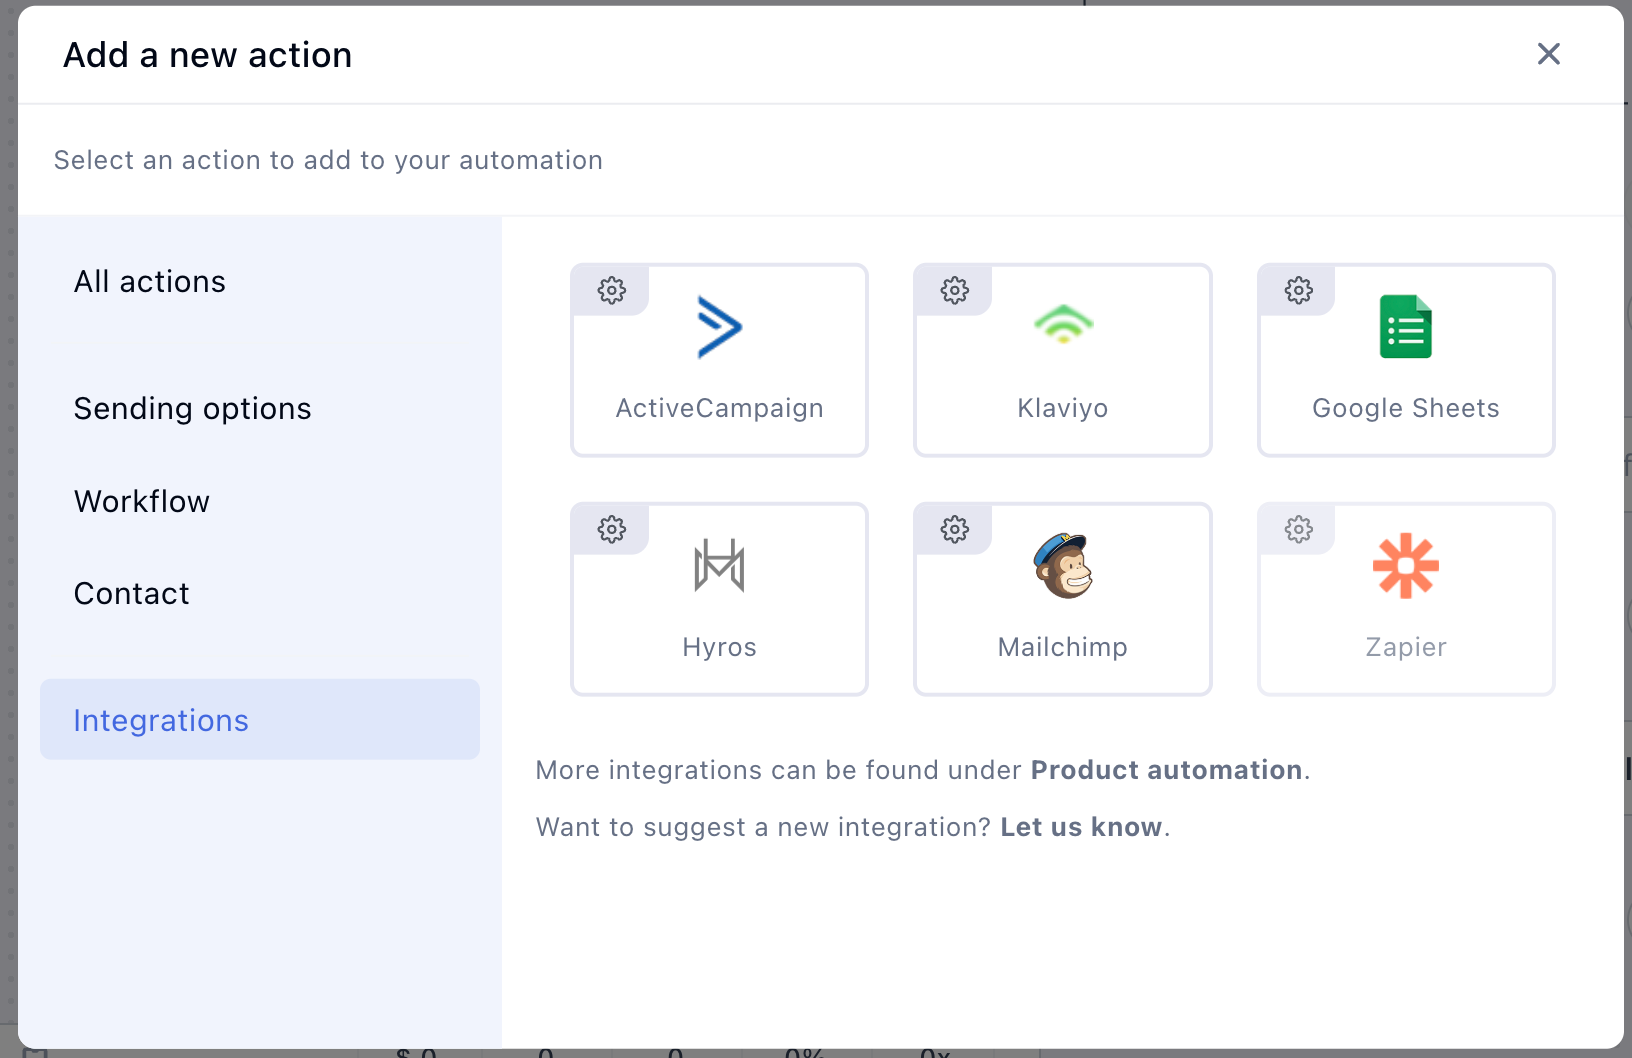
Pick Integration and choose the tool:
-
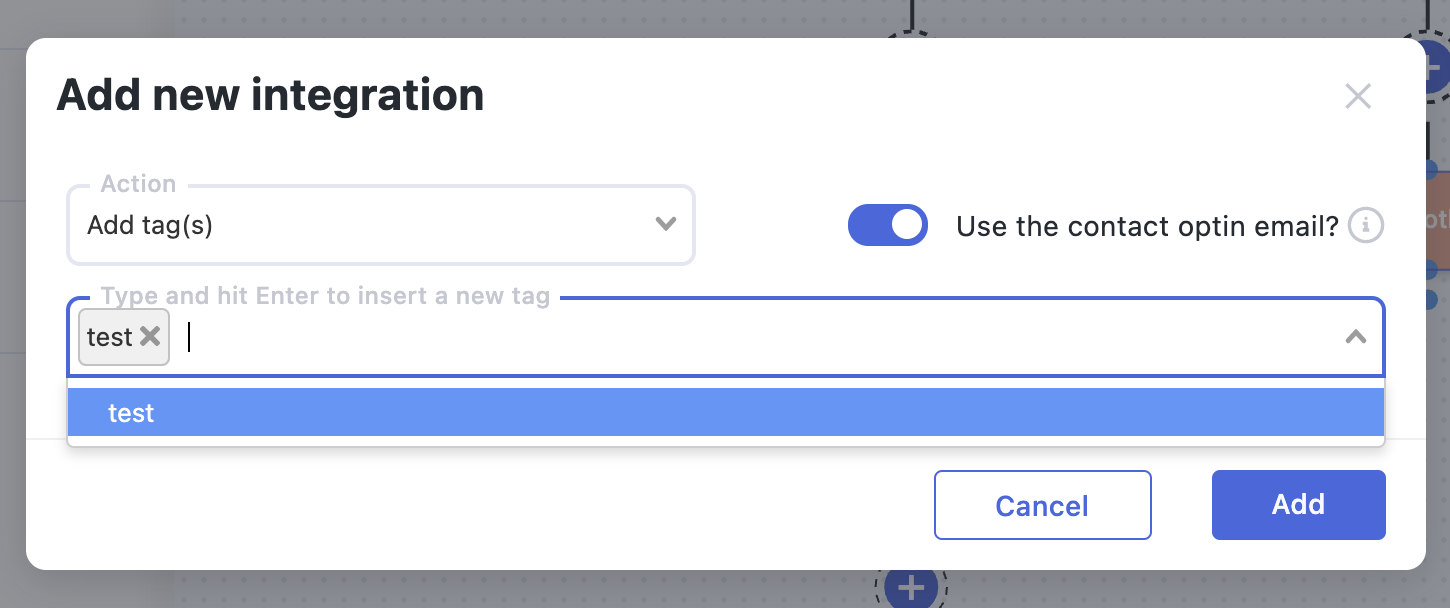
Klaviyo: add or remove the contact from your lists, with as many tags as you like. Your existing lists load into the dropdown.
-
ActiveCampaign and Mailchimp: same idea, add or remove contacts from lists and tag them for segmentation.
-
Google Sheets: append the customer’s data as a row. Pick the spreadsheet and worksheet (they load from your Google account), then map the columns. Auto-match fields does the mapping for you; check it over and add any extra fields manually.
- Hyros: add or remove tags on the contact in your Hyros account.
- Zapier: hand the event to Zapier and reach 4,000+ other apps.
Related articles
Building an automation and not sure which action fits? Start a topic in Ask the community with what you’re trying to automate and someone will map it out with you.